Install Rainier cable infill with barrel nut fittings by following these steps. This will help ensure a secure, professional finish with lasting durability.
Important! | Please Read Before You Begin the Installation
- Do not tension cable runs until the top rail has been completely secured to the posts.
- Fittings in stair runs will not pass through the angled holes on stair posts. Run cable through all intermediate posts prior to crimping fittings onto cable.
Instructions
Your infill is supplied with a factory-crimped fitting on one end of each cable length. Please follow these steps for installation:
- Prepare the Fitting: Screw a barrel nut onto the fitting until the locking ring is completely inside the barrel nut.
- Run the Cable: Thread the bare end of the cable through all posts in the designated railing section.
- Cut the Cable: Wear eye protection! Make sure the barrel nut is seated against the first post, then pull the cable taut and cut it to 1-1/8” from the inside edge of the last post. SAFETY TIP: If you are cutting less than a few inches of cable, put some tape around the tip of the cable to prevent the strands from becoming projectiles.
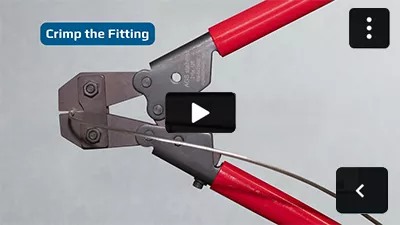
- Crimp the Fitting: Insert the cable all the way into the fitting. Crimp the fitting approximately 1/4” from the end, and crimp again 1/4” from the first crimp. TIP: If any distortion occurs from crimping, it can be easily corrected by tapping gently with a rubber mallet.
- Final Assembly: Screw on a barrel nut onto the fitting as described in ‘A’. Prior to tensioning the cable, repeat this process until all cables in the run are installed.
Tools Needed
- AGS cable cutters with bypass blades are shaped to ensure a clean cut to the cable, which provides easy insertion into the barrel nut fitting and minimizes cable fray.
- AGS cable crimpers have been specially selected to deliver a high-quality crimp and secure connection.
- A 5/32 hex key and locking pliers are used to grip and tension the cable. Simple, everyday hand tools ensure that re-tensioning the cable periodically is hassle-free.
Products Used
- Barrel Nut Fitting.
- 50′ Electro-polished Stainless Steel Cable.
- 100′ Electro-polished Stainless Steel Cable.
Accessories
How to Crimp an AGS Cable Fitting