


How-To Video: DIY Cable Railing Installation with Wood Posts
How-To Guide: How to Build a Wood Railing with Standard Cable Fittings
Transcription:
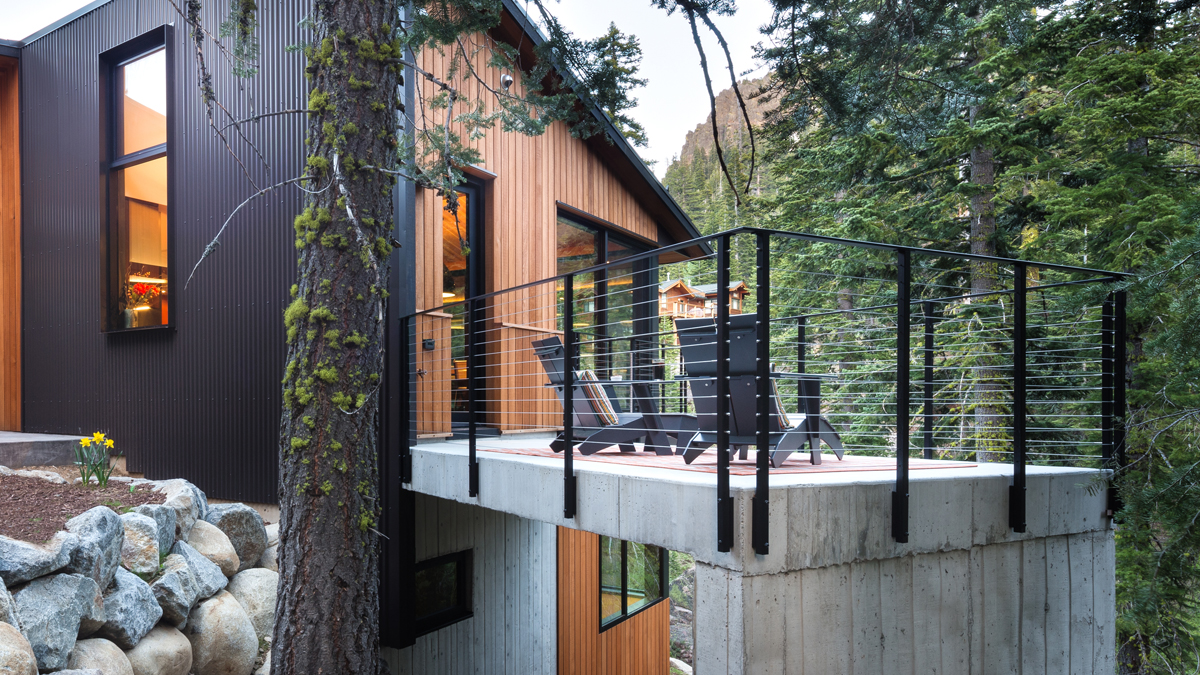
A great way to get your cable railing system in a cost-effective way is to use wood posts and the cable as the infill.
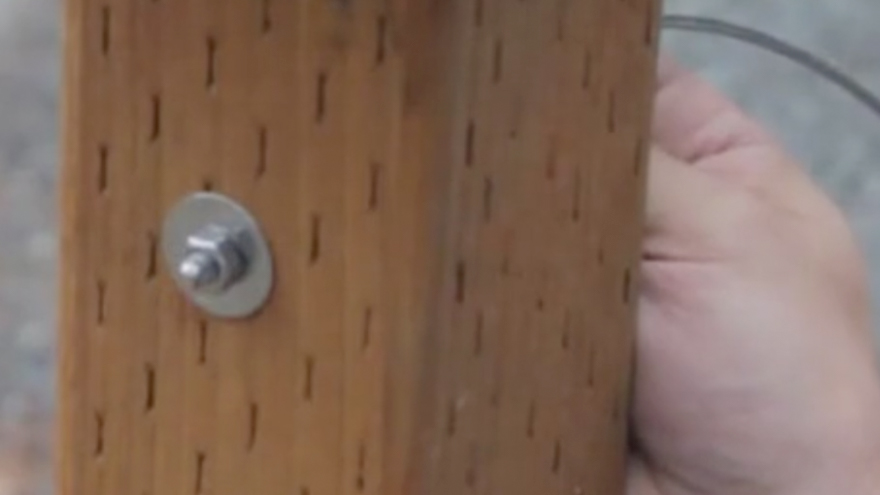
So today, what we’re going to show is how to cut the cable and attach the fittings and install your cable rail system in your wood railing. Okay. So, now we’ve got our cable fitting attached to one end. You go ahead and put it through the end post, put your washer on, put a jam nut on – just enough to where you could put an acorn nut on there, but leave it off for now and you just pull it tight.
The next thing you want to do is go to the end post. You string the cable all the way through all your intermediate posts and go to your end posts.
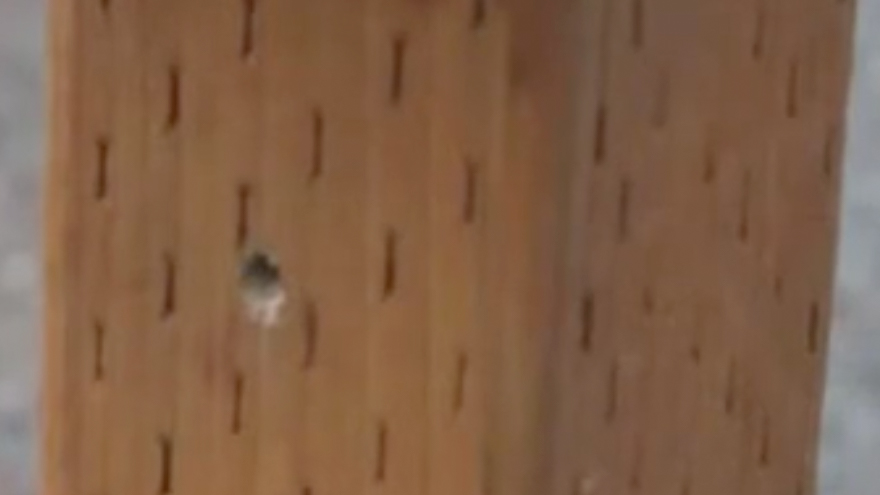
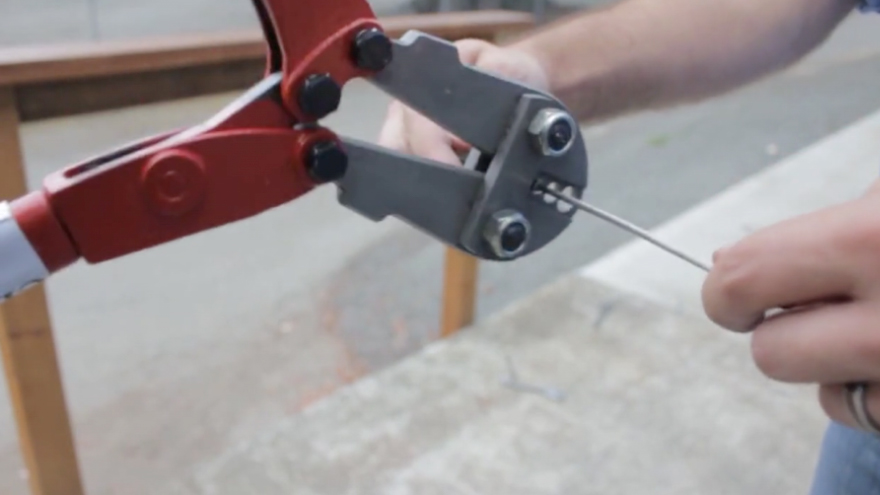
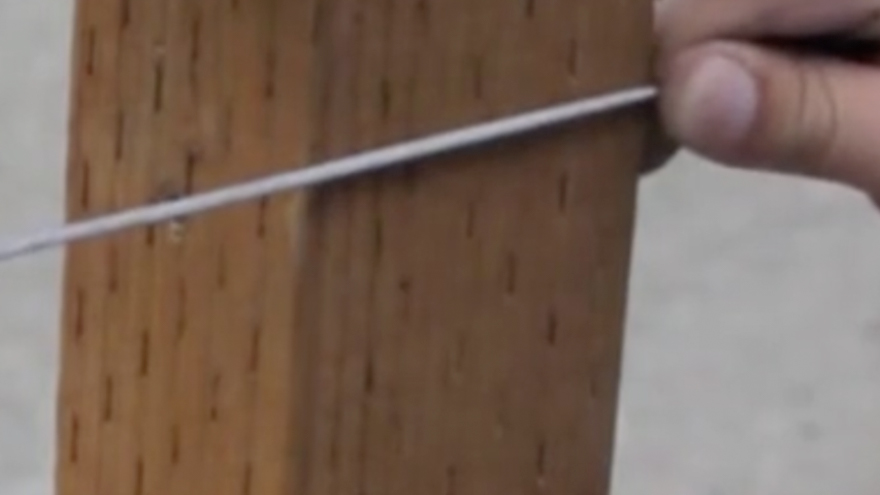
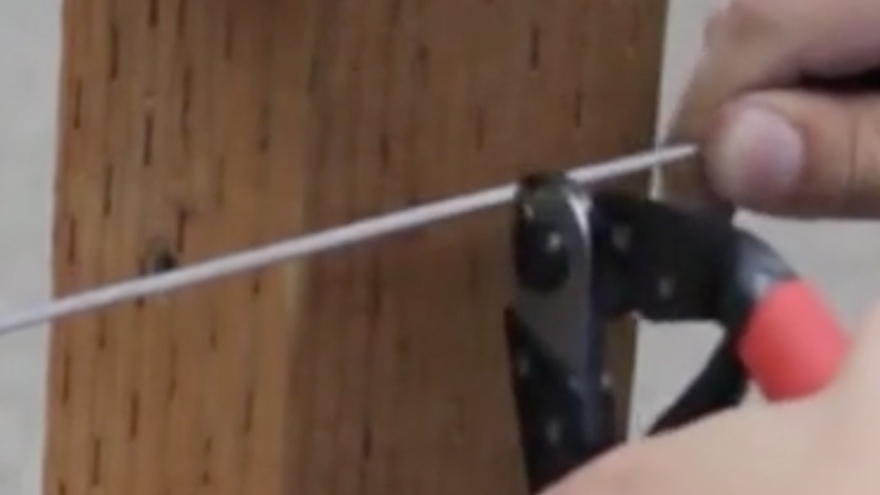
And you’ve got to cut the cable now, and the point where you want to cut the cable is right in the middle of the post right here. So, you just pull the cable up, line it up, and then use these cable cutters and cut the cable.
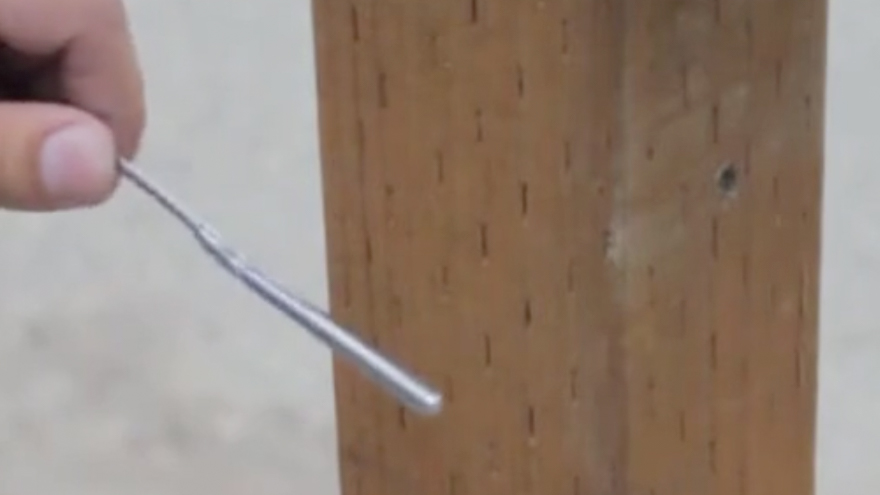
Okay. So, now we’ve got our cable cut to length. We just need to attach the fitting on the other end of the cable just like we did before.
Okay, so now we have the cable fittings attached on each end. Go ahead and use your seven-sixteenth inch wrench to give it a half turn more. At this point, you just put the acorn nut on to finish it off. You tighten the two nuts against each other using the seven-sixteenth wrenches. That keeps the cable from loosening up over time.
How-To Guide: How to Build a Wood Railing with Standard Cable Fittings in 15 Easy Steps
A Clearview® – Standard Cable Fitting is a stainless steel component that attaches an uncoated 1/8-in stainless steel Clearview® – Cable to the post of a Rainier cable railing system under the Clearview® brand. AGS – Cable Crimpers are required to crimp this type of fitting.
Tools Needed:
- (2) Open-End Wrenches
- Power Drill
- AGS – Drill Bit
- AGS – Cable Cutters
- AGS – Cable Crimpers
Drill Post Holes
Attach an AGS – Drill Bit to a power drill and then drill holes in the wood posts. When rotated by a power drill, the sharpened edges for an AGS – Drill Bit will create round holes in 4-in x 4-in or larger wood posts. Make sure to drill halfway through from each side to ensure that your holes will be horizontal rather than diagonal. A metal drill bit will be required for drilling holes in stainless steel posts and a masonry drill bit will be required for drilling holes in either stone or concrete. Make sure that the drill bit is tightly secured to prevent it from spinning out of the drill and damaging any posts.
Put on Fitting
Put the Clearview® – Standard Cable Fitting onto one end of the uncoated 1/8-in stainless steel Clearview® – Cable. This type of fitting is a cost-effective component for attaching uncoated 1/8-in stainless steel Clearview® – Cables to wood posts or posts made of other materials.
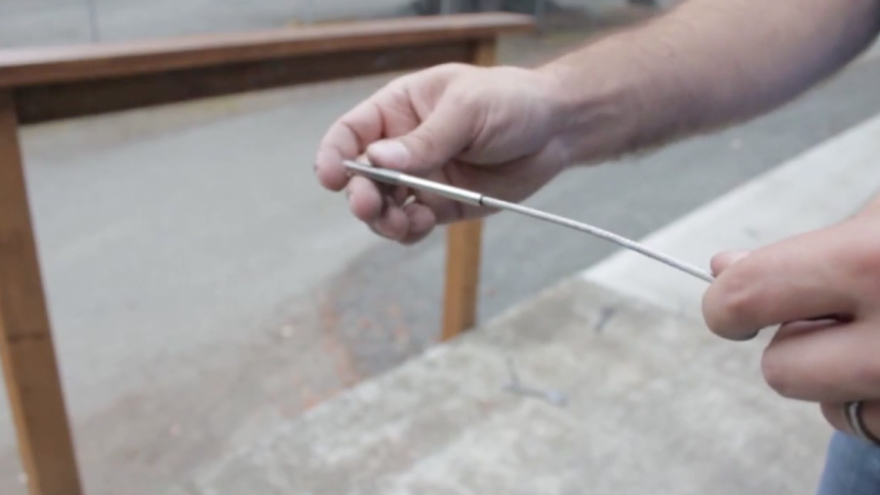
Crimp Fitting Twice
Use AGS – Cable Crimpers to crimp a Clearview® – Standard Cable Fitting 1/2-in from the end and then again 1/2-in away from that in the other direction. AGS – Cable Crimpers have hardened stainless steel jaws that were specially designed for compressing metal fittings. Crimping means using compression to join two or more metal components. Crimp all of the Clearview® – Standard Cable Fittings to the Clearview® – Cables on one end of the run first before crimping the other end.
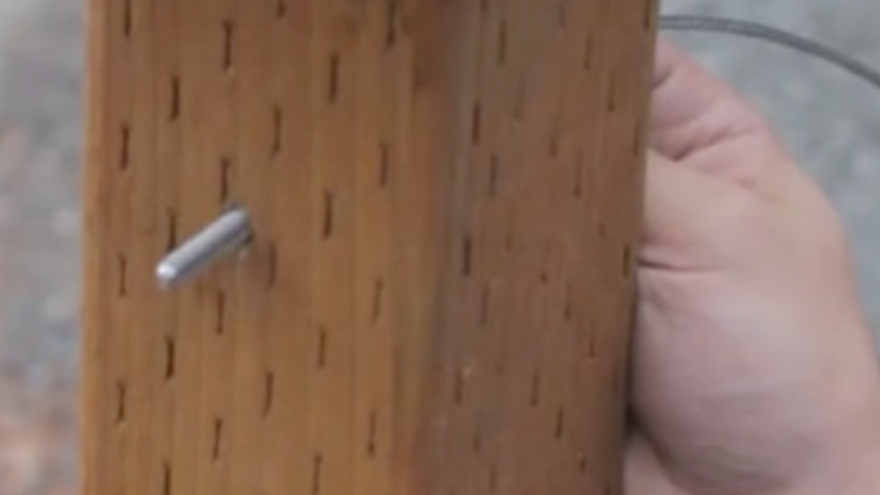
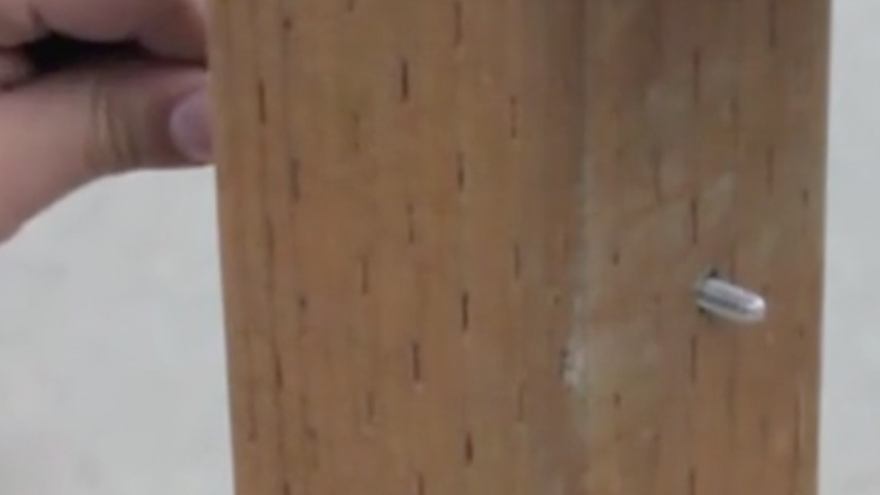
Insert Through Hole
Insert the Clearview® – Standard Cable Fitting with an attached Clearview® – Cable through a hole in the wood post. Using an AGS – Drill Bit on a power drill will ensure that the hole is the right size.
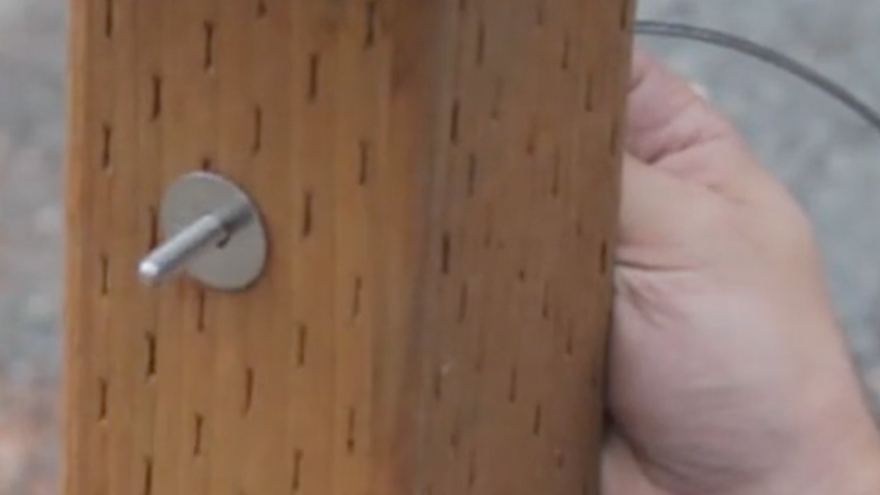
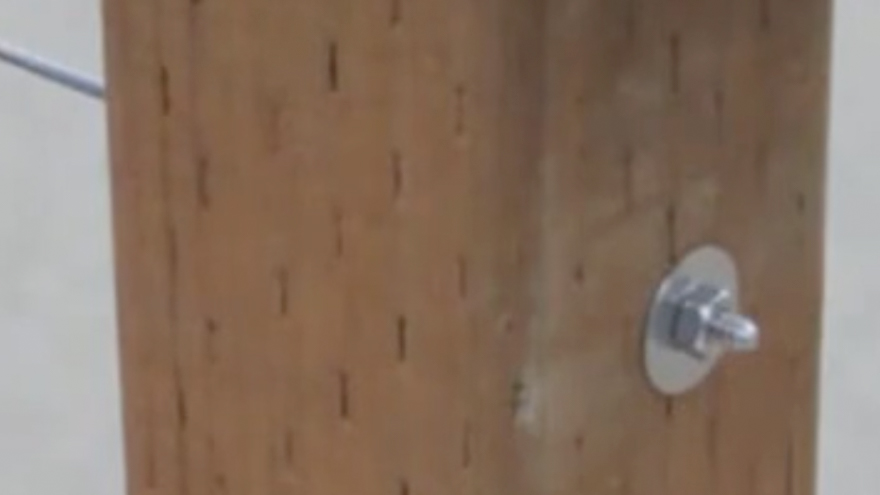
Slide on Washer
Slide a Clearview® – Flat Bearing Washer onto the exposed end of the Clearview® – Standard Cable Fitting. This component distributes the force of a Clearview® – Cable across a large surface area. Distributed force will prevent a stainless steel jam nut from damaging the wood post.
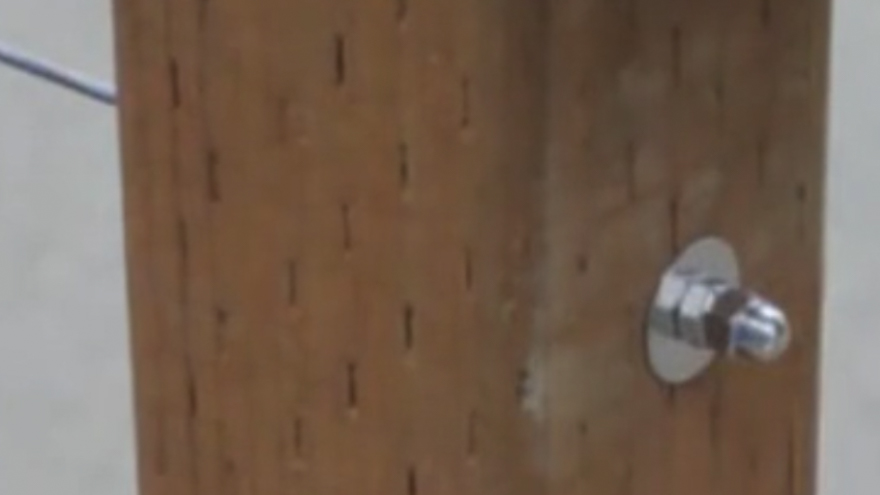
Thread Jam Nut
Use your fingers to thread a stainless steel jam nut onto the Clearview® – Standard Cable Fitting. A stainless steel jam nut is shaped like a hexagon with a circle through the middle. It is used for attaching a Clearview® – Standard Cable Fitting to a wood post.
Mark Cable Cut
Pull the uncoated 1/8-in stainless steel Clearview® – Cable through the wood post until taut and mark the exposed end on the infill side with a permanent marker. Maintaining tension makes measuring easier and more accurate. Then pull it back out of the wood post and measure back 2 inches from the mark.
Cut the Cable
Keep the AGS – Cable Cutters level, apply pressure, and avoid twisting when cutting the uncoated 1/8-in stainless steel Clearview® – Cable. If the ends of the Clearview® – Cable get crushed, then cut them off and try again with uncut sections.
Crimp Other Fitting
Insert the recently cut end of the uncoated 1/8-in stainless steel Clearview® – Cable into the Clearview® – Standard Cable Fitting. Then apply pressure with AGS – Cable Crimpers to join the two components together. Using AGS – Cable Cutters with the proper technique described above will result in clean, non-crushed ends that should easily fit.
Insert Through Hole
Put the side of the uncoated 1/8-in stainless steel Clearview® – Cable with the recently attached Clearview® – Standard Cable Fitting through the hole in the other wood post. If earlier measurements were performed properly, the end of the Clearview® – Standard Cable Fitting should be exposed.
Thread Jam Nut
Thread a stainless steel jam nut onto the other side of the run for securing the uncoated 1/8-in stainless steel Clearview® – Cable to the wood post.
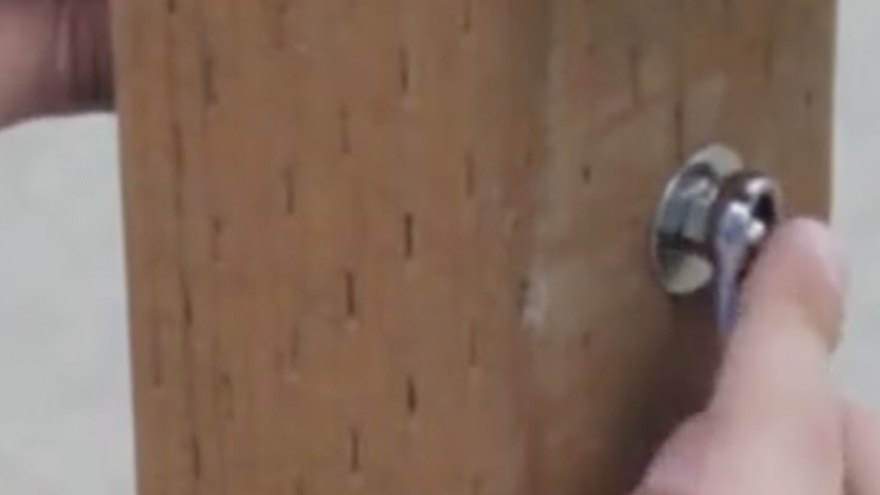
Thread Acorn Nuts
Thread the acorn nuts onto the exposed ends of the Clearview® – Standard Cable Fittings and finger tighten them. This will result in loosely installed (finger-tight) Clearview® – Cables that can be tensioned later after the remaining runs are completed.
Repeat Previous Steps
Repeat steps 2-12 for the remaining runs.
Tighten the Nuts
Starting with the middle run, tighten the stainless steel nuts until the uncoated 1/8-in stainless steel Clearview® – Cable is barely taut. Tensioning the middle run first balances the force that is being exerted on the wood posts. Tighten the other stainless steel jam nuts by starting with the middle runs and alternating until all of the uncoated 1/8-in stainless steel Clearview® – Cables are taut.
Lock All Nuts
Thread the stainless steel acorn nuts on top of the stainless steel jam nuts. Then place an open-end wrench on each stainless steel nut and twist in opposite directions to lock them in place. Tension for uncoated 1/8-in stainless steel Clearview® – Cables can be adjusted afterward by twisting an open-end wrench on the stainless steel acorn nut and slowly releasing tension.

Featured Hardware
Railing Components
Railing Tools
Railing Systems
Recommended For You
Explore design trends and insights from architects, our customers and the AGS team.
-
 Videos
How to Crimp an AGS Cable Fitting
Install Rainier cable infill with standard fittings by following these steps. This will help ensure a secure, professional finish with lasting durability.
-
 Videos
How to Install an AGS Standard Cable Fitting
https://vimeo.com/1050856505/349c309cf3?fl=pl&fe=sh Install Rainier cable infill with standard fittings by following these steps. This will help ensure a secure, professional finish with lasting...
-
 Videos
How to Install an AGS Barrel Nut Fitting
https://vimeo.com/1050845087/6372fa1493?fl=pl&fe=sh Install Rainier cable infill with barrel nut fittings by following these steps. This will help ensure a secure, professional finish with...