

How-To Video: DIY Concrete Anchor Installation for a Stainless Steel Post
Transcription:
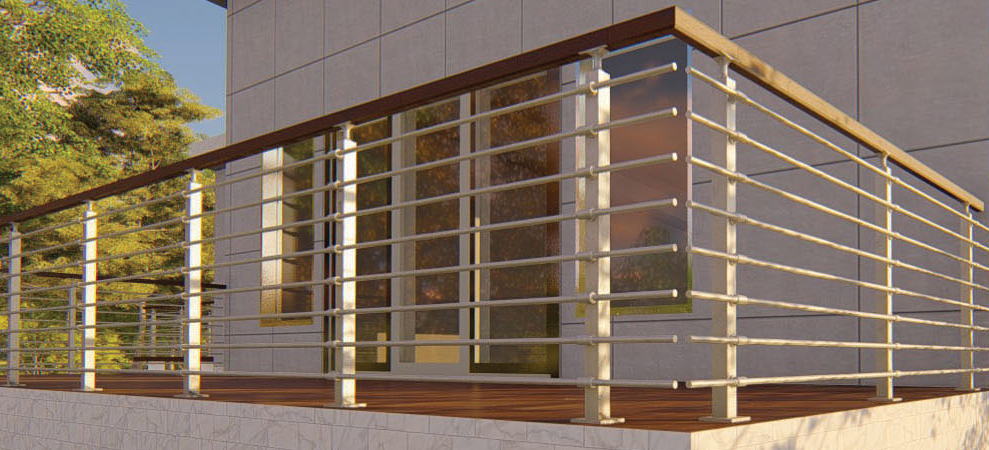
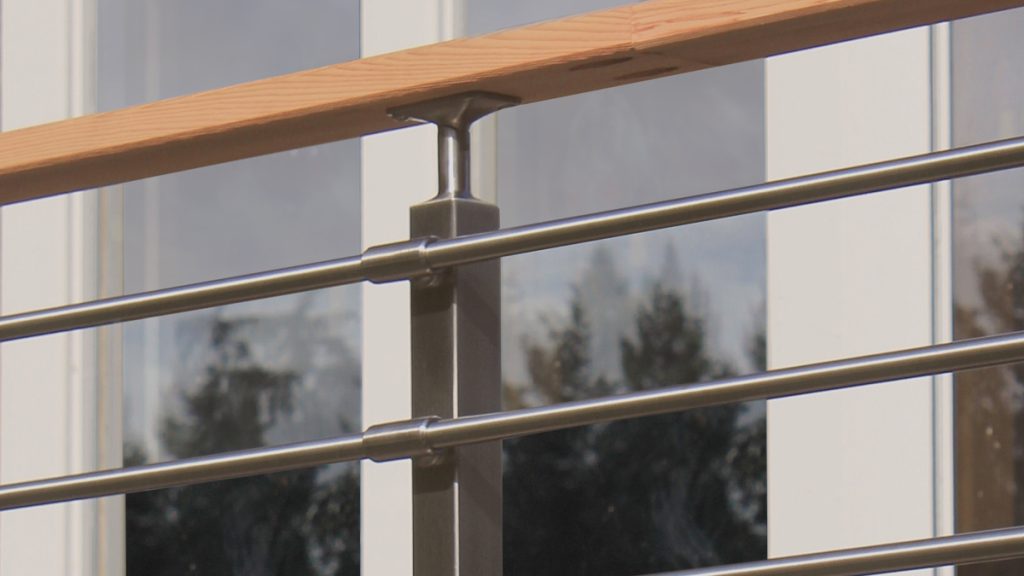
Alright. Base plate covers are a great way to dress up your posts, especially when you’re mounting into concrete. The concrete anchors aren’t quite as attractive as typical lag screws, so that’s a great way to dress up the post. It’s slightly more of a technical install than just using lag screws. So today, we’re going to show you how to go ahead and install that and everything it takes to do that.
So, you want to tape your base plate cover up and out of the way, so that you can drill safely. You’ve got your post in the location that you need it and you set your first hole for the concrete anchor. Now you’ve got the hole you want to get cleaned out. Okay. So, now we’ve got the hole cleaned out. We’ve got the concrete anchor here. This is a wedge anchor. You’ll notice that it has this top here on top of the threads to make it so that you can use a hammer without gumming up the threads. It’s a necessary part of the concrete anchor. And you’ll need to cut that off at the end after you install your concrete anchors, so your base plate cover can sit down as far as possible.
So, we want to install the first concrete anchors before we drill the rest of the holes. That way, we can make sure they’re all in the right locations. They’re down as far as possible. Tighten up the nut for a reasonable amount. And then we’ll drill the rest of our holes. One thing you want to keep in mind too is to leave a few threads showing on that concrete anchor – just in case you need to shim the post up. And we’ll show you how to do that as well. Because a lot of times, the concrete is going to be irregular.
Okay. Now that we’ve got all the anchors set, we want to check the post for plumb. And so, we can see here a little bit less than a quarter of a bubble off in two directions. And so, to correct that, we’ll loosen up the anchors and then we’ll put a shim underneath. We’ll do what’s called “humoring the post.” That’s a half an inch. We’ve got this shim here. Slide it underneath the post. You want to do something to get it under there – centered underneath the post. You can use a small shim. Just kind of wiggle the posts and get it as close to centered underneath the post as you can. This way, you can move the post in any direction. Get it plumbed in the direction that you need it. Slightly tighten up the nuts again. Get a feel for where you need to adjust the post. So, this side needs to be tightened up – this side loosened up. Looks right! And check in this direction. Doing that as necessary to get the post plumb.
Okay. So, now that we’ve got the post all plumb, we could just go ahead and uniformly tighten up the nuts. It’s good to do it around the post a little bit by bit, so you don’t oversight on one side and throw the post out of plumb again. And you want to check the post again after you have all the nuts tightened down and make sure it stayed in place where you needed it. Snug them all up. And the post is in there sturdy. We’ll check it again for plumb. We’re good and we’re good.
As you can see, we’ve got the base plate cover. It slides down over it, but it’s going to sit up a little bit. Because those concrete anchors are sitting tall, we just have to cut those concrete anchors off the tops of them. So, we just have to cut the concrete anchors off the tops of them, so this can sit down as close to the ground as possible. Okay. So, we can use an angle grinder to cut these off. You can use a variety of tools. You can use a sawzall as well. I prefer an angle grinder just because it gives you a little more control. So, we’ll go ahead and cut off the concrete anchors.
Now that we’ve got them all set, go ahead and slide your base plate cover down back over the base. Looks great!
Featured Hardware
Railing Components
Railing Tools
Railing Systems
Recommended For You
Explore design trends and insights from architects, our customers and the AGS team.
-
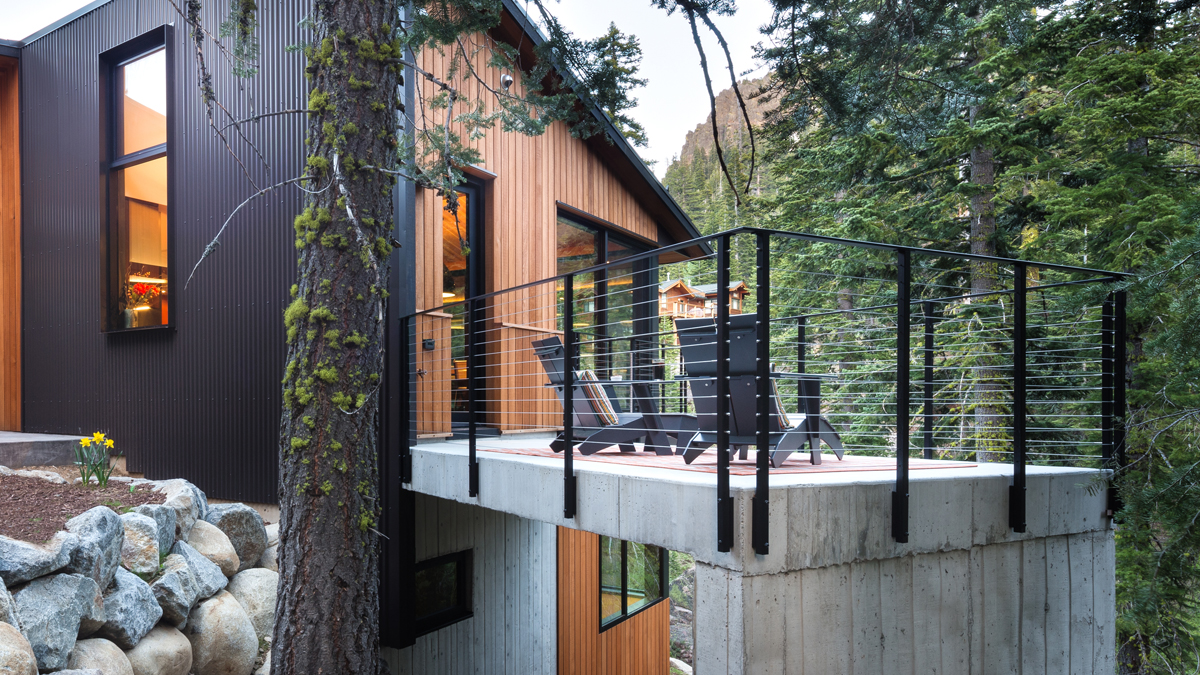
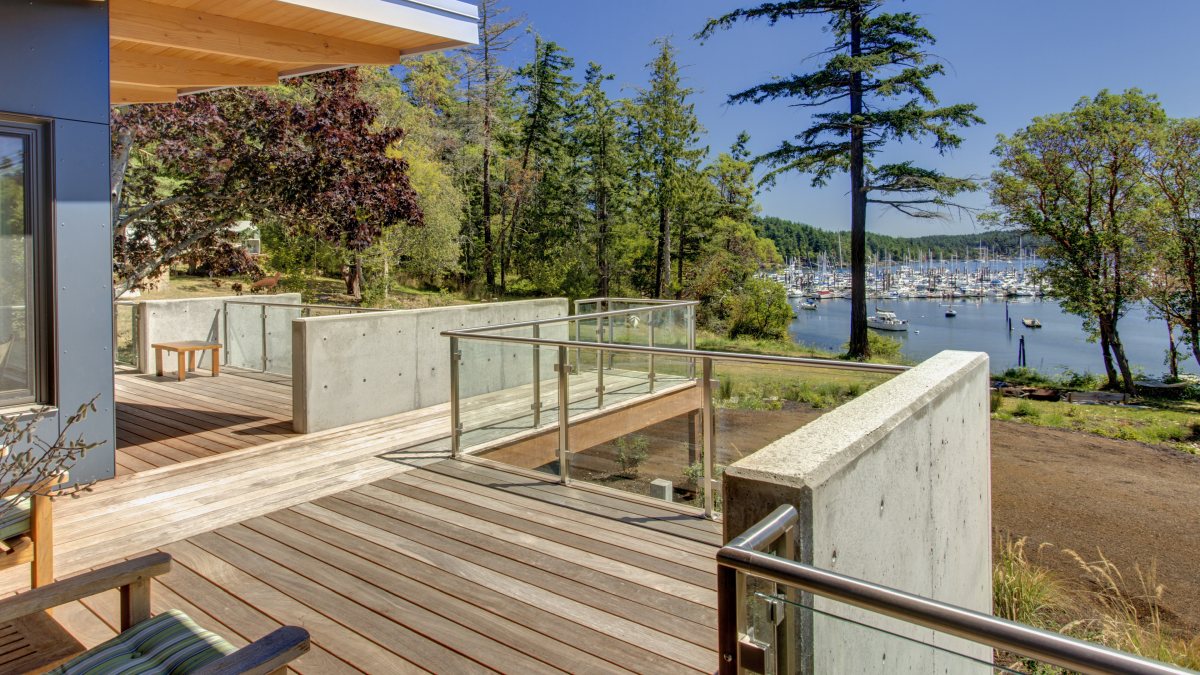
 Design Inspiration
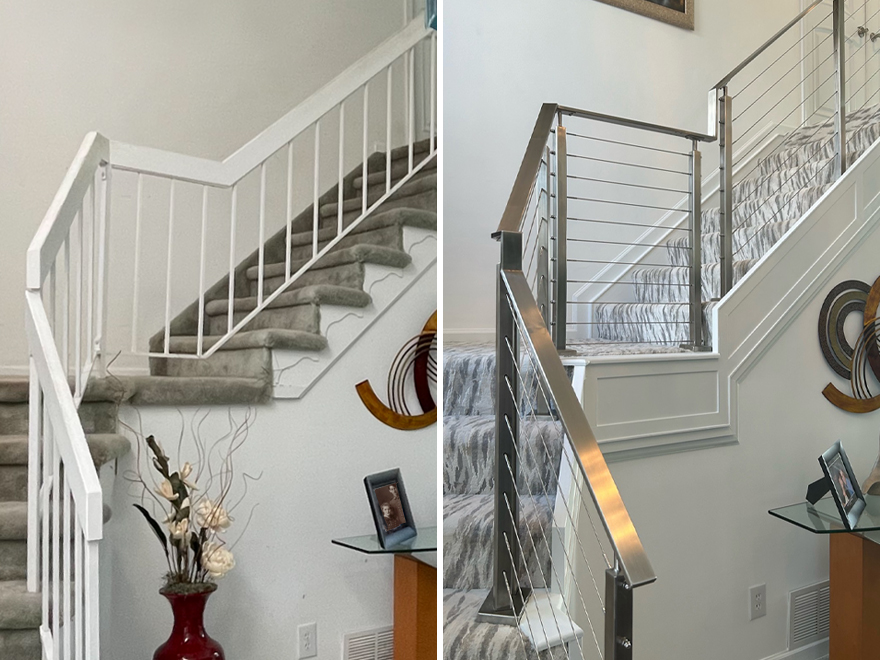
Cable Railing Transformations
Witness how modern cable railing and custom handrails completely redefine residential spaces, maximizing light and views.
-
 DIY
DIYUltimate Guide to Sketch Sheets: Printable Graph & Isometric Grids for Every Project
Elevate your design process with our exclusive collection of downloadable drafting templates, specifically curated to meet the diverse needs of creators across...
-
 Installation
World’s Easiest Install?
Youtuber Tim Uhler installed and reviewed the Cascadia Kit. See him in action and learn if AGS got a “like.”