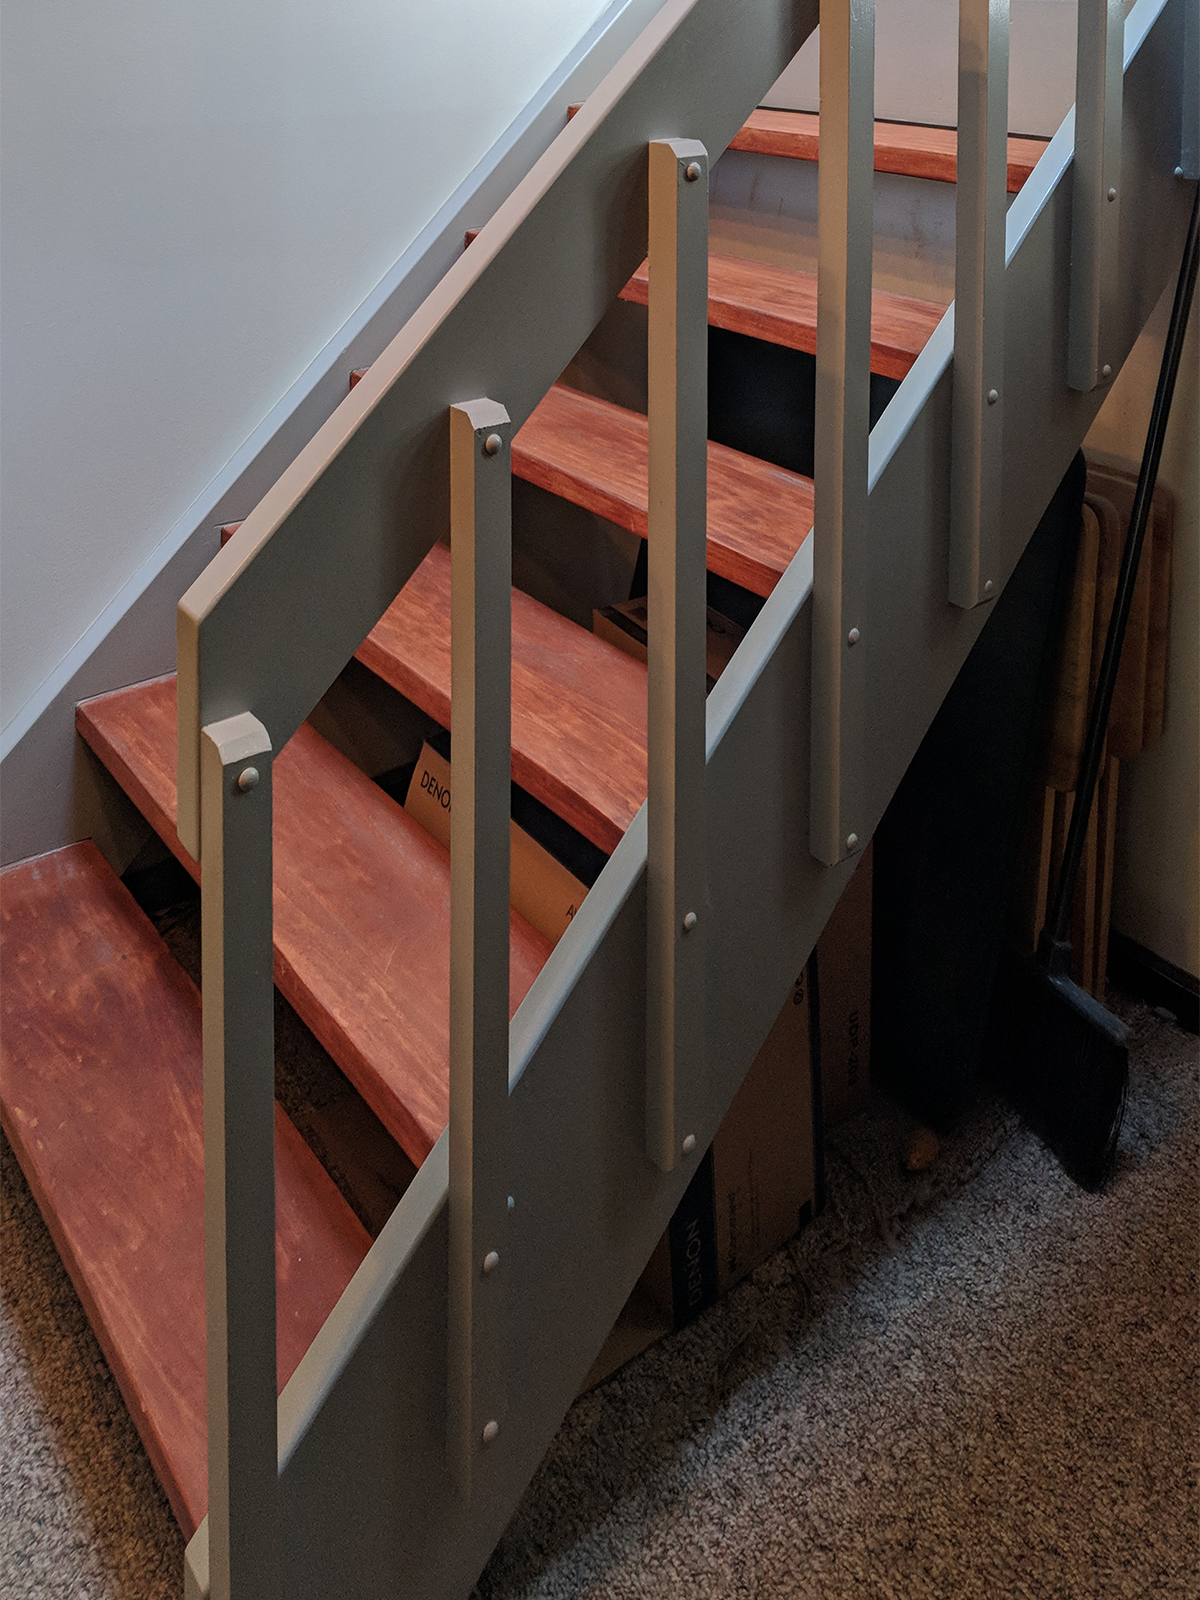
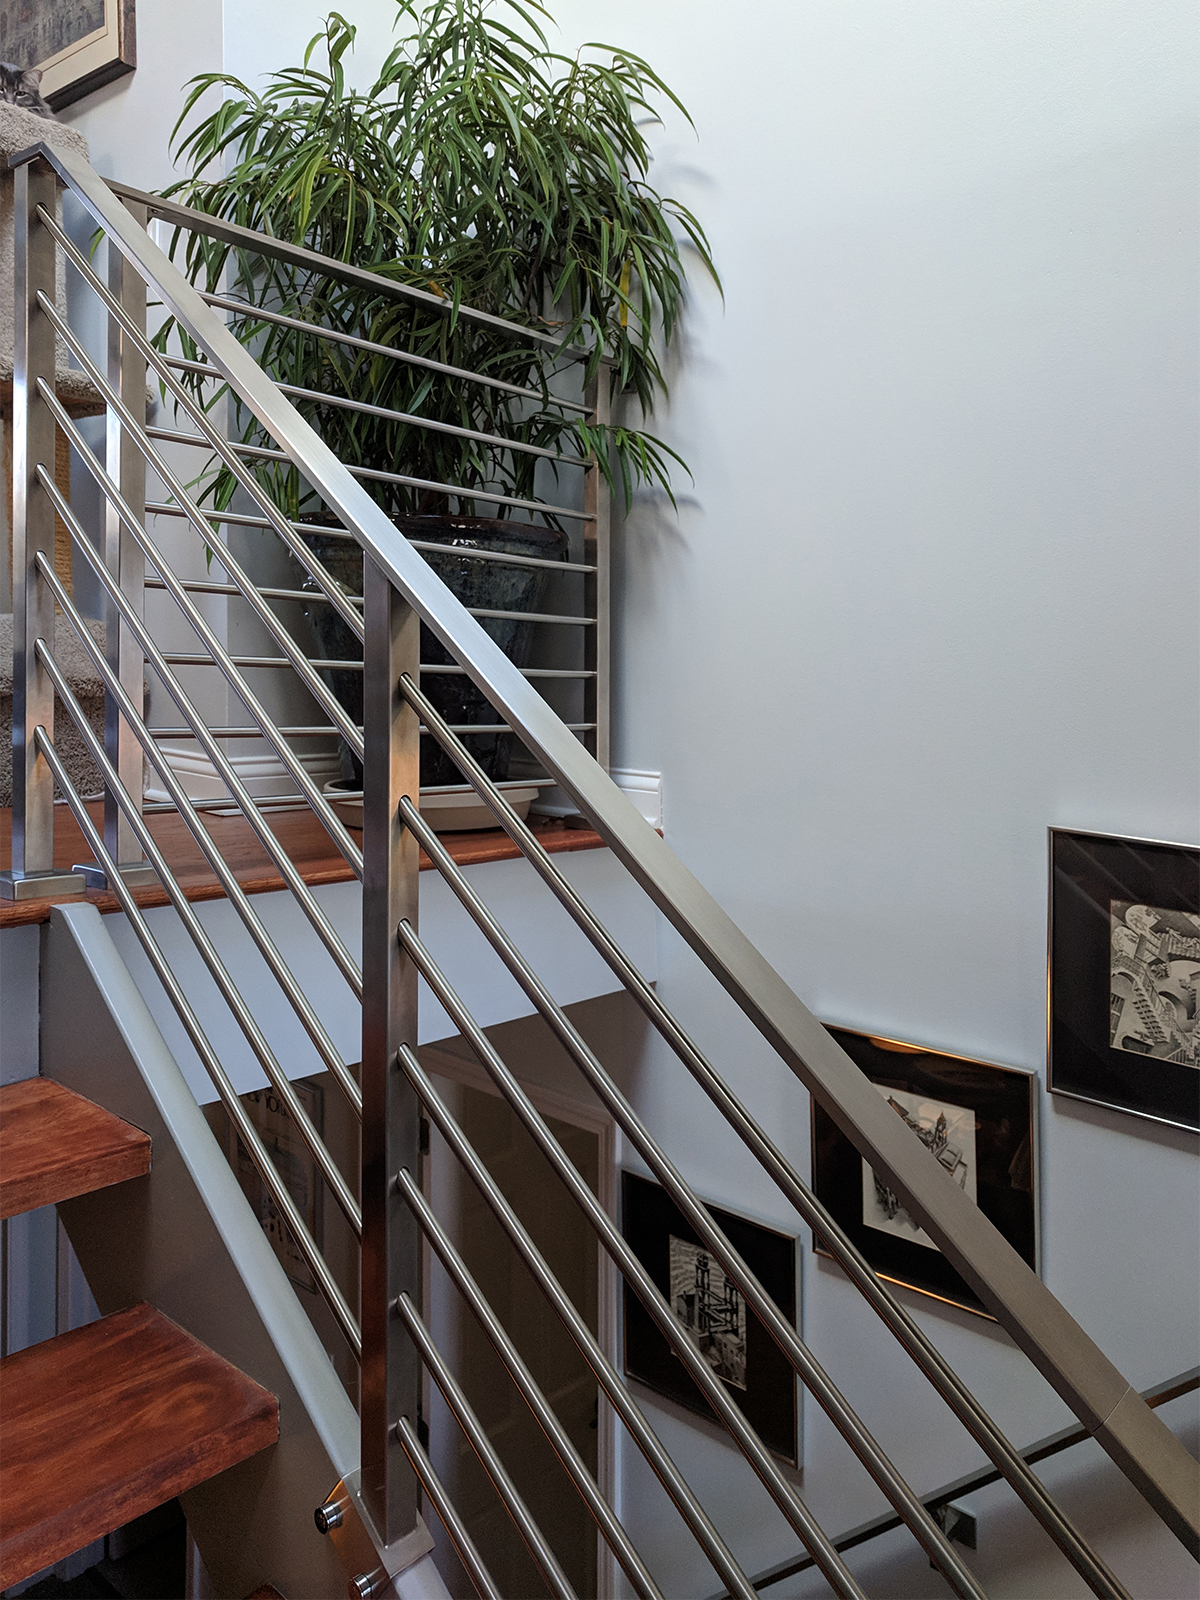
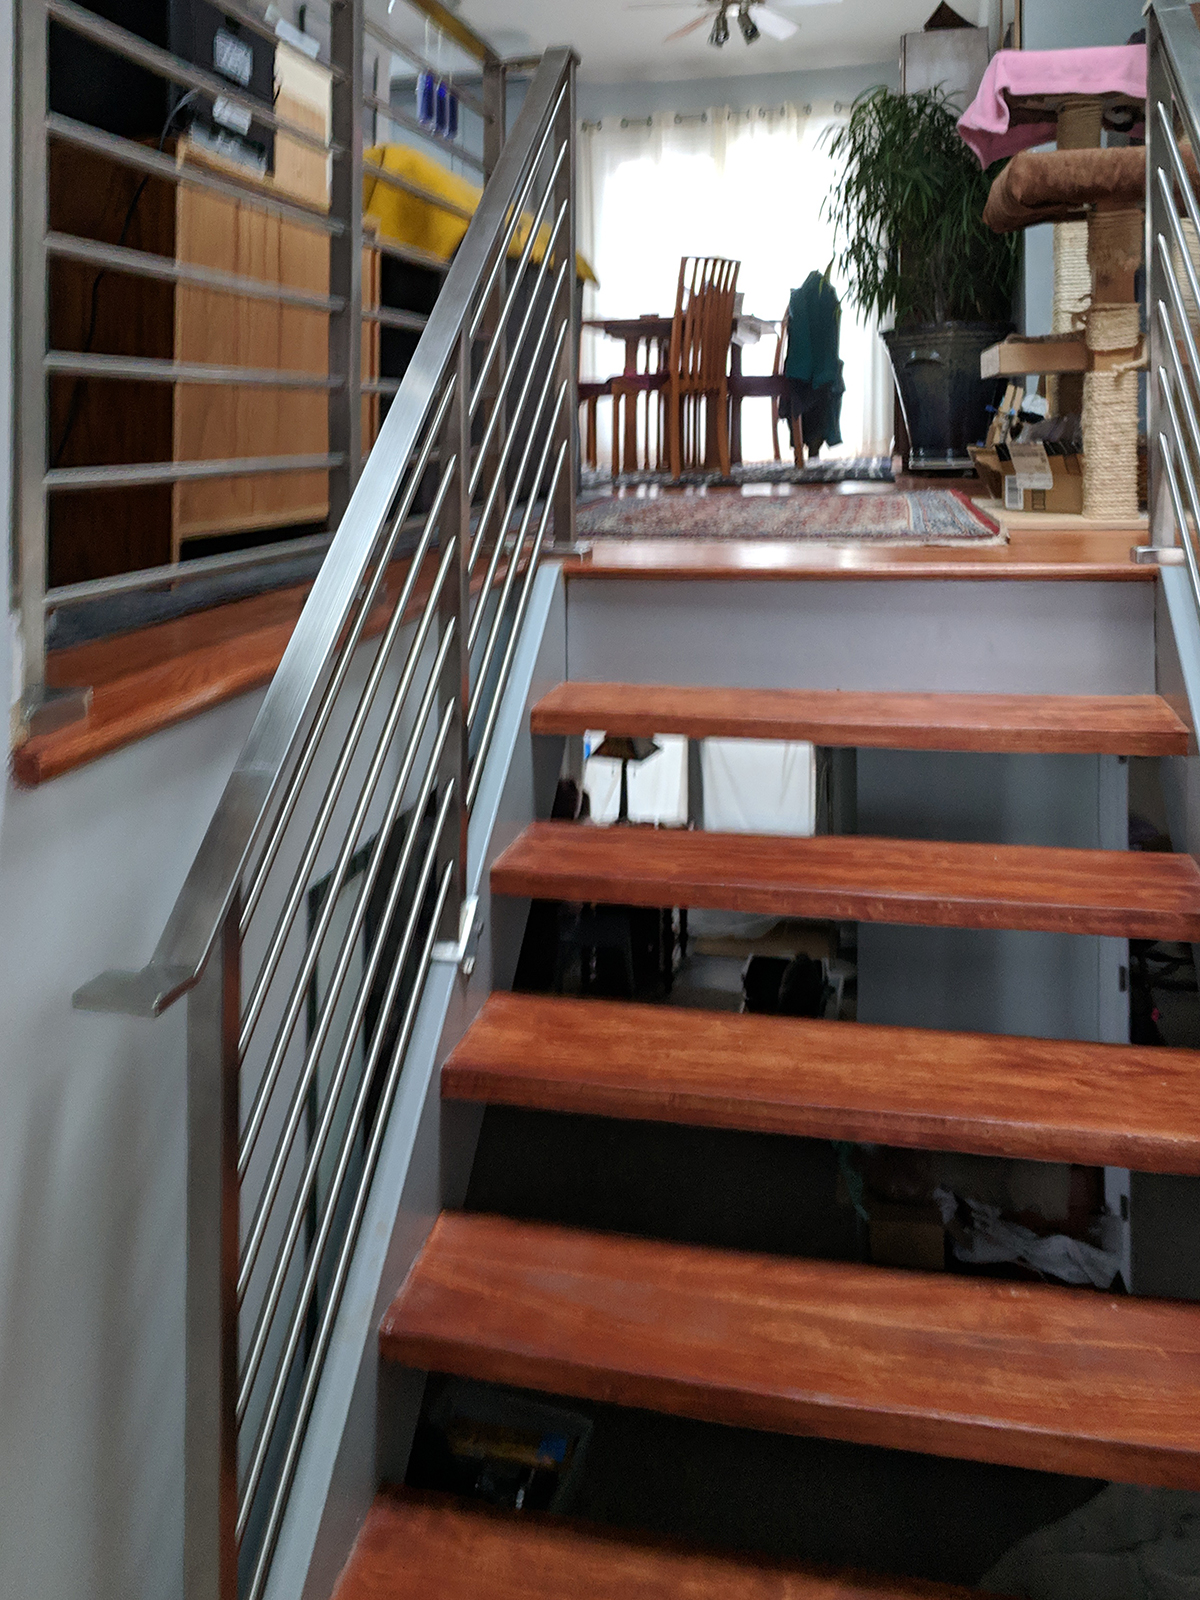
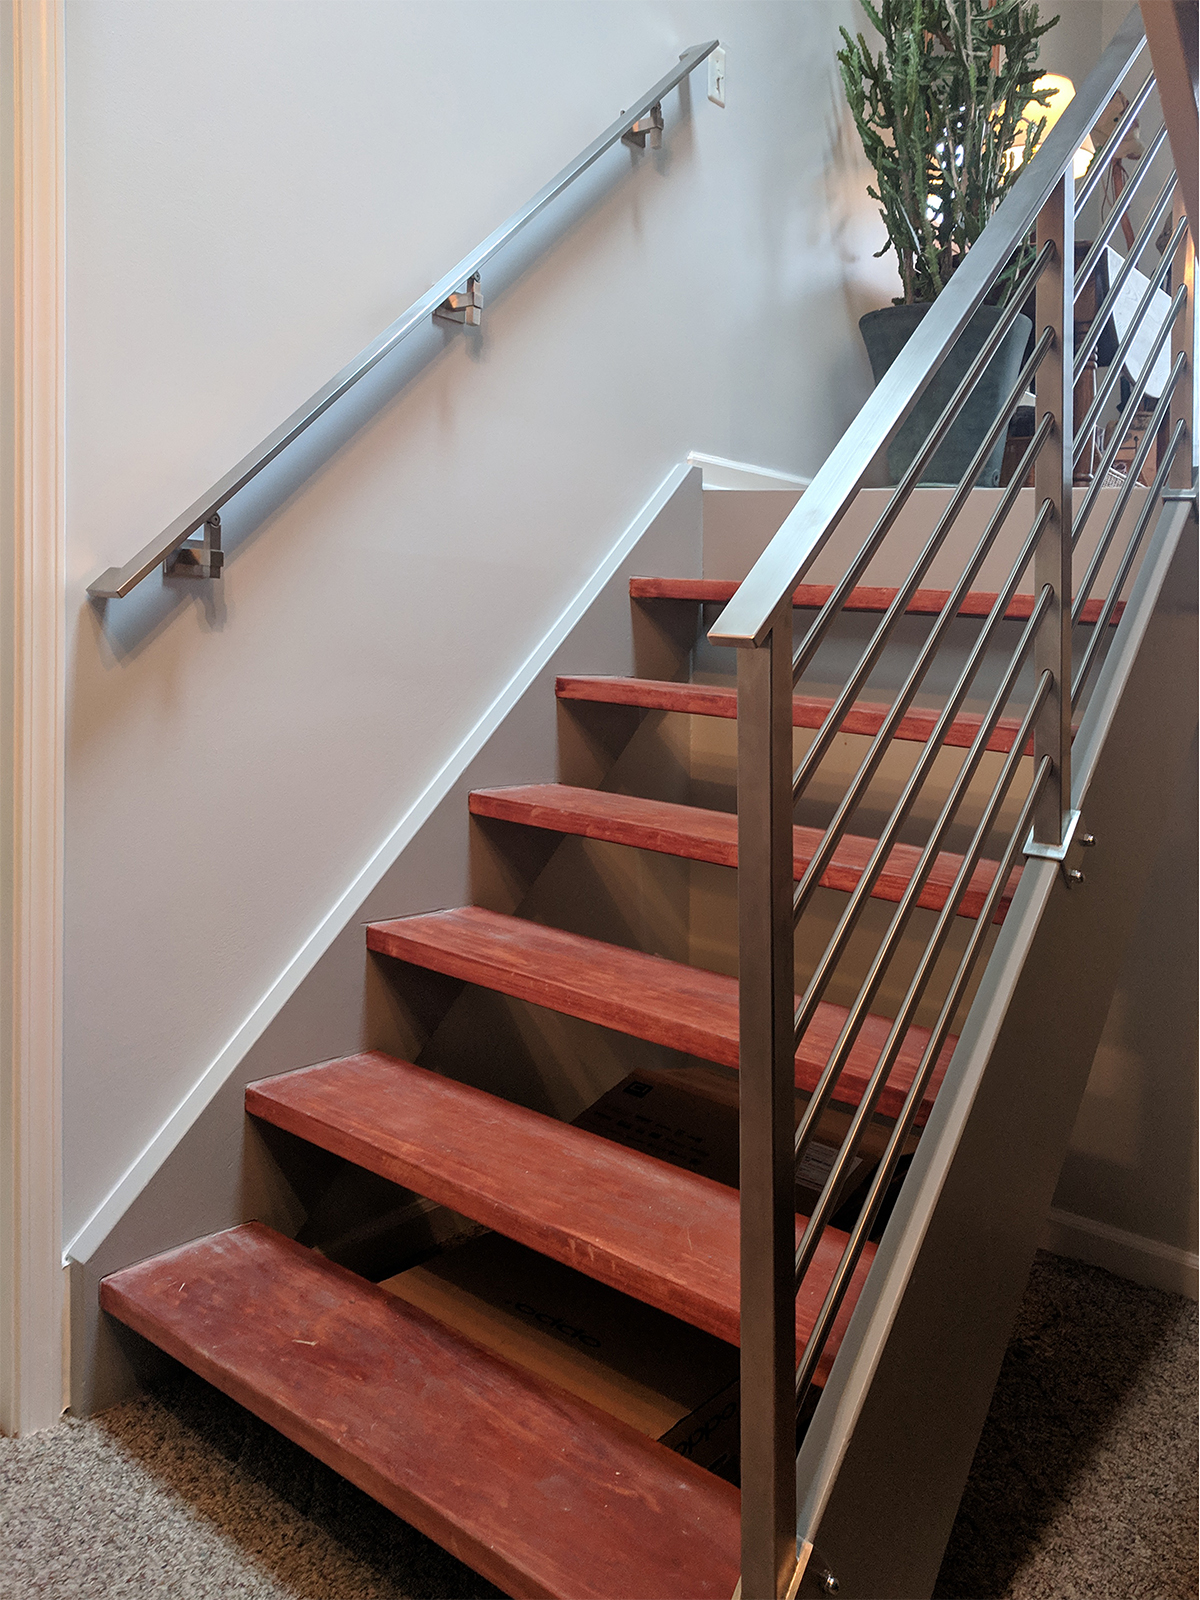
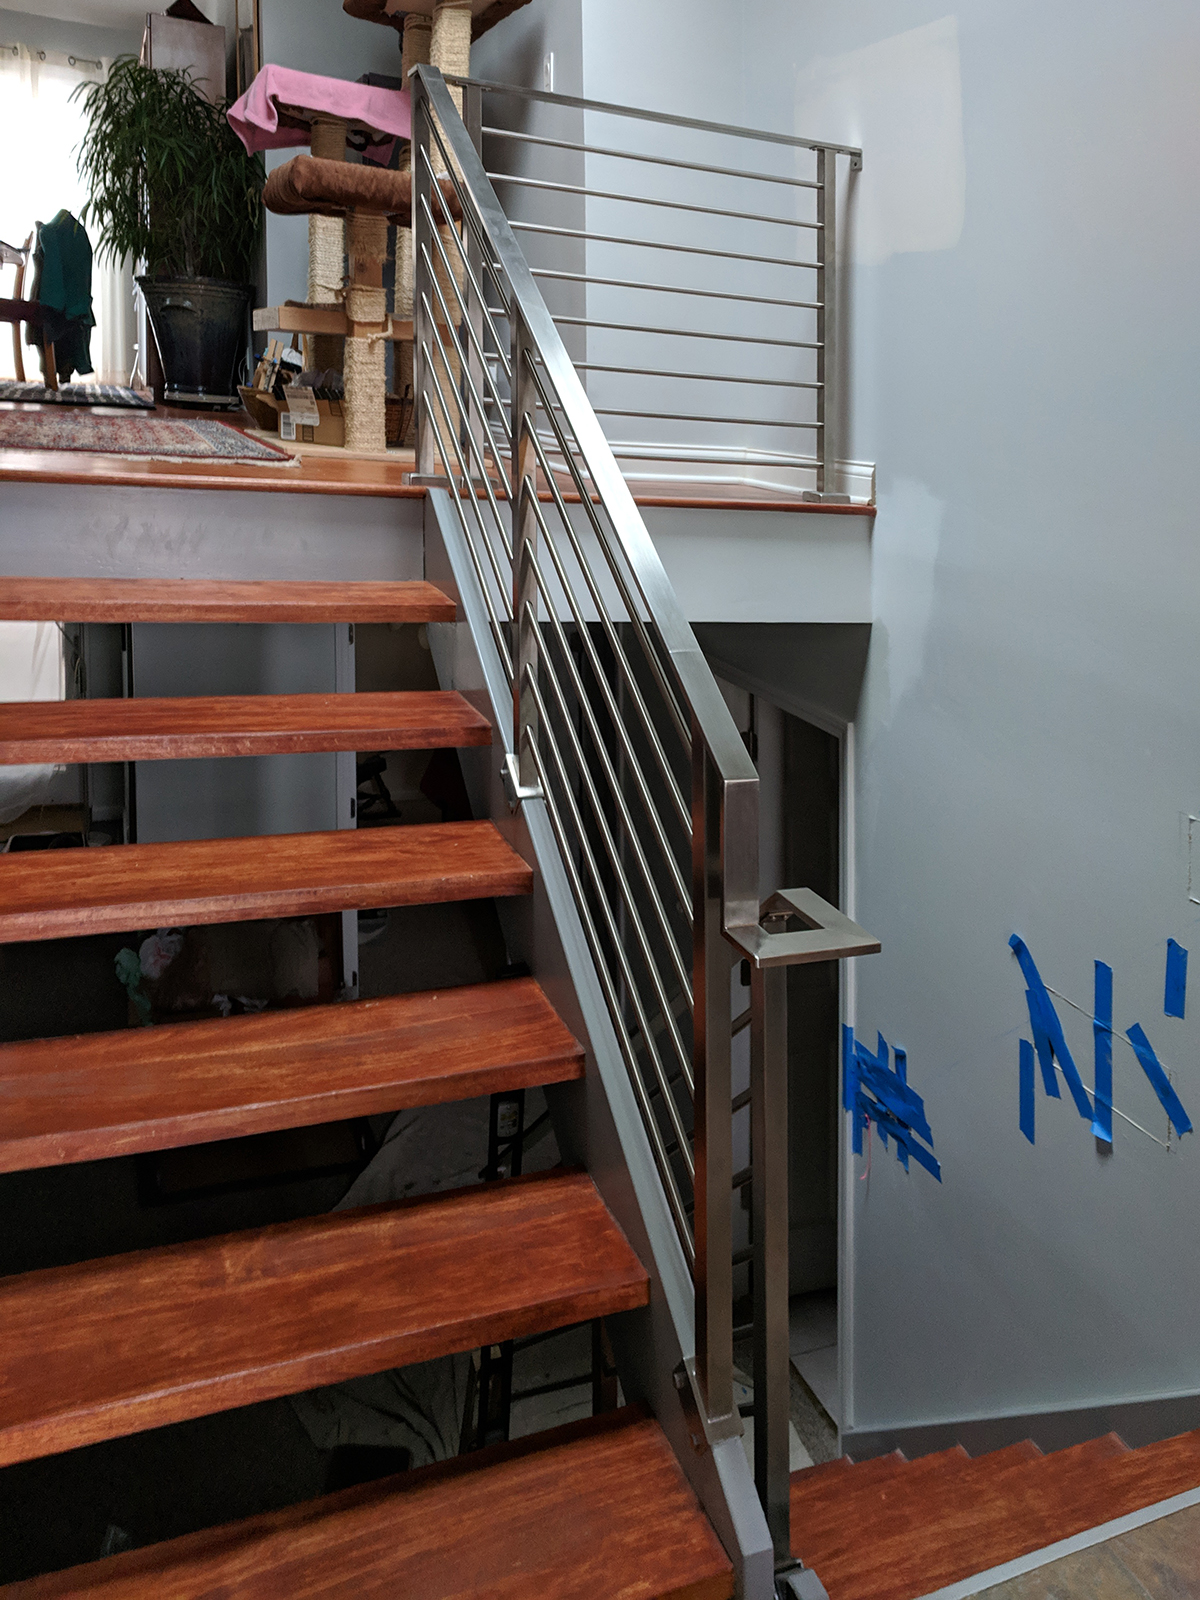
AGS recently received a great in-depth review, including before and after photos.
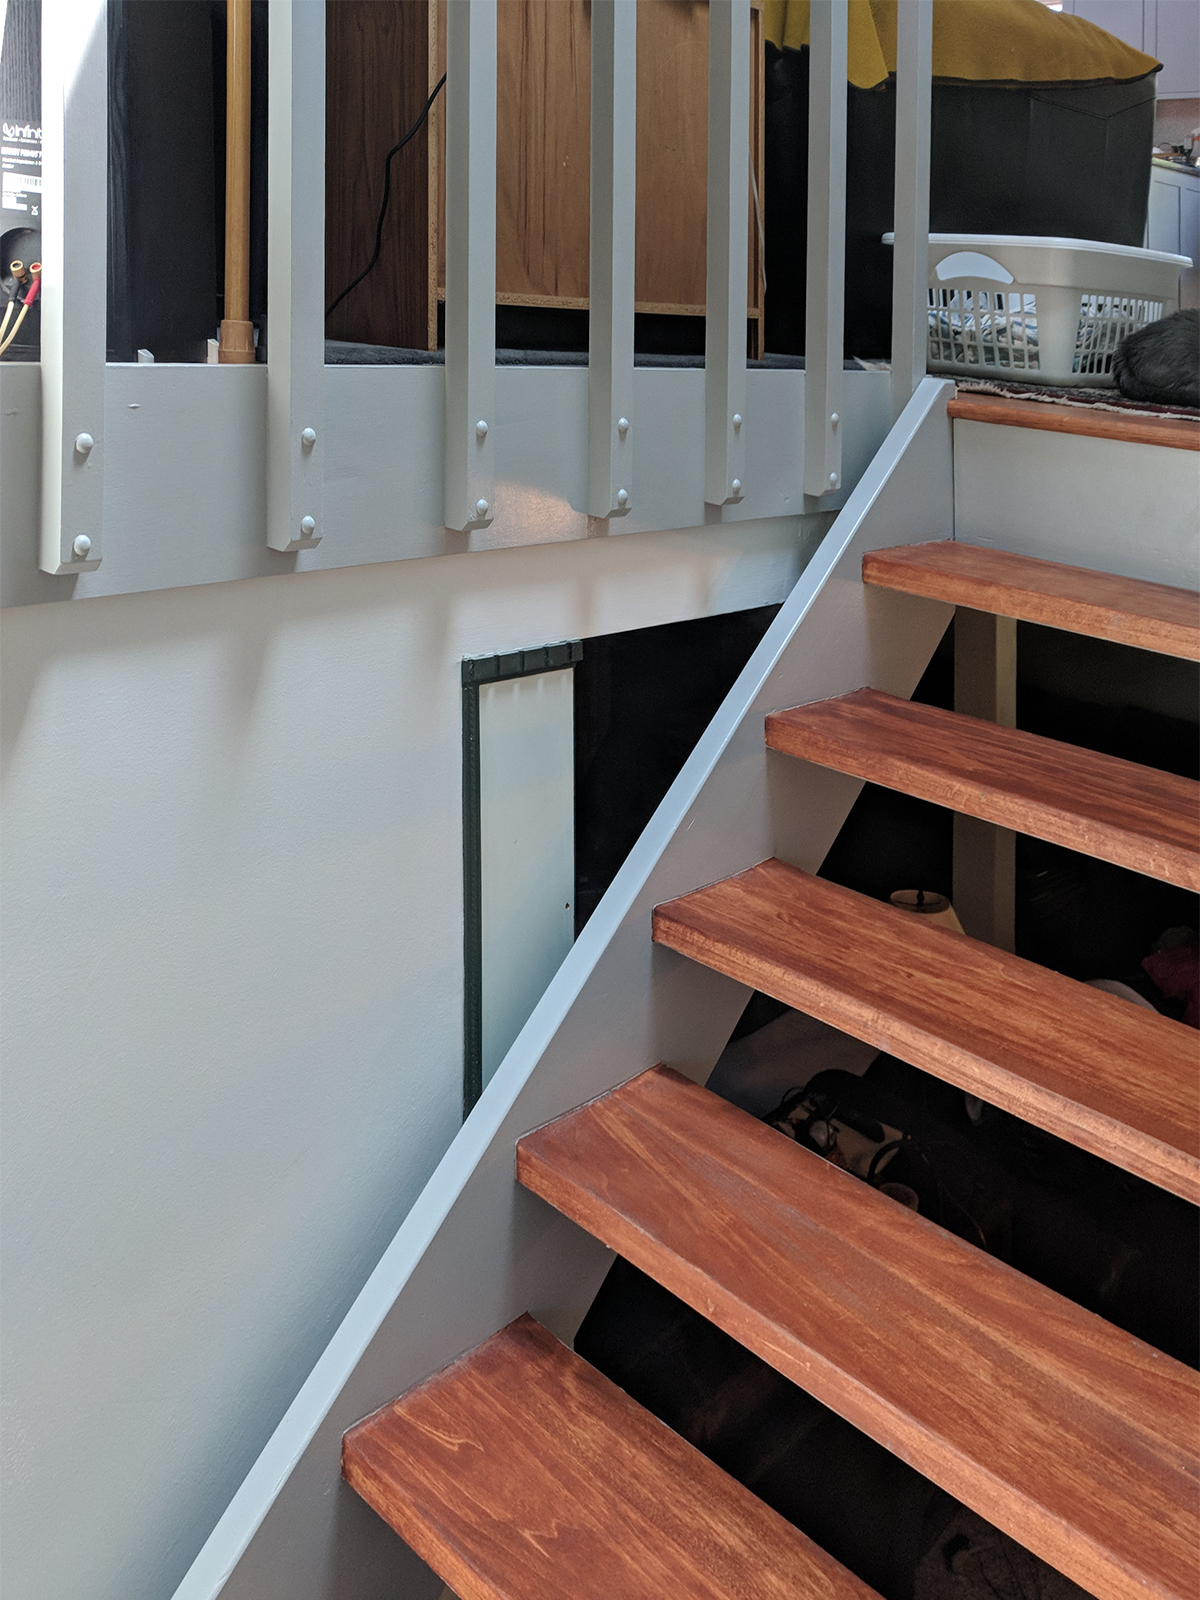
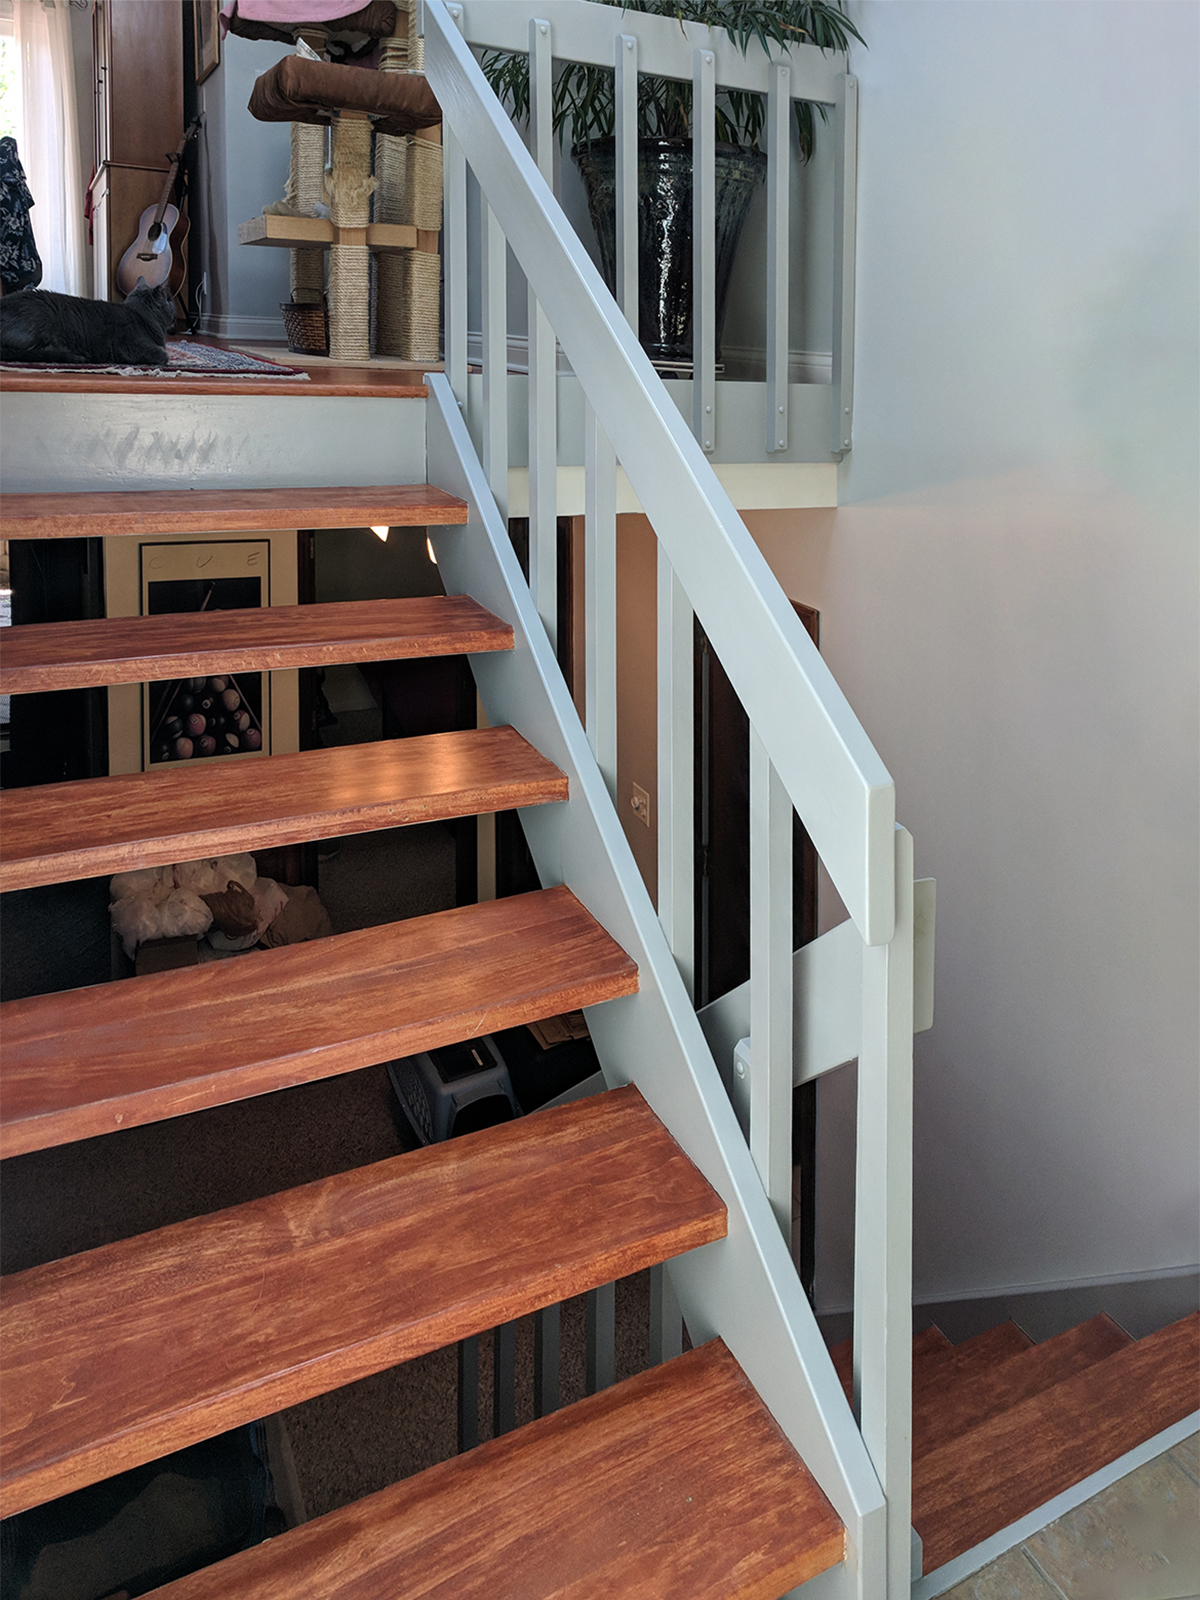
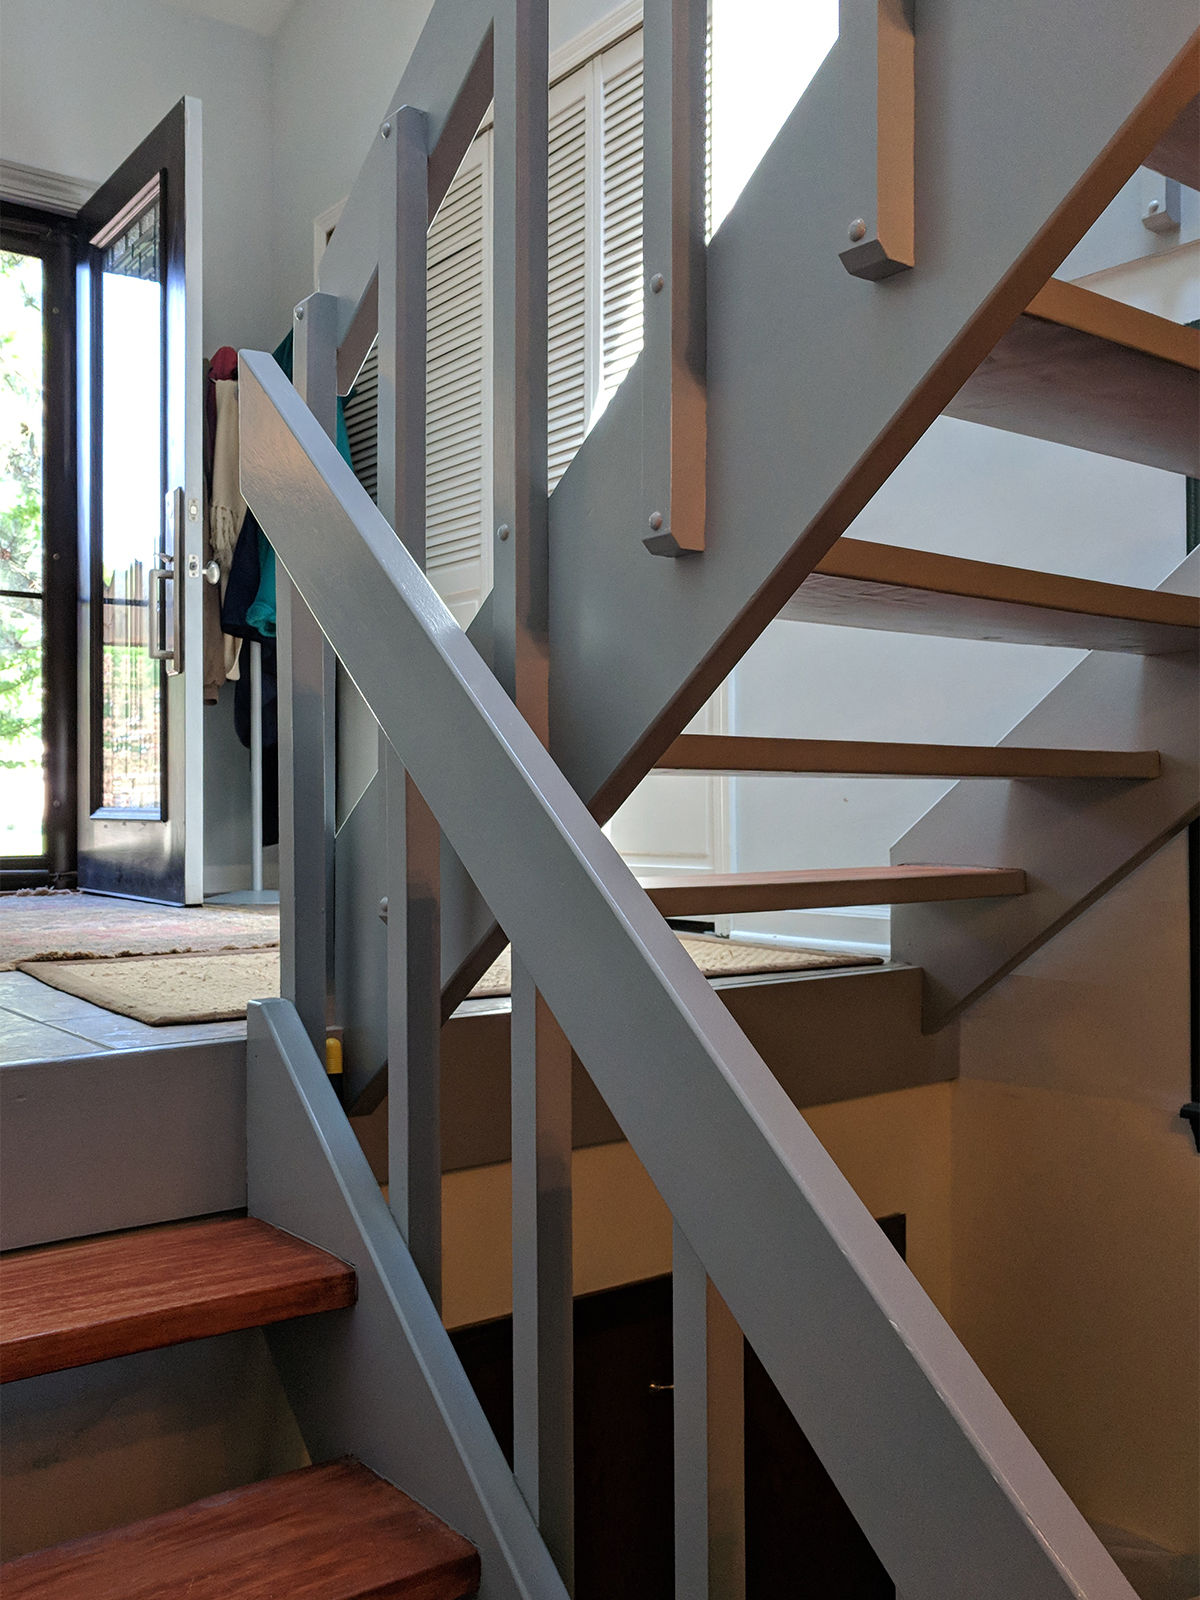
We began researching metal railing systems in January of 2018 by Internet searching, primarily looking for photos to determine an acceptable style. Our existing “system” was bulky wood. Not attractive or to current code (see photos). Our goal was to replace what we had with a clean stainless steel system, either fabricated to our specifications, or a pre-fabricated system to suit our needs. At that time we were unaware of the universe of products available. We, likely, would have settled on a designer, fabricator and installer combination. If such existed.
Review of AGS Stainless Installation with Images
As it turned out, finding the proper individuals in our area (far suburban Chicago) was difficult and ultimately, not workable. So back to the Internet for more detailed searching. At some point, we found AGS Stainless. Their website is well designed and has extensive downloads available. It seems I downloaded almost everything available before settling on the style we eventually installed. I might comment here that I tend to research projects to death before proceeding. This project was no different. We wanted handrails on both sides of the stairs and a seamless transition from the lower level to entry level to main floor for the handrails, and a final transition to a pair of guardrails on the main level (see before and after photos).
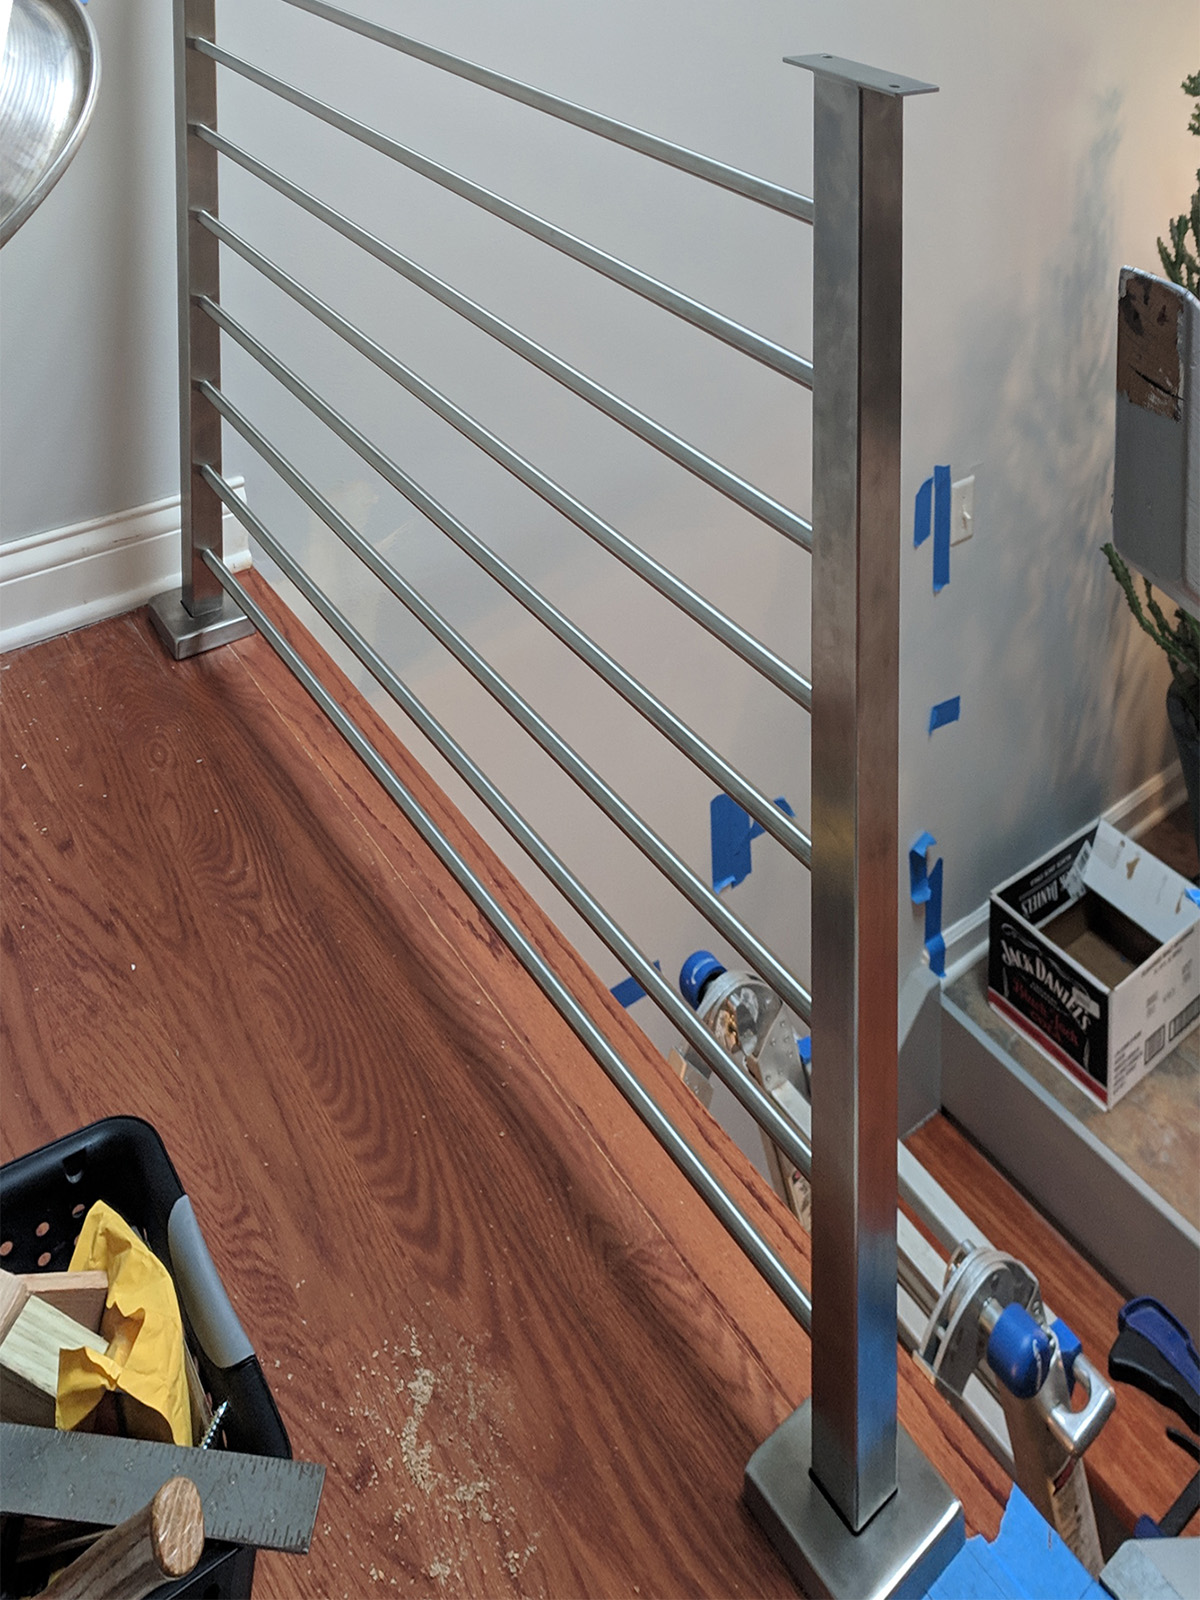
So, here we are in early June, 2018 finally (my bad) making contact with AGS. Our initial contact was with Bryan our estimator. At that time we had many more questions than answers regarding the type of system, the components of the system and the specifics of fabrication and installation. Bryan (with great patience) described how everything worked and explained with great detail how to proceed from the beginning. Our situation was somewhat unique in that we wanted handrails on both sides (realizing that Code requires only one side). Further, the baluster (post) attachments were somewhat problematic for us as, initially, we did not want floor mounted posts for the guardrails. Bryan was rather patient with us as we (internally) went back and forth on the proper mounting for our situation. As it turned out we needed to hire a contractor to install additional blocking for the floor (top) mounted posts for the guardrail. We opted for a saddle mount for the handrail posts due to dimension constraints and to meet Code requirements.
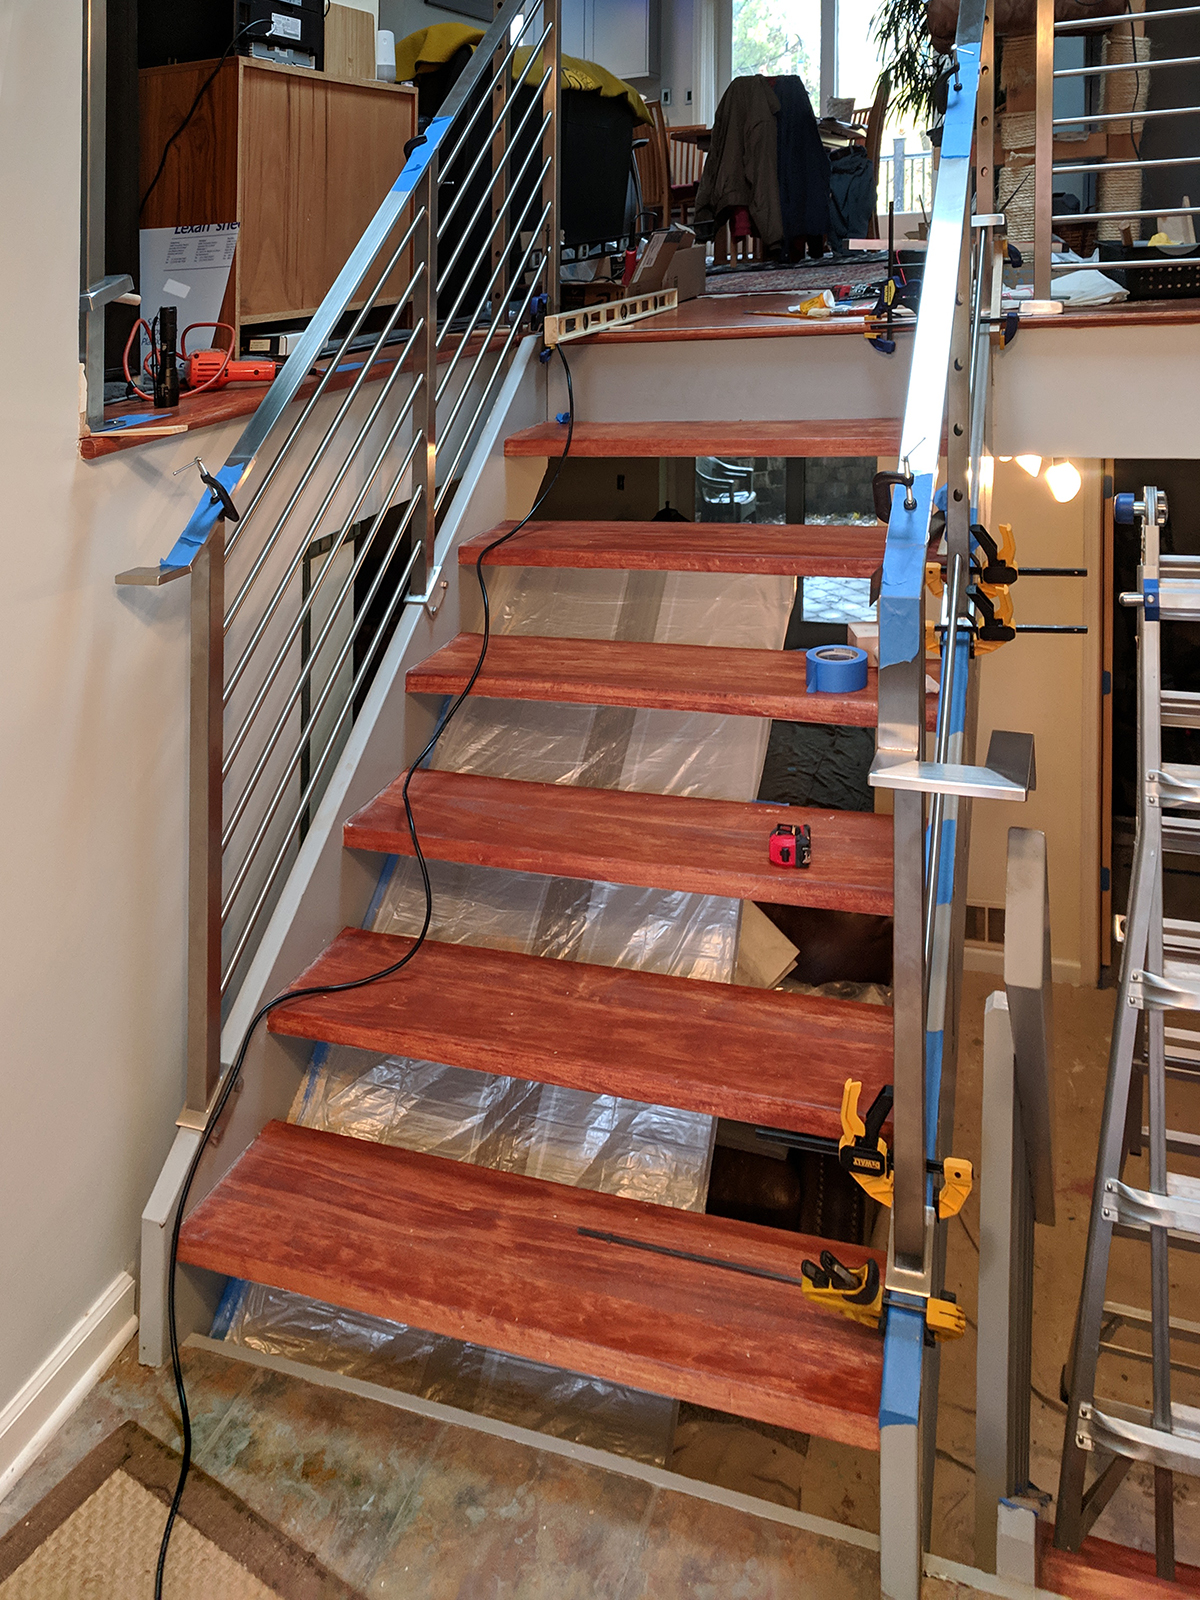
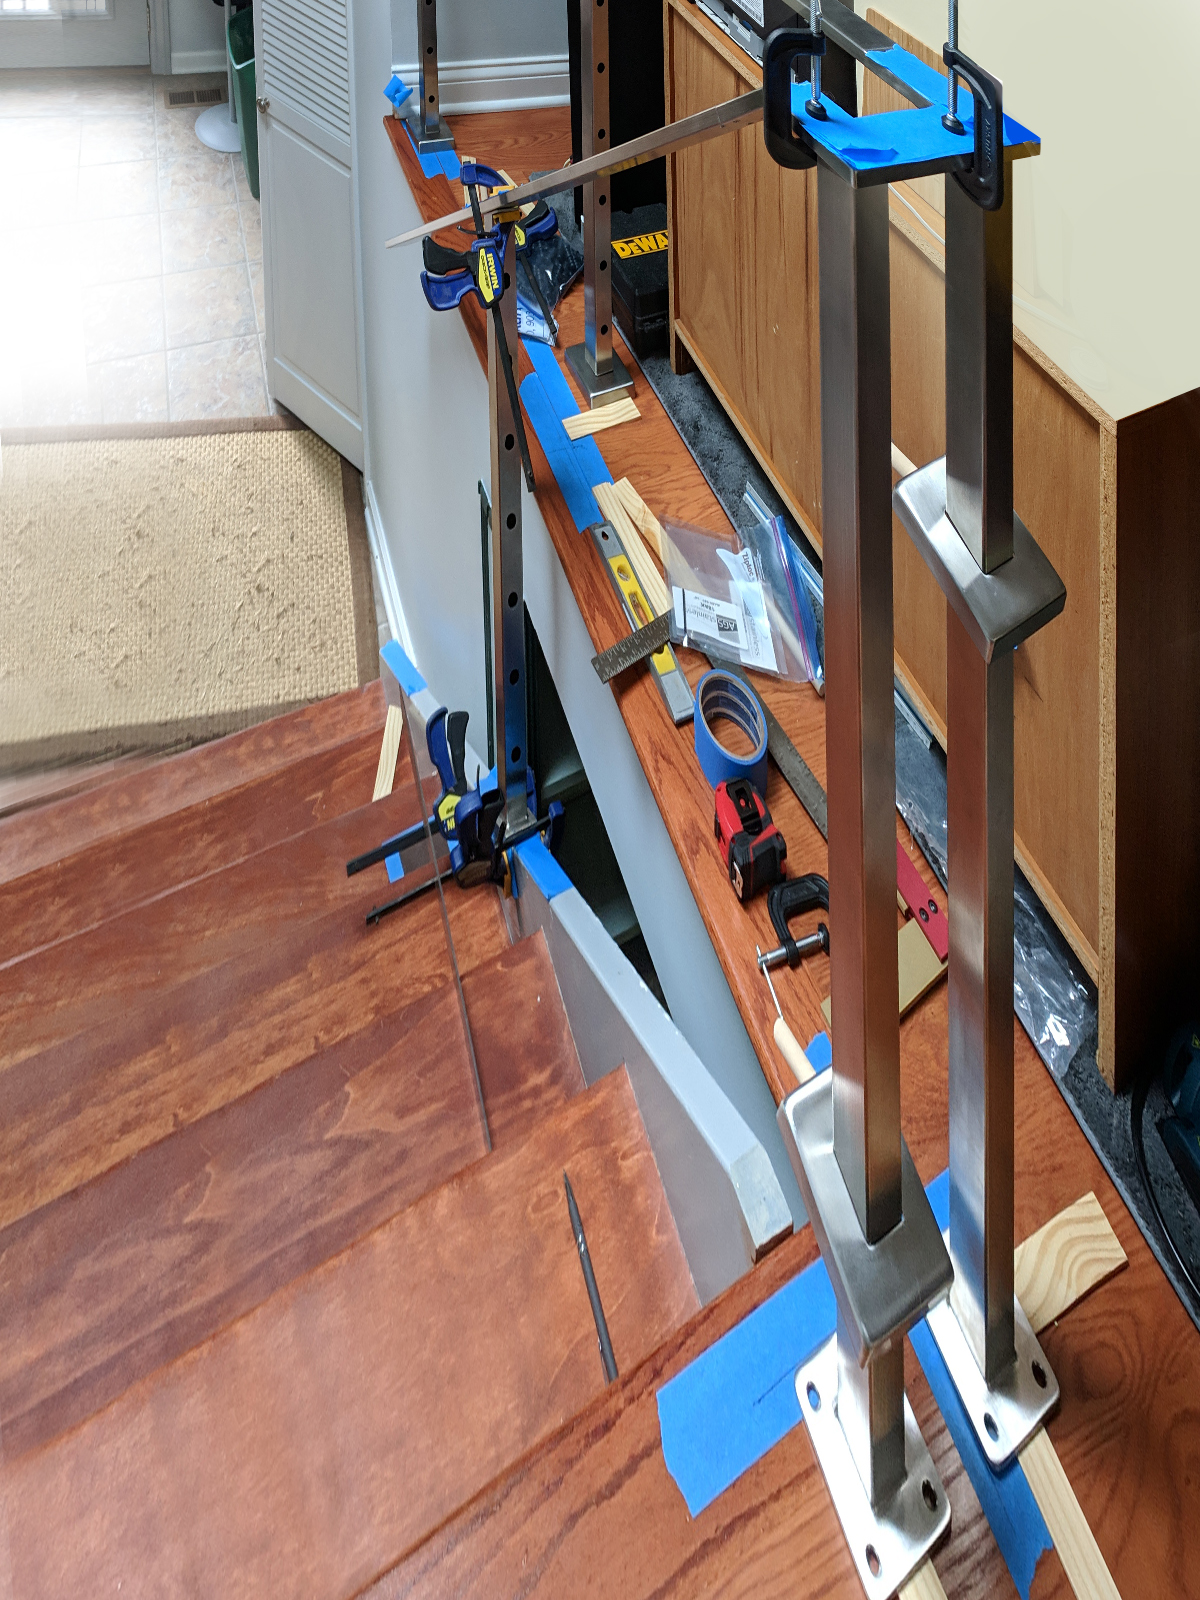
Now came the “fun” part — measuring. AGS does an excellent job in both the layout of the required measurements and the training of those employees who must try to answer, on occasion, really dumb questions on my part, or just plain obvious answers to marginally intelligent questions. A word of advice — take as much time as needed to do these measurements, and ask any and all questions of the folks at AGS. It is critically important to measure as best you can, and to the accuracy AGS requires. Their fabricating tolerances are quite close, and as a proper result, the pieces and parts will go together better than the vintage Erector set (see work-in-progress and finished photos). The measurement phase is more than the old “measure twice, cut once” fatherly advice.
We took a great deal of time to measure and return to AGS the “measurement” drawings. At this point Chris, our designer, became our main contact. To repeat, an excellent person to deal with. As a side note, I took it upon myself to design my railing system using TurboCad. This was done as a check on the drawings Chris did. Not to challenge his work, but to verify it with a CAD system I have extensively used in the past. We spent a great deal of time with certain Page 1 of 2 “problems” which resulted from some incorrect measurements (on my part), and others which arose when the design showed some pieces parts would not properly “fit together”, or would result in a Code violation. Chris was both patient and helpful as we sorted out these issues. The timing of the back and forth was not critical to us, so I cannot comment on a project with a time is of the essence constraint. Final approval from us sent the project to the fabrication step.
Luke, was our facilitator and did just that. We had no issues with delivery times. The packaging, part identification, and installation drawings for assembly were clear, concise and easy to understand. All individual packages were easy to move around and moderately easy to unpack (this was a GOOD thing). No photos for this part.
Now, the challenge — installation. (see work-in-progress photos). To be perfectly honest, if you trust an installer, hire one. Originally, we had contracted for installation, but decided not to proceed after the effort put into measurements and realizing how the fitting must be done to ensure a good, clean fit. This is not a criticism of AGS, it is the reality that alignment and right angles and attachment of saddle mounted posts must be done carefully. The AGS components do fit together nicely, if you do your part as you start installation. In the end, we trusted me, myself and I, to do the installation. (see work-in-process photos). It took me quite a bit of time to finish this project. We needed a contractor to add sub-floor blocking and our painter to repair removed dry-wall for the lower level handrail (blocking between studs) and for the guardrail end blocking. AGS personnel were very helpful as we proceeded with the installation as some issues came up, but were handled quickly.
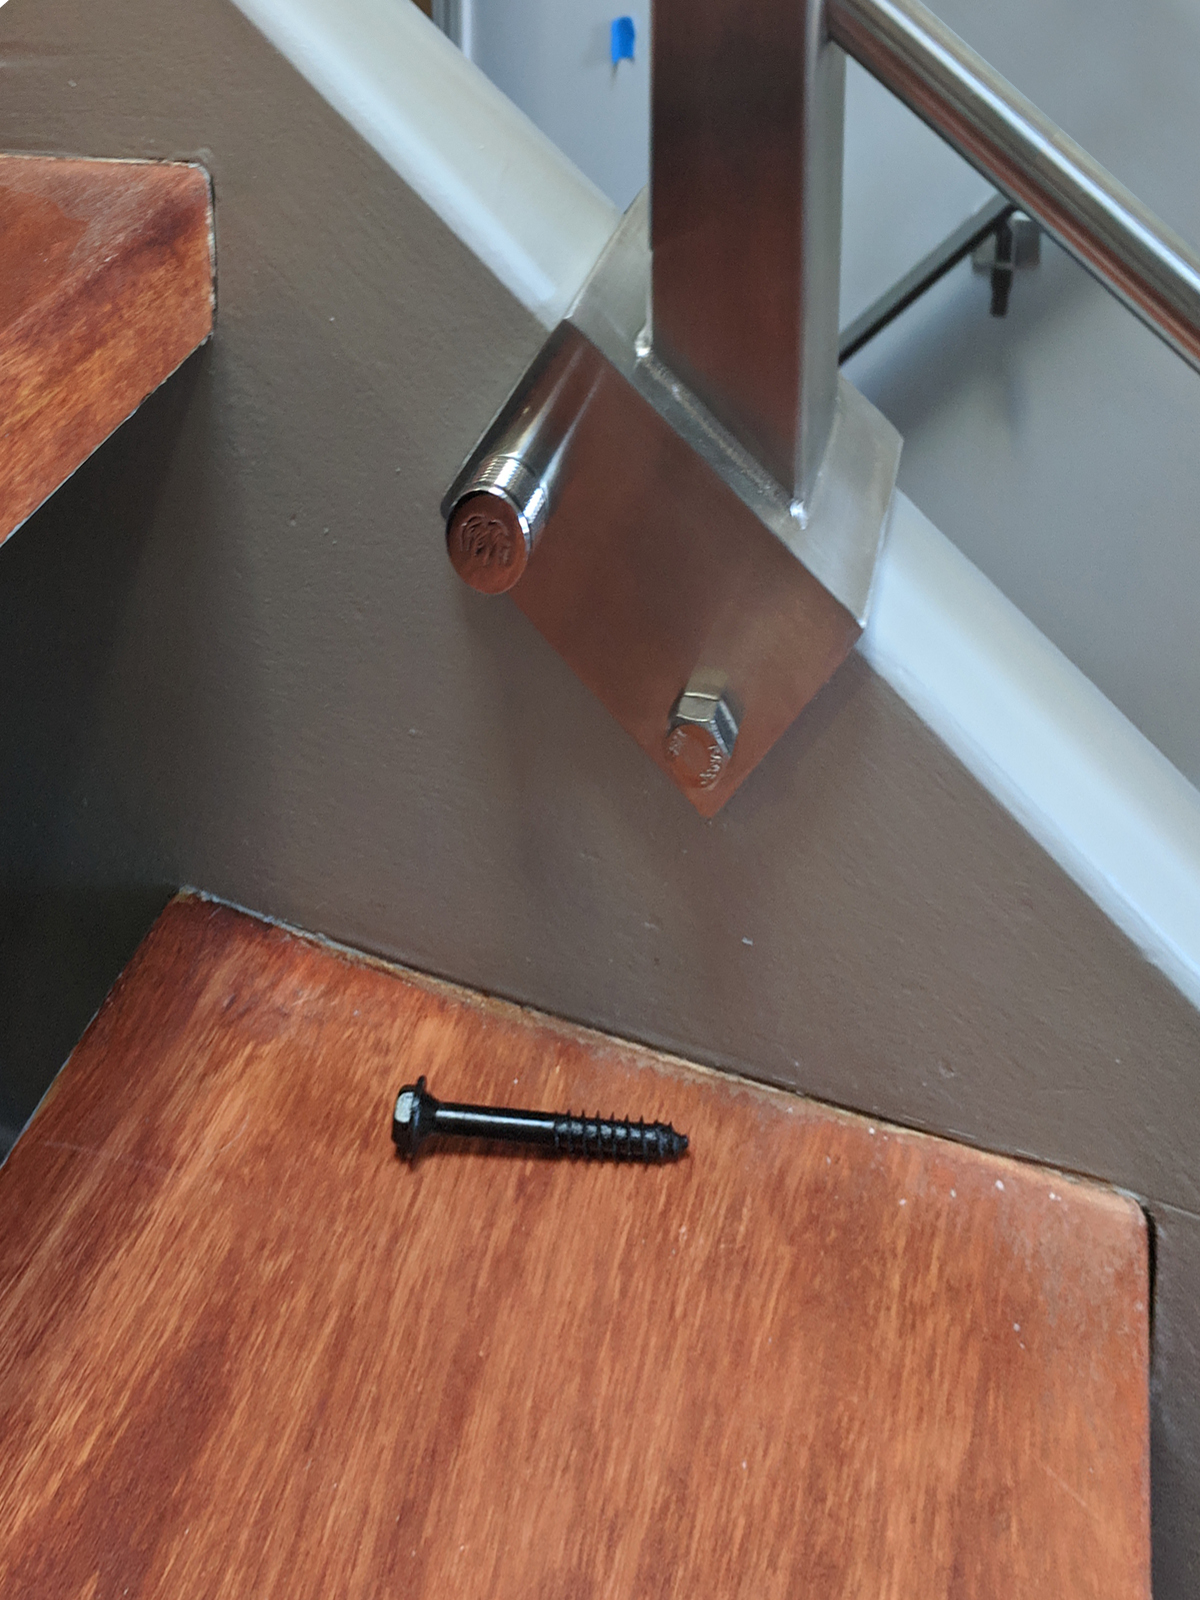
The finished product. A very clean, and attractive look for us. You cannot go wrong using all stainless steel components to produce a cohesive “system”. We would recommend, if you use saddle mounts, to use a variant of acorn nuts, and oddly, bolt caps (see photo of “eagle” bolt caps). We are very pleased with the end result and would highly recommend AGS Stainless for your next project.
Best Regards, Dennis M.


