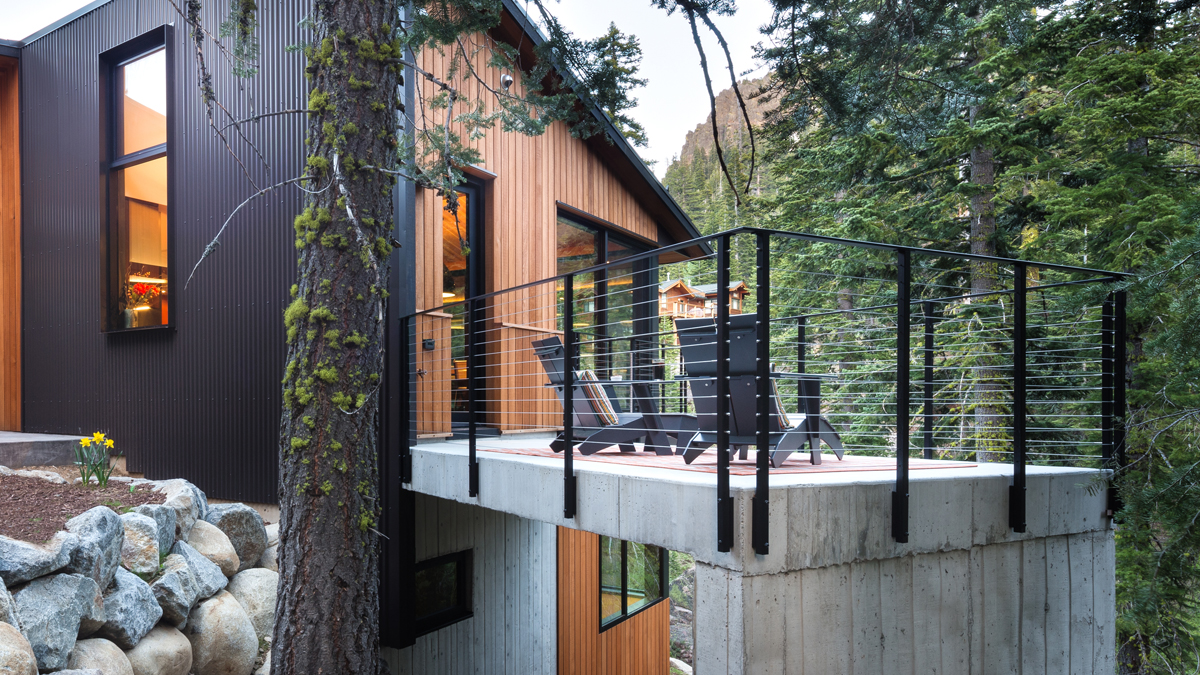


Installing Cascadia
Comprehensive resources to guide you through every step of your Cascadia Kit installation. From planning to final inspection, we provide everything you need to ensure a professional result.
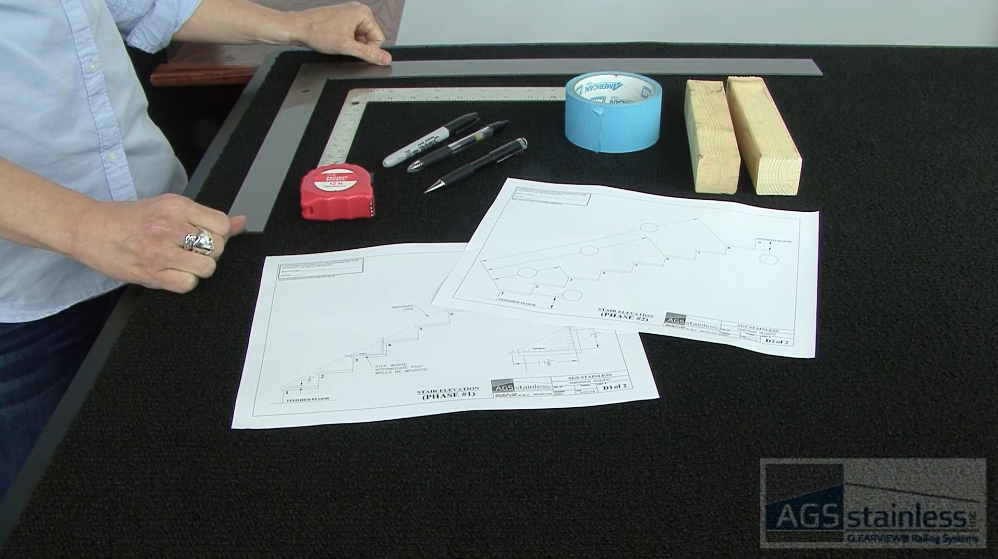
Gather Your Tools
- Safety Glasses
- Tape Measure
- Painter’s Tape
- Power/Battery Drill
- Drill Bits (3/16″ X 12″)
- Level
- Socket Wrench
- 1/2” Wrench or Socket
- 3/16” Allen Socket
- Hex Wrench (5/32”)
- Hack saw/Sawzall with bi-metal blade (18 or 20 teeth/inch)
- 36” Straight Edge
- Rubber Mallet 22
- Non-abrasive Cleaning Cloth
- Stainless Steel Specific or Household Cleaner
Do not use ammonia or chloride-based products. - Non-abrasive Cleaning Cloth
Before You Begin
- Check local building codes and obtain permits if required.
- Ensure that your structure can hold posts.
Use a level surface or shims. Posts should be mounted on solid wood “blocking” under deck structures. - Unpack each box and inventory contents.
Contact AGS immediately if quantities do not match packing list. - Plan for a good 48-hour window of good weather.
Moisture can interfere with bonding agents. - Read the entire Cascadia Installation Guide.
- Practice safety first!
Always wear safety glasses and gloves. Work with a partner if possible, especially for longer runs.
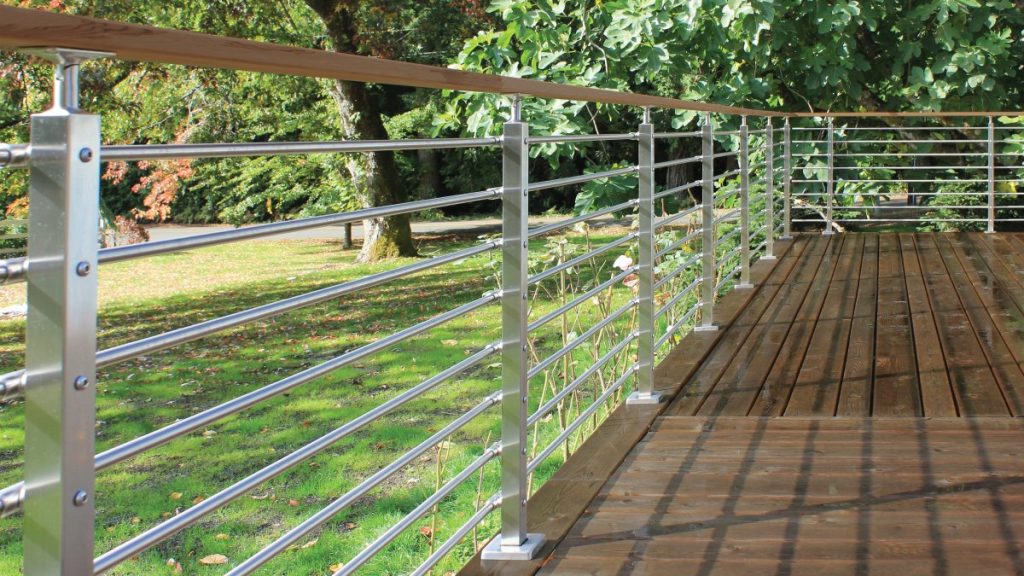
Step-by-Step Guide
Achieve a professional fit and finish with our Cascadia resources. Download the full manual and follow our step-by-step video for a visual walkthrough.
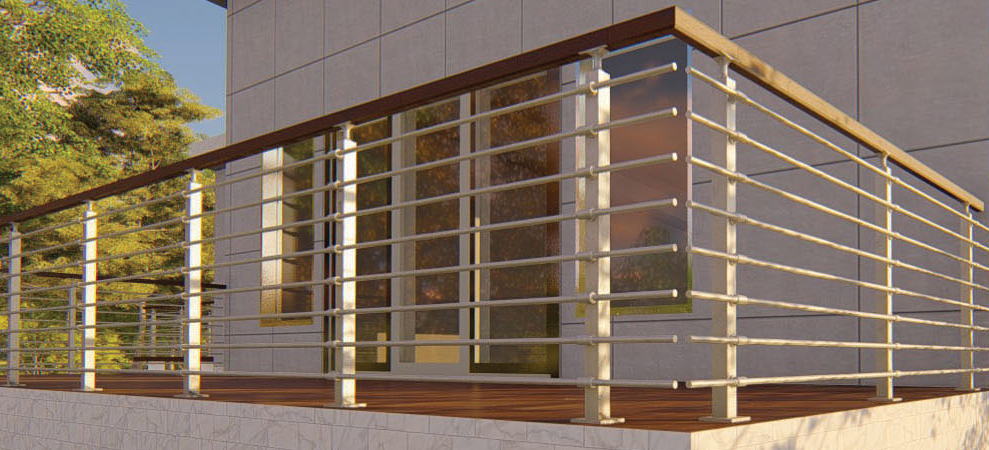
- Layout & drill: Position posts according to guidelines (maximum 3′-6″ spacing) and drill holes for mounting.
- Mount posts: Secure the posts using lag screws, ensuring they are perfectly plumb and properly aligned with the deck edge.
- Prep covers: Slide base plate covers over the tops of the posts once they are secured and the stem reducers are vertical.
- Cut infill: Measure and cut the infill bars so that splices occur at a post and free ends do not exceed 9″.
- Install fittings: Slide infill fittings onto the bars and secure them to the posts using cone-tipped screws.
- Align & tighten: Align the infill bars using a straight edge and tighten all screws to dimple the bars for a secure hold.
- Cap & clean: Insert end caps with adhesive, then wipe down the entire system with a non-abrasive stainless steel cleaner.