


Installing Rainier
Comprehensive resources to guide you through every step of your Rainier Cable installation. From planning to final inspection, we provide everything you need to ensure a professional result.
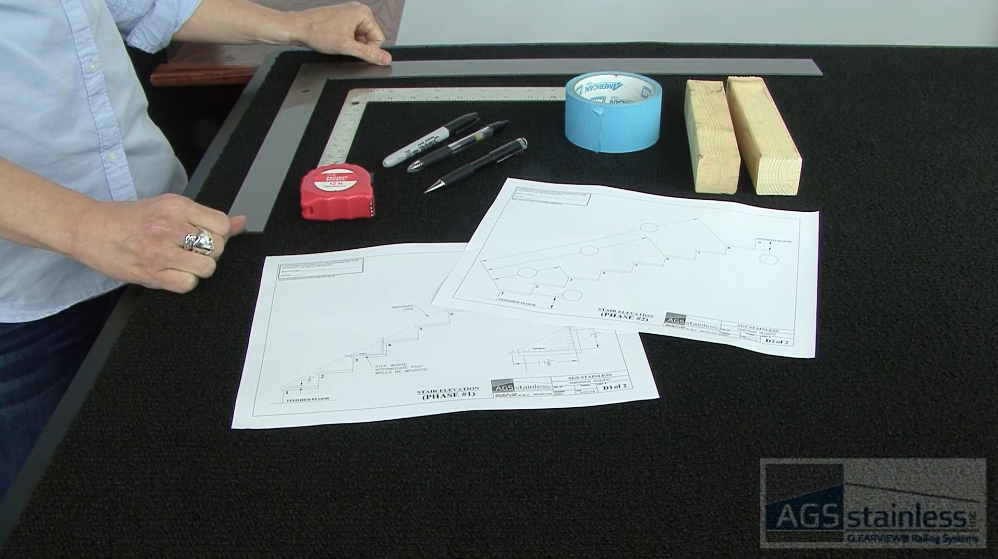
Gather Your Tools
- Safety Glasses
- Tape Measure
- Masking Tape
- Power Drill
- (2) Drill Bits (1/8″ & 3/16″)
- Level (24”)
- (2) Sockets (1/2″ & 9/16″)
- (2) Wrenches (7/16”)
- Small Vice-Grips
- Hex Wrench (5/32”)
- Open End Wrench (3/8″)
- C-Clamp & Stubby Phillips Screwdriver
(For Flat Top Rail) - Acetone, Non-abrasive Cleaning Cloth and Caulking Gun (For Round Top Rail)

Before You Begin
- Check local building codes and obtain permits if required.
- Ensure that your structure can hold posts.
Use a level surface or shims. Posts should be mounted on solid wood “blocking” under deck structures. - Unpack each box and inventory contents.
Contact AGS immediately if quantities do not match packing list. - Plan for a good 48-hour window of good weather.
Moisture can interfere with bonding agents. - Read the entire Rainier Installation Guide.
- Practice safety first!
Always wear safety glasses and gloves when cutting cable or drilling. Work with a partner if possible, especially for longer runs.
Step-by-Step Guide
Achieve a professional fit and finish with our Rainier resources. Download the full manual and follow our step-by-step video for a visual walkthrough.
- Dry-fit and inventory: Open all boxes and inventory contents. Lay out posts and top rails according to plan. Match etched ID numbers on posts and rails to their corresponding locations on CAD drawings.
- Secure, plumb and level: Ensure posts are properly oriented to the mounting surface and secured using provided lag screws. Use shims under the base plate to facilitate plumbing if the mounting surface is uneven.
- Secure top rail first: Completely install and secure the top rail to all posts before beginning any work on the cable infill. This provides the structural integrity necessary to resist cable tensioning.
- Prepare cable runs: Thread the bare end of the cable through all intermediate posts in the designated section. For stairs, you must run the cable through the intermediate posts before crimping fittings onto the ends.
- Install terminal fittings: Prepare and attach your specific tensioning hardware—including Standard Crimp, Barrel Nut, or Swageless fittings (using Lag or through-post mounts as specified)—at the start and end posts. Ensure cables are cut to the exact length required for your specific fitting type.
- Tension from middle-out: Start tensioning with the middle row of cable, then move up one row and down two rows in a staggered sequence until all rows are taut. Avoid over-tensioning to prevent bending the end posts.
- Clean and protect: Use a non-abrasive cloth and acetone to remove any excess bonding agent or debris. Apply stainless steel cleaner for a final finish to protect the system.