

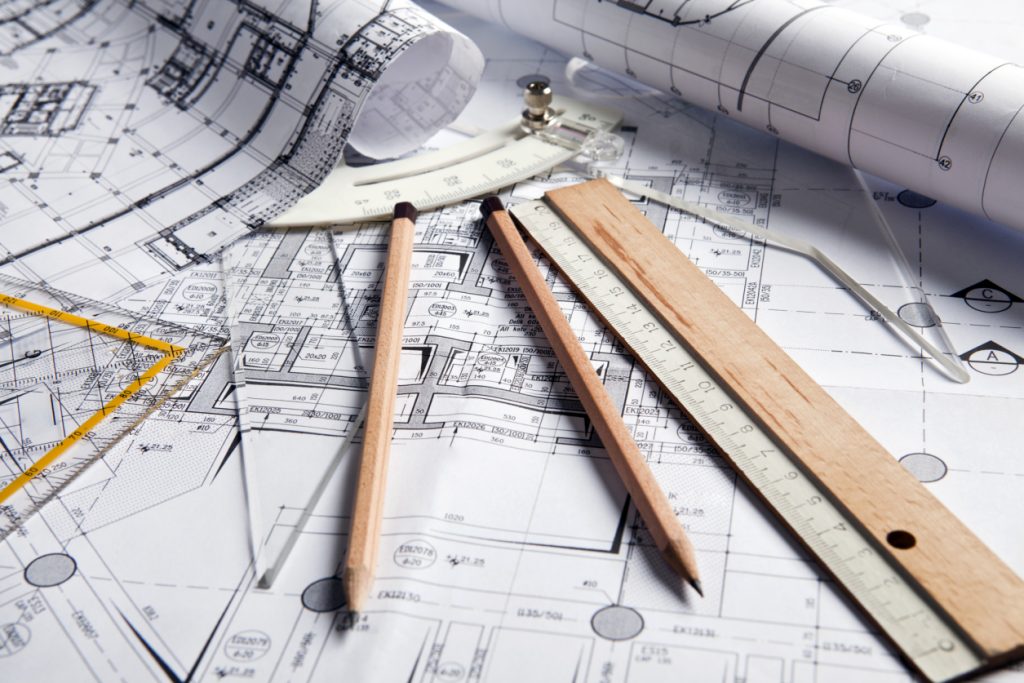
Measure and Draw for Your Project
A simple, clear sketch is the first step to a perfect fit. Use this guide to capture your measurements. Our team will take care of the rest.
The Measurement Toolkit
- 25’ Steel Tape Measure
Use a wide-blade version that stays rigid over long distances. Accurate linear measurements are the foundation of your custom AGS CAD design. - Laser Distance Measurer (Optional)
Excellent for capturing long, straight runs across a deck solo. It provides the “fraction-of-an-inch” accuracy that stainless steel systems require. - Digital Angle Finder
Essential for stairs and non-90° corners. This is much more precise than a standard protractor and ensures your AGS posts are manufactured to the exact pitch of your staircase. - Torpedo Level & 4’ Level
Crucial for checking if your floor or deck is sloped. Even a slight pitch can affect the final height of your custom-cut posts. - Chalk Line or Painter’s Tape
Use this to “layout” the railing on the floor before you measure. It helps you visualize where the AGS posts will sit and ensures your measurements represent the actual footprint. - Smartphone or Digital Camera
Beyond measurements, “context photos” of your project site allow our designers to spot obstacles—like downspouts or trim—that a 2D sketch might miss.
Step-by-Step Guide
Whether you are a homeowner with a pencil and paper or a Pro looking for technical specs, these steps help you ensure a perfect fit.
- Determine Railing Height.
Measure from the finished surface of the deck to the top of the rail. Pro-Note: Standard residential is 36″, while commercial/high-rise typically requires 42″. - Measure Total Run Length. Measure linear distance along the edge from corner-to-corner.
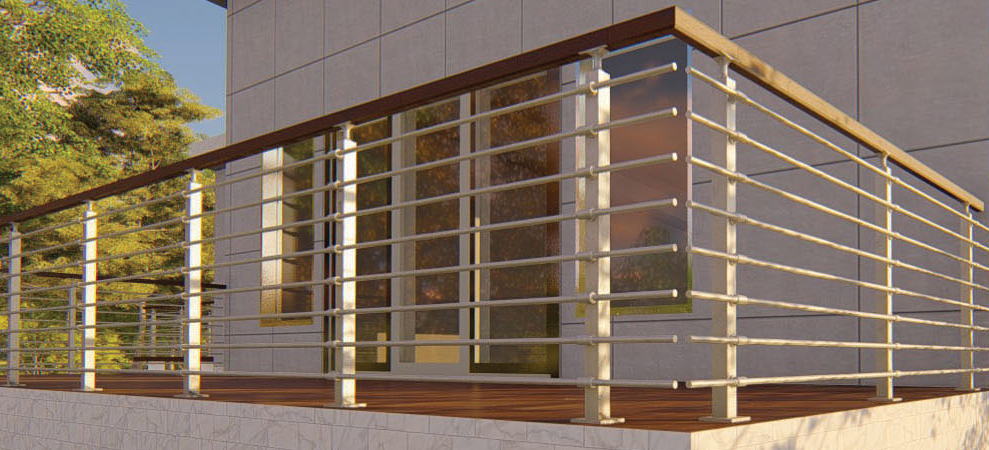
Pro-Note: Measure at the top and bottom of the run to ensure the wall is parallel. - Determine Post Locations. Mark center points for your start, end and corner posts. AGS systems are designed to maximize your view by using as few posts as possible.
Pro-Note: While standard spacing is typically 4′ to 6′, your dedicated AGS designer will determine the exact, code-compliant spacing for your project based on your chosen top rail and mounting surface. - Capture the Stair Geometry. To custom-engineer your railing, our design team requires three specific dimensions:
— Total Rise (vertical height)
— Total Run (horizontal distance)
— Diagonal (nose-to-nose) length
Pro-Note: Providing all three measurements allows our engineers to “triangulate” the exact pitch of your stairs. This ensures the pre-drilled holes in your posts align perfectly with your stair angle, preventing any installation delays. - Check for Overhang. For side mounts, measure the thickness of the rim joist. Pro-Note: Bolts need at least 3″ of solid material to bite into.
- Verify Sphere Spacing. Ensure all gaps stay under 4 inches. Pro-Note: This is the crucial “4-inch sphere rule” found in most building codes.
See a demonstration of a Stair Measurement and Makeover. - Include Site Photos. Always attach photos of the actual site to your drawing. Pro-Note: This helps the fabricator spot obstacles like pipes or uneven masonry that a 2D drawing might miss.