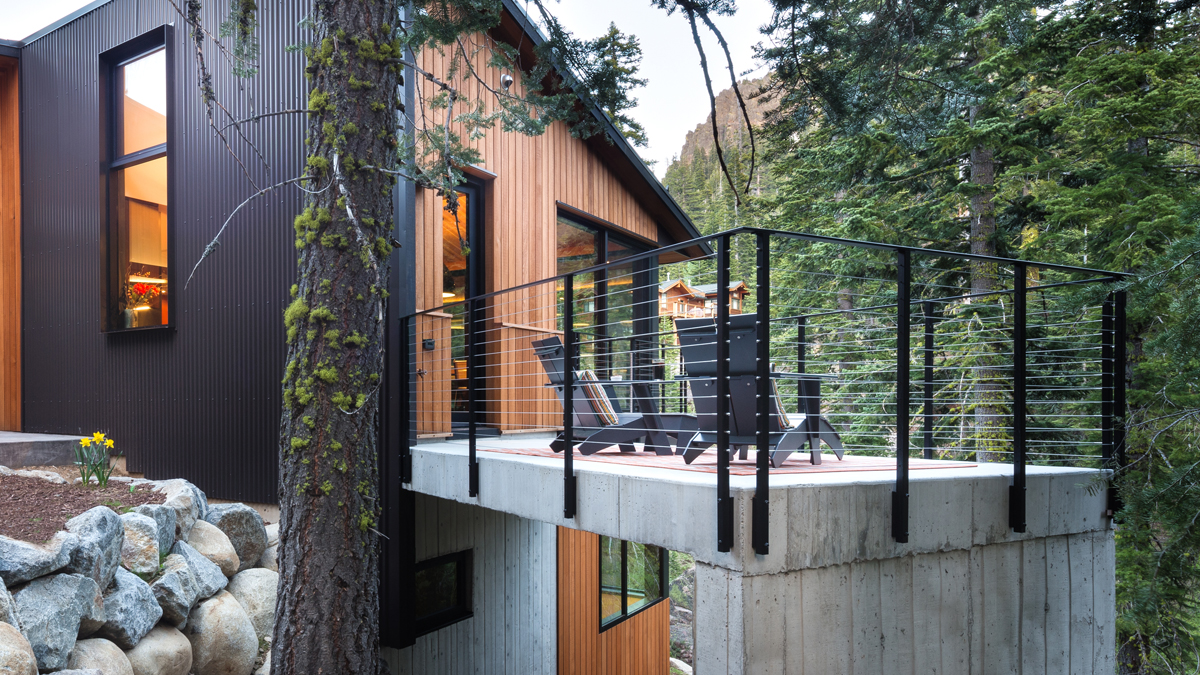

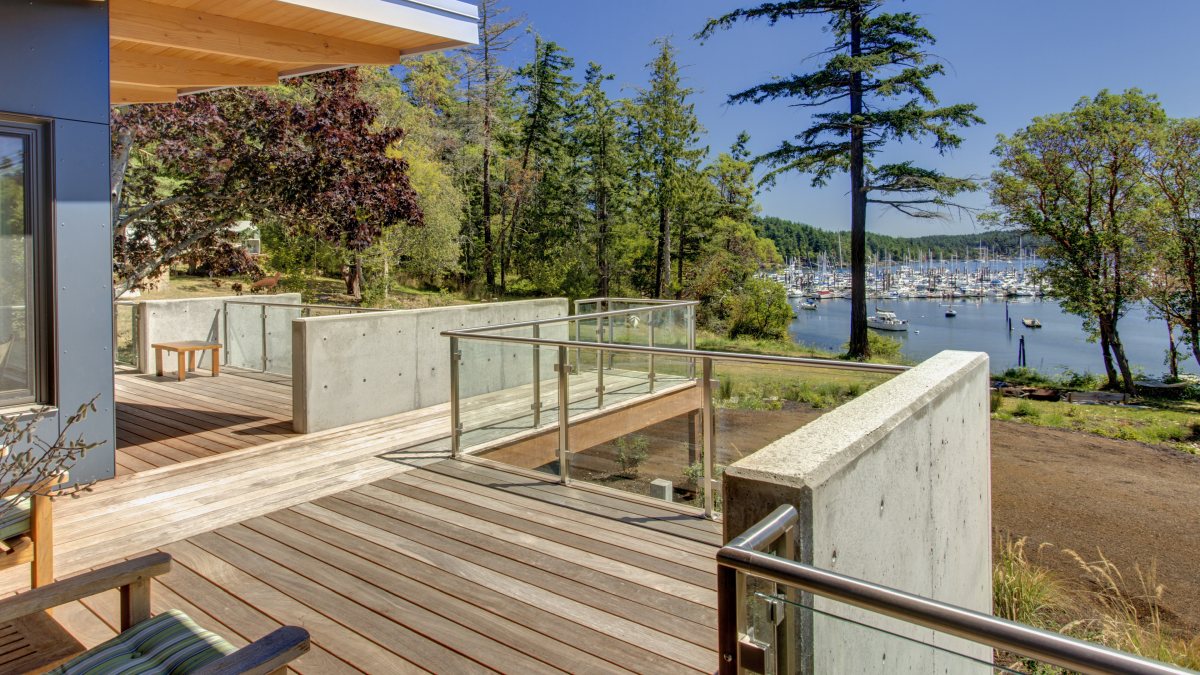

Installing Olympus
Comprehensive resources to guide you through every step of your Olympus Rod installation. From planning to final inspection, we provide everything you need to ensure a professional result.
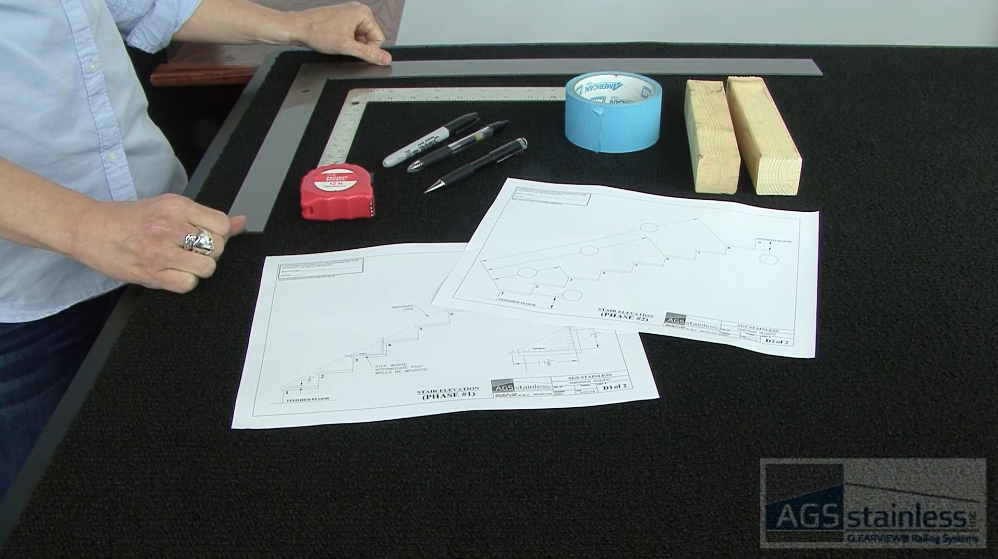
Gather Your Tools
- Safety Glasses
- Tape Measure
- Masking Tape
- Power Drill
- (2) Drill Bits (1/8″ & 3/16″)
- Level (24”)
- (2) Sockets (1/2″ & 9/16″)
- (2) Wrenches (7/16”)
- Small Vice-Grips
- Hex Wrench (5/32”)
- C-Clamp & Stubby Phillips Screwdriver (For Flat Top Rail)
- Acetone, Non-abrasive Cleaning Cloth and Caulking Gun (For Round Top Rail)
- Acetone, Non-abrasive Cleaning Cloth and Caulking Gun (For Round Top Rail)
Before You Begin
- Check local building codes and obtain permits if required.
- Ensure that your structure can hold posts.
Use a level surface or shims. Posts should be mounted on solid wood “blocking” under deck structures. - Unpack each box and inventory contents.
Contact AGS immediately if quantities do not match packing list. - Plan for a good 48-hour window of good weather.
Moisture can interfere with bonding agents. - Read the entire Olympus Installation Guide.
- Practice safety first!
Always wear safety glasses and gloves. Work with a partner if possible, especially for longer runs.
Step-by-Step Guide
Achieve a professional fit and finish with our Olympus resources. Download the full manual and follow our step-by-step video for a visual walkthrough.
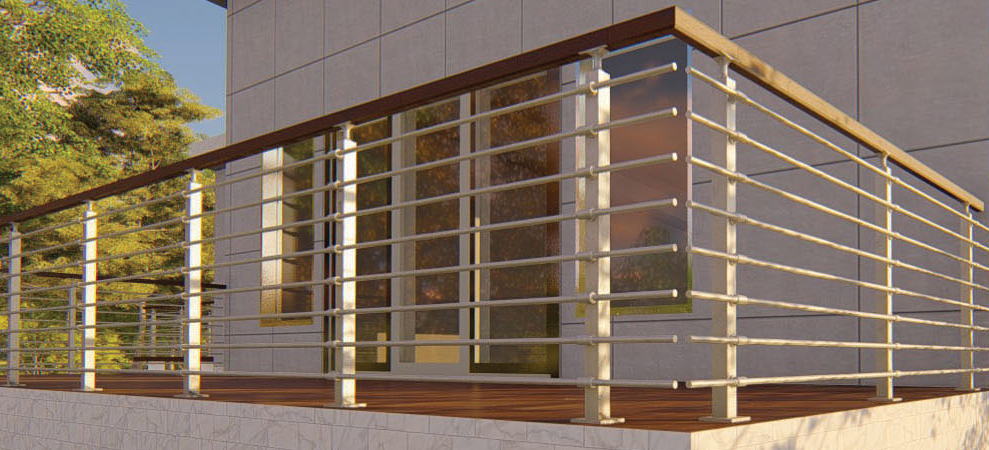
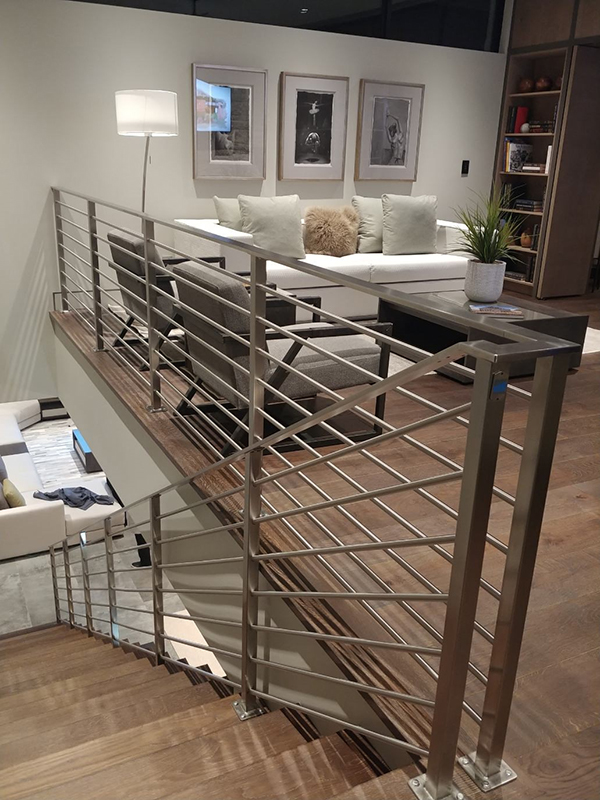
- Inventory & dry-fit: Identify posts and top rail segments by their etched ID numbers to match the installation drawings.
- Mount posts: Secure the first end or corner post; then install intermediate posts, ensuring they are perfectly plumb in all directions.
- Install Infill: Insert splice fittings into the horizontal tubes and slide them through the intermediate posts into the end post.
- Set last post: Maneuver the final end post into position while fitting all horizontal infill tubes into their respective holes.
- Attach top rail: Position the top rail on the posts; drill and tap (for flat rail) or use bonding agent (for round rail) to secure the connection.
- Splice railing: Connect top rail segments using splice blocks or sleeves to ensure smooth, continuous transitions between sections.
- Clean & finish: Use acetone and a soft cloth to remove excess bonding agent and fingerprints for a final professional finish.