


How-To Video: DIY Cable Fitting Installation

Transcription:
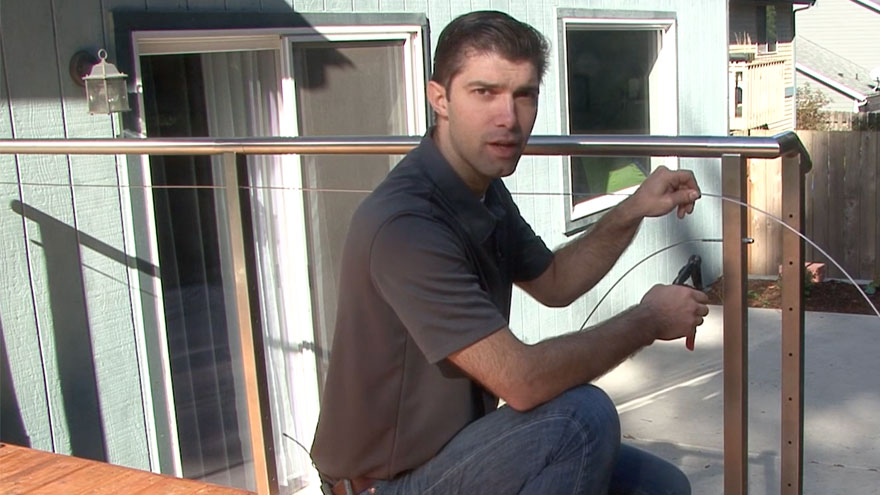
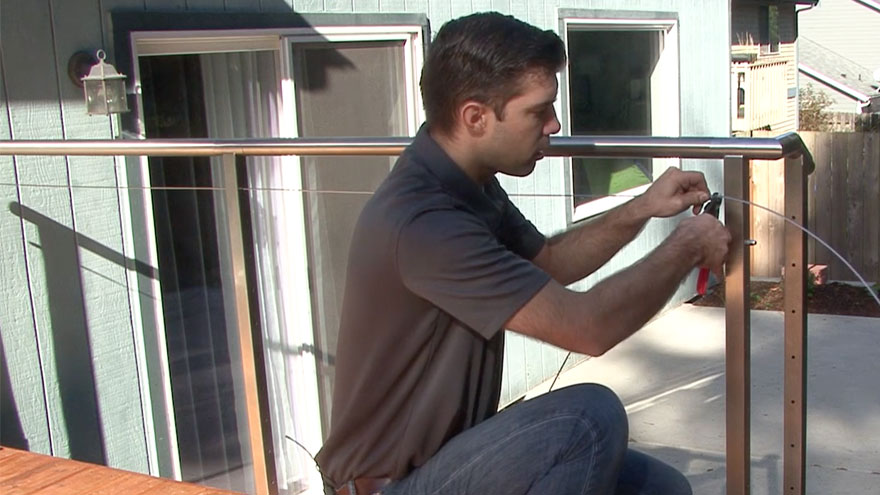
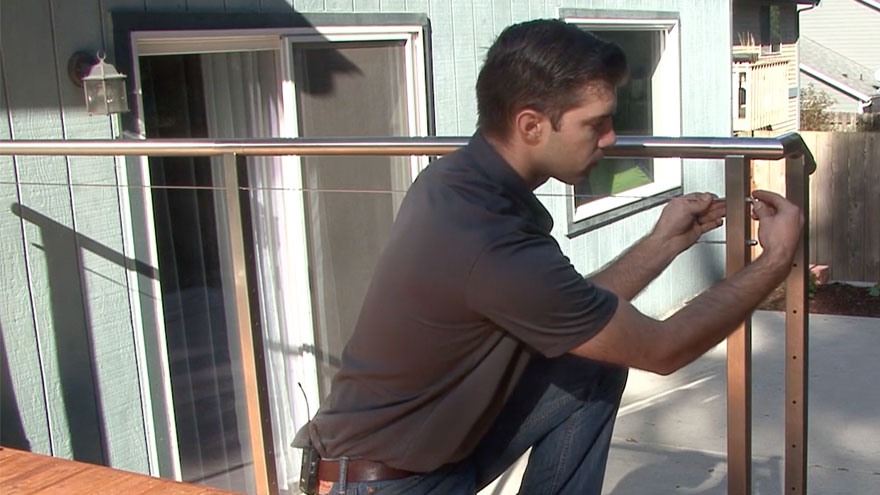
Now we’re going to go ahead and cut this top cable here.
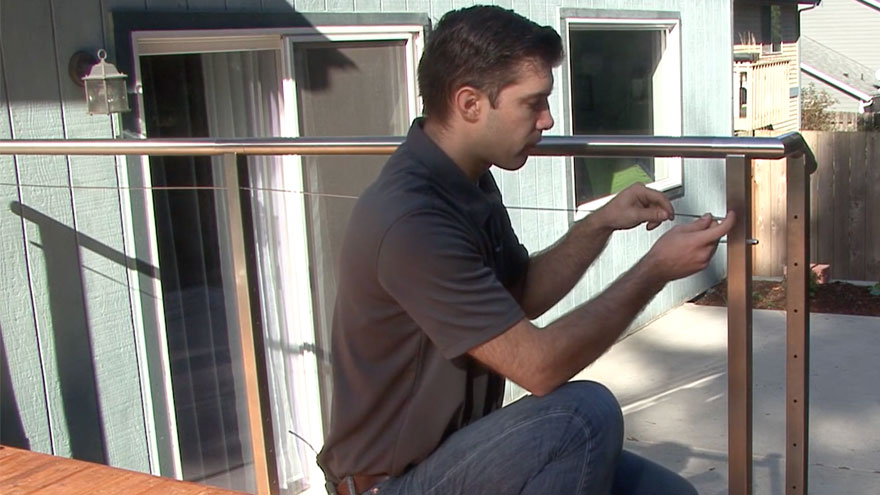
But to illustrate what’s happening on the other end, look at this next cable down. Now we’ve threaded on a jam nut with some exposed threads showing and the exposed threads are just enough to where you bottom out on the acorn nut. Now we may have to adjust that afterwards, but the reason why we do this is because – if you do end up cutting your cable a little bit too short, this gives you about a quarter of an inch of freedom or adjustment. So, you can make that up without having to cut a new cable.
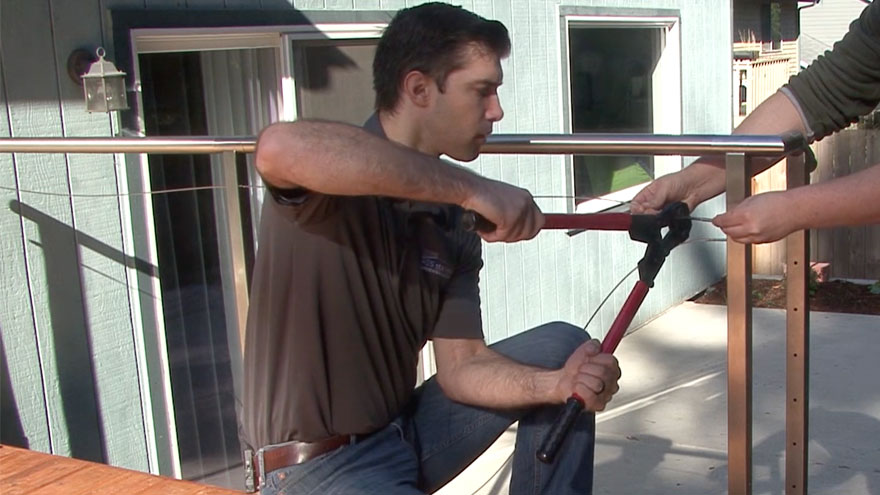
Okay. We’re going to go ahead and cut this cable now. A couple of things you want to focus on is – make sure you’ve got a reasonable amount of tension on this cable, so there’s no slack in it. So, if you cut it, you’d cut it too long that way. So, make sure you’ve got some tension on it. About 3/8ths of an inch short of the post, go ahead and cut the cable. You can see that. You can see that.
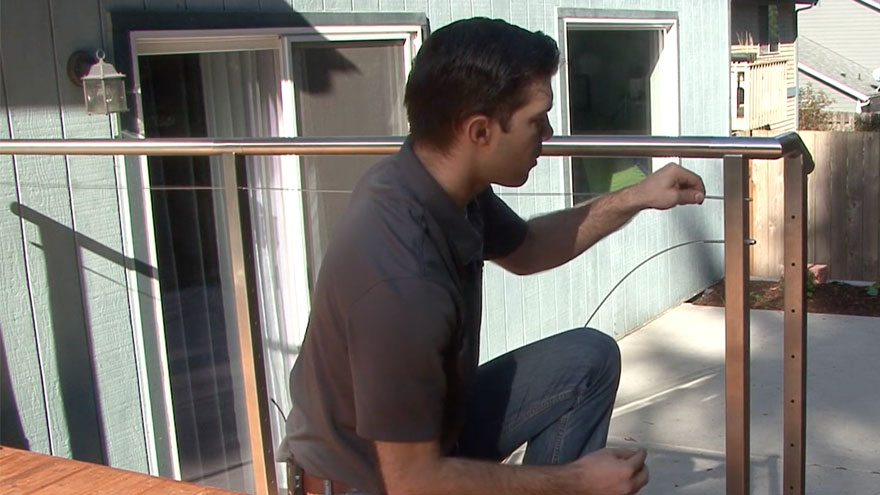
And then we’re going to go ahead and attach the end fitting. Now at this point it’s good to have a helper, so they can hold the cable and the fitting together while you crimp the fitting. Now for your first crimp, you want to go and have it about a quarter of an inch away from that. And you’ll rotate this fitting about one hundred eighty degrees. And you just feed it back through the post. Attach the ends and tension where there’s no slack showing in the cable.
How-To Guide: How to Install Cable Railing Fittings in 7 Easy Steps
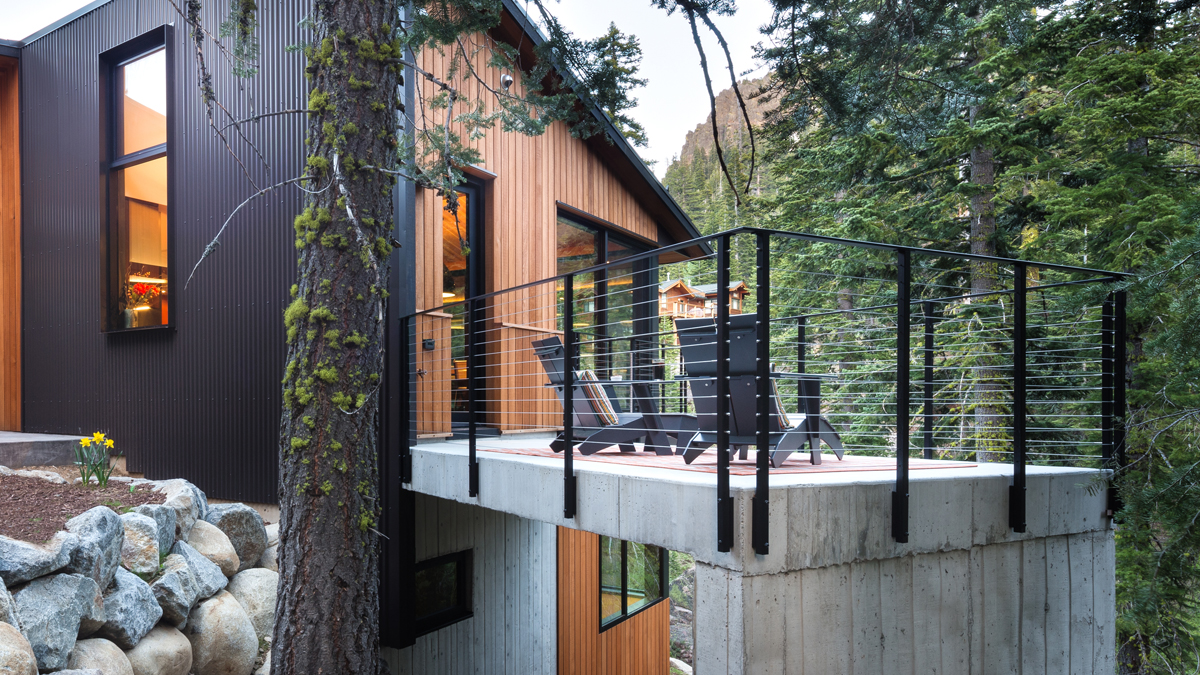
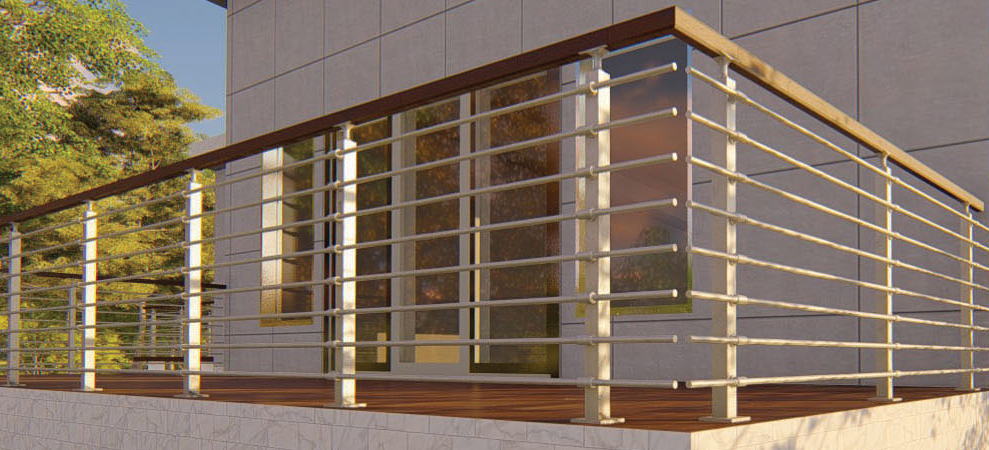
A Clearview® – Standard Cable Fitting is a stainless steel component that attaches a Clearview® – Cable to the post of a Rainier cable railing system under the Clearview® brand. This type of fitting requires crimping with AGS – Cable Crimpers.
Tools Needed:
Tension the Cable
Pull the Clearview® – Cable toward the post to add tension. Without tension, slack will cause the cable to droop downward.
Cut the Cable
Cut the Clearview® – Cable 3/8-in from the post. AGS – Cable Cutters are designed for cutting stainless steel cable. To avoid cutting the cable too short, unscrew the jam nut and acorn nut on one side before cutting the other side.
Put on Fitting
Put the Clearview® – Standard Cable Fitting onto the cable. The fitting attaches the cable to a post for a Rainier cable railing system.
Crimp the Fitting
Crimp the indentations on both sides of the Clearview® – Standard Cable Fitting. The indentations are 1/4-in apart.
Insert Cable Through
Put the cable with the standard cable fitting through the hole in the post and maintain tension. The fitting is 3 7/8-in long, which is enough to extend through the hole in a stainless steel post.
Thread Jam Nut
Thread the jam nut onto the standard cable fitting and finger-tighten to secure the cable. A stainless steel jam nut has a hexagon shape with a threaded hole through the center.
Thread Acorn Nut
Thread the acorn nut onto the standard cable fitting and finger-tighten to prevent further movement. The nuts should later be locked together with an L-wrench to tension the cable and prevent it from loosening.
Featured Hardware
Railing Components
AG111 – Clearview® – Standard Cable Fitting – Exterior
AG102 – Clearview® – 5/16-in x 3-in Lag Screw
AG921S – Clearview® – Split Base Plate Cover
C50 – Clearview® – 50-ft Cable
Railing Tools
AGCR001 – AGS – Cable Crimpers
Railing Systems
Recommended For You
Explore design trends and insights from architects, our customers and the AGS team.
-
 Videos
How to Crimp an AGS Cable Fitting
Install Rainier cable infill with standard fittings by following these steps. This will help ensure a secure, professional finish with lasting durability.
-
 Videos
How to Install an AGS Standard Cable Fitting
https://vimeo.com/1050856505/349c309cf3?fl=pl&fe=sh Install Rainier cable infill with standard fittings by following these steps. This will help ensure a secure, professional finish with lasting...
-
 Videos
How to Install an AGS Barrel Nut Fitting
https://vimeo.com/1050845087/6372fa1493?fl=pl&fe=sh Install Rainier cable infill with barrel nut fittings by following these steps. This will help ensure a secure, professional finish with...