

Installing Concrete Anchors for Posts
Comprehensive resources to guide you through every step of mounting AGS Stainless posts to concrete. From initial layout to the final plumb check, we provide the technical expertise you need to ensure a professional result.
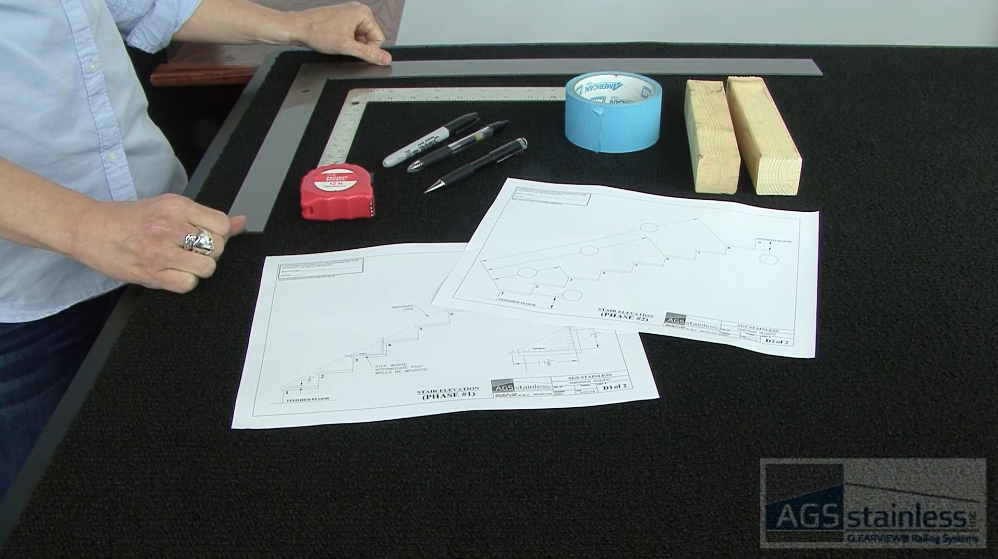
Gather Your Tools
- Safety Glasses
- Hammer Drill (SDS or standard masonry)
- Masonry Drill Bit (Size to match anchors; 3/8″ or 5/16″) A 12″ length is recommended.
- Hammer
- Level (Check for plumb in two directions)
- 9/16″ Socket or Wrench
- Angle Grinder or Sawzall (To trim anchor tops)
- Plastic Shims (For leveling)
- Masking Tape
- Shop Vac
- Acetone & Non-abrasive Cleaning Cloth
Before You Begin
- Check Local Building Code
Ensure code compliance and obtain permits if required. - Ensure Concrete Maturity
Ensure concrete is fully cured. Drilling into “green” (freshly poured) concrete can lead to anchor failure or spalling. - Match Bit to Anchor
Confirm your anchor size. Use a 5/16″ bit for 5/16″ anchors, or a 3/8″ bit for 3/8″ anchors. - Mark Your Drill Dept
Place a piece of masking tape on your masonry bit 1/2″ deeper than the anchor length to ensure the anchor seats fully. - Ensure Strength of Anchors
Use Clearview® Concrete Expansion Anchors (Wedge Anchors) for necessary structural integrity. - Layout and Plumb
Concrete is rarely level. Use plastic shims to “humor the post” for a perfectly vertical result. - Protect Hardware
Keep Base Plate Covers taped up the post during installation to prevent scratches from tools or concrete dust. - Prep Post-Install Cleaning
Concrete dust is abrasive. Use a vacuum and your AGS Maintenance & Cleaning Kit immediately to prevent surface staining. - Unpack and Inventory
Contact AGS immediately if quantities do not match packing list. - Check the Forecast
Plan for a 48-hour window of good weather. Moisture can interfere with dust and cleanup. - Read Your Installation Guid
Read your railing system’s entire installation guide. - Practice Safety First!
Always wear safety glasses and gloves when cutting cable or drilling. Work with a partner if possible, especially for longer runs.
Step-by-Step Guide
Mounting your railing posts to concrete requires a few extra technical steps but the reward is a rock-solid foundation for your railing system. This guide provides comprehensive instruction to help you ensure a secure, code-compliant and professional installation.
-
Protect the Finish
Slide the Base Plate Cover up the post and secure it with masking tape to keep it clear of the drill and hammer.
-
Mark Hole Depth
Place tape on your masonry bit 1/2″ deeper than the anchor length to ensure it seats fully.
-
Position the Post
Place the post in its exact location, using the base plate as your drilling template.
-
Drill the First Hole
Drill through one hole in the base plate. Vacuum the dust from the hole immediately.
-
Set the First Anchor
Pound in the first Wedge Anchor with a hammer, leaving 3–4 threads showing above the nut. (Clearview® AGS anchors feature a specialized top designed to be hammered without damaging the threads.)
-
Tighten and Align
Snug the nut down a reasonable amount. Use your level to ensure the post is straight and parallel to your layout line before drilling the remaining holes.
-
Drill Diagonal Hole
Drill the hole diagonally opposite the first one to prevent the post from shifting.
-
Pound and Set
Insert the second anchor. Check for plumb again before drilling the final two holes.
-
Plumb the Post
Check your level in both directions. (Some people refer to this task as “humoring.”) If the post leans, loosen the nuts and slide plastic shims centered underneath the post so it can be adjusted in any direction.
-
Perform Final Tensioning
Once perfectly plumb, tighten all four nuts uniformly bit by bit. Do not over-tighten one side all at once, as this can pull the post out of plumb.
-
Trim Anchor Tops
Use an Angle Grinder or Sawzall to cut the excess bolt off just above the nut so the cover sits flush. The angle grinder is preferred for better control.
-
Finish and Clean
Slide the Base Plate Cover down. Use your AGS Cleaning Kit to remove all silica dust and tool marks immediately.