
How-To Video: DIY Cable Deck Railing Installation
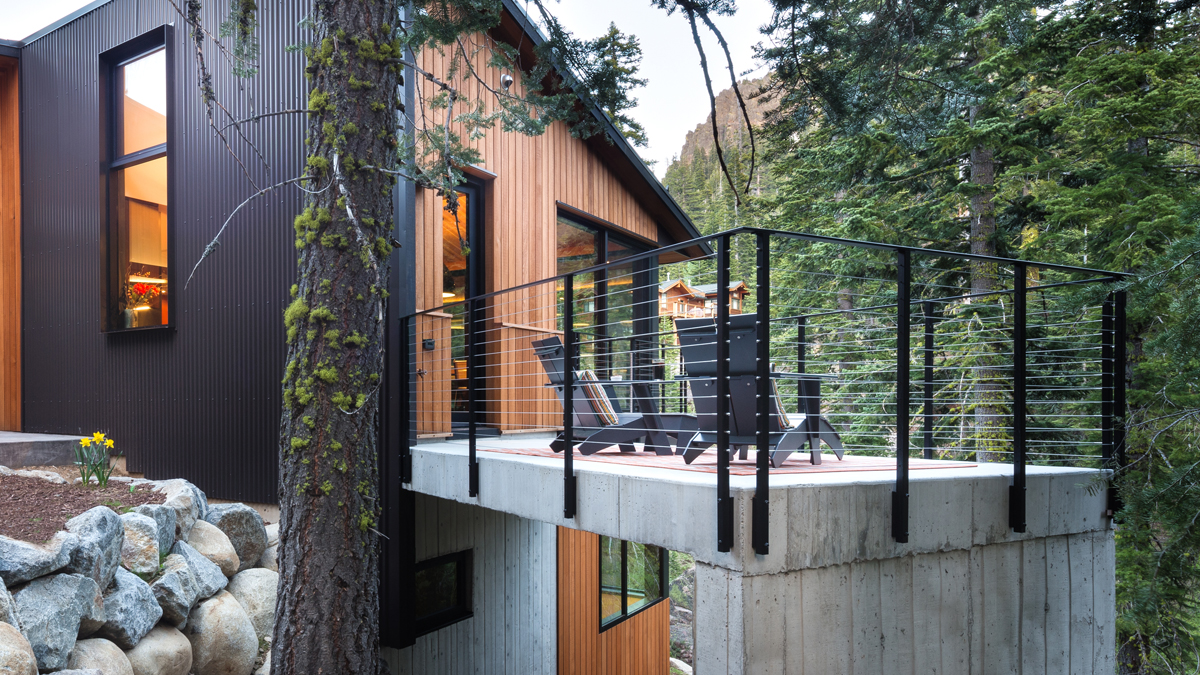
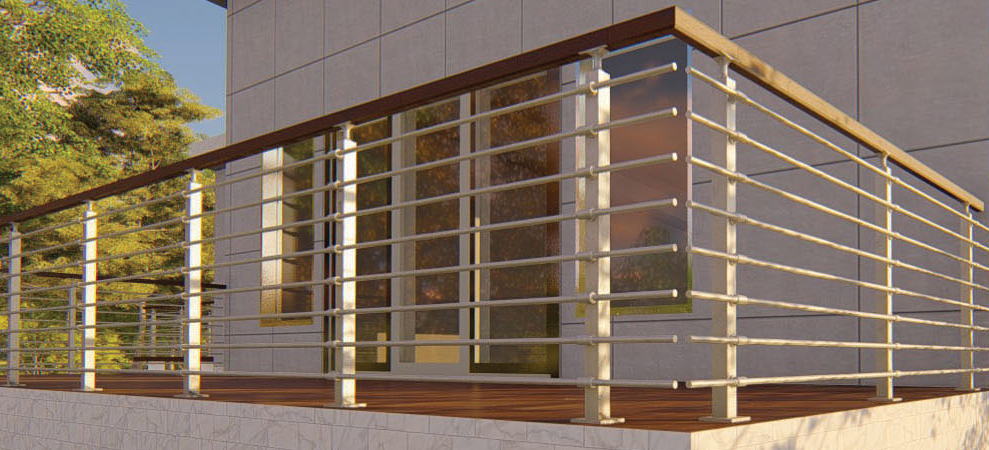
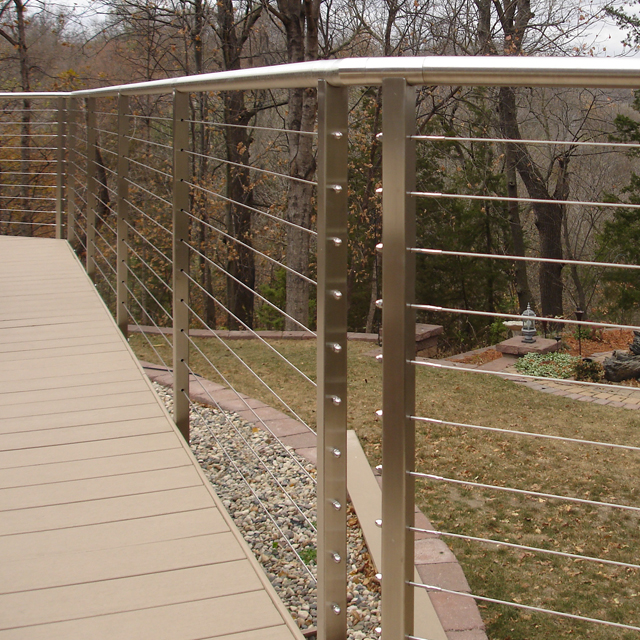
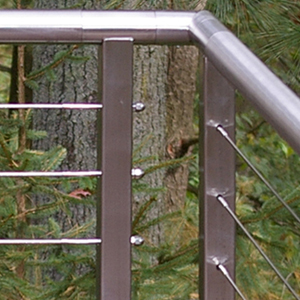
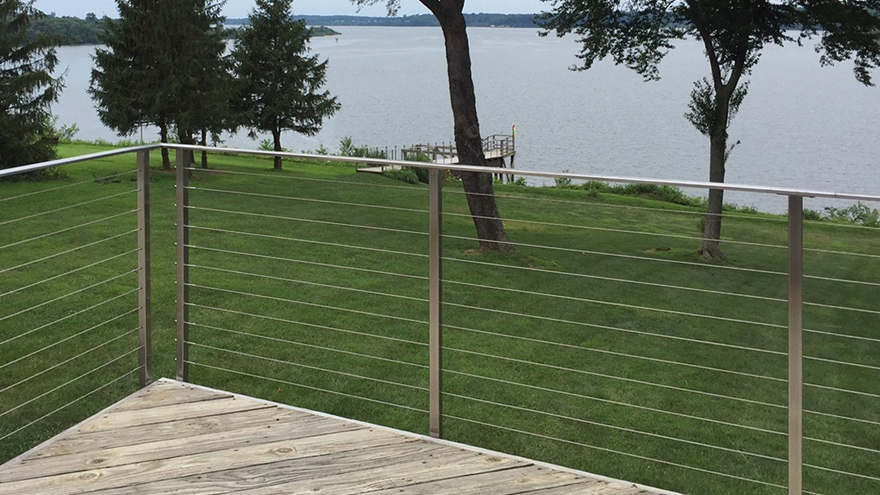
Stainless Steel Invisible Cable Rail
Made for the do-it-yourselfer and manufactured by AGS Stainless in Bainbridge Island, Washington. Now you can have a beautiful, professional-grade stainless steel cable rail for a fraction of the cost of similar systems installed by a steel fabricator.
A Rainier cable deck railing system under the Clearview® brand uses Clearview® – Cables as infill between vertical posts and below a horizontal top rail. AGS – Cable Crimpers are required for crimping this type of infill.
Tools Needed
- Electric Drill
- AGS – 3/16″ Drill Bit
- 1/2″ Socket
- Level for plumbing the posts
- Tape Measure
- Pliers
- 7/16″ Wrench
- AGS – Cable Crimpers
- AGS – Cable Cutters
- Caulking Gun with a Spreading Stick
- BASF – Bonding Agent
- Pencil
- Tape
- Rag/Non-Abrasive Scotch-Brite® Cleaning Pad
- Acetone
Step 1: Layout and Mark the Location of Your Railing System Posts
- First, place the parts near the location of their installation.
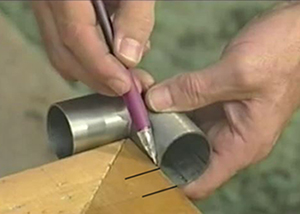
- Begin your installation at any corner by using the corner fitting to mark the connection location. The connection location will be used to calculate the post location.
- Mark the post location 1″ away from the connection location. Post spacing is determined by side-load, wind-load, structural attachment method, strength, and other factors. These calculations are made during the design consultation stage to meet safety standards.
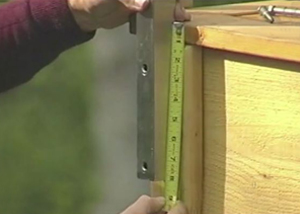
- Measure 8″ below the deck to determine where to side mount the post. Measuring is necessary because placing each post at a different height would prevent the top rail from being level.
Step 2: Install the Posts
- Plumb the post with a level. Plumbing a post means making adjustments to ensure that it is completely vertical. Place the level against the side of the post and adjust until the bubble is centered between the two lines.
- Drill the pilot holes while holding the drill as straight as possible. Each post needs two holes for the Clearview® – 3/8″ Lag Screw on the top and bottom. A pilot hole guides the screw and helps prevent wood from splitting.
- Thread the Clearview® – 3/8″ x 5″ Lag Screws into the pilot holes by applying pressure to the heads and turning clockwise. Then tighten them with an impact wrench and socket until the post is snug and plumb in all directions.

Step 3: Attach the Handrailing
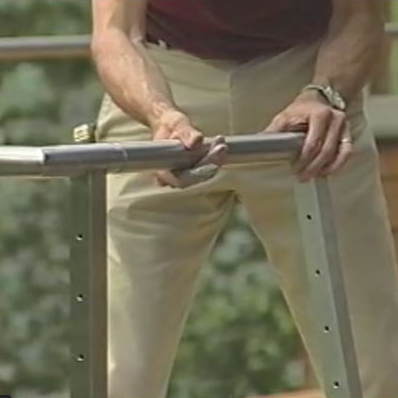
- Spread BASF – Bonding Agent inside the connecting handrails to prevent them from rotating after installation.
- Install the handrails onto the post fittings. Twist the top rail 1/2 turn to spread the bonding agent around the post fitting and create a good bond.
- Use acetone with a soft rag to remove excess bonding agent on the handrails and round post caps.
- Use tape to hold the connections in place until the bonding agent cures to a tack, which takes approximately 24–72 hours. It fully cures in 7 days.
Step 4: Attach the Cable Fittings
- Slide the Clearview® – Cable through all of the holes in the intermediate posts.
- To thread the end posts, pull the cable through the hole in the end post. Rainier cable railing systems generally use Clearview® – Cables. The posts are pre-drilled with a fiber laser cutting machine during fabrication.
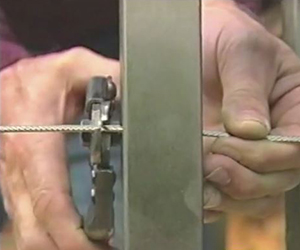
- To cut the cable, hold the cable taut with one hand, hold the AGS – Cable Cutters against the post, and cut the cable.
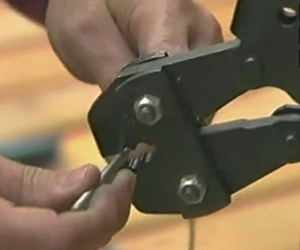
- Crimp the cable twice after inserting it into the Clearview® – Standard Cable Fitting. Crimping is required unless swageless fittings are used.
Step 5: Install the Cables
- Slip the Clearview® – Standard Cable Fitting – Exterior with an attached cable through the end post and thread on a jam nut until 1/8″ of threads are exposed.
- Thread an acorn nut on top of the jam nut. Acorn nuts provide a more finished look than exposed threads on the ends of cable fittings.
- After all cable fittings from one end of the run are installed, repeat steps 4 and 5 until all cables and fittings have been installed at both ends of the run.
Step 6: Tension the Cables
- Tighten jam nuts with a 7/16″ wrench to tension the Clearview® – Cables until they are just taut. Do not over-tighten the cables because the combined force can bend or deform posts.
- Using two 7/16″ wrenches, hold the jam nut in place with one wrench and tighten the acorn nut against the jam nut to lock it in place.
Clean the railing system as needed and passivate the surface on a regular basis. Use a soft rag or non-abrasive cleaning pad rather than steel wool or steel brushes to avoid cross-metal contamination or scratches on stainless steel posts. The AGS – Stainless Steel Cleaning & Maintenance Kit includes a non-abrasive cleaning pad, passivation solution, and an instruction booklet.
Step 7: Clean and Passivate
To clean stainless steel posts, apply passivation solution on a soft rag or non-abrasive pad and apply it in the same direction as the brushed finish grain. On round handrail, the grain runs around the rail, not lengthwise. Wait 15—30 minutes for the solution to clean and passivate the surface, then rinse with water.
To maintain a stainless steel railing system over the long term, passivation solution should be applied periodically to recondition the surface. For short-term shine, a non-chloride stainless steel cleaner can be used as needed.
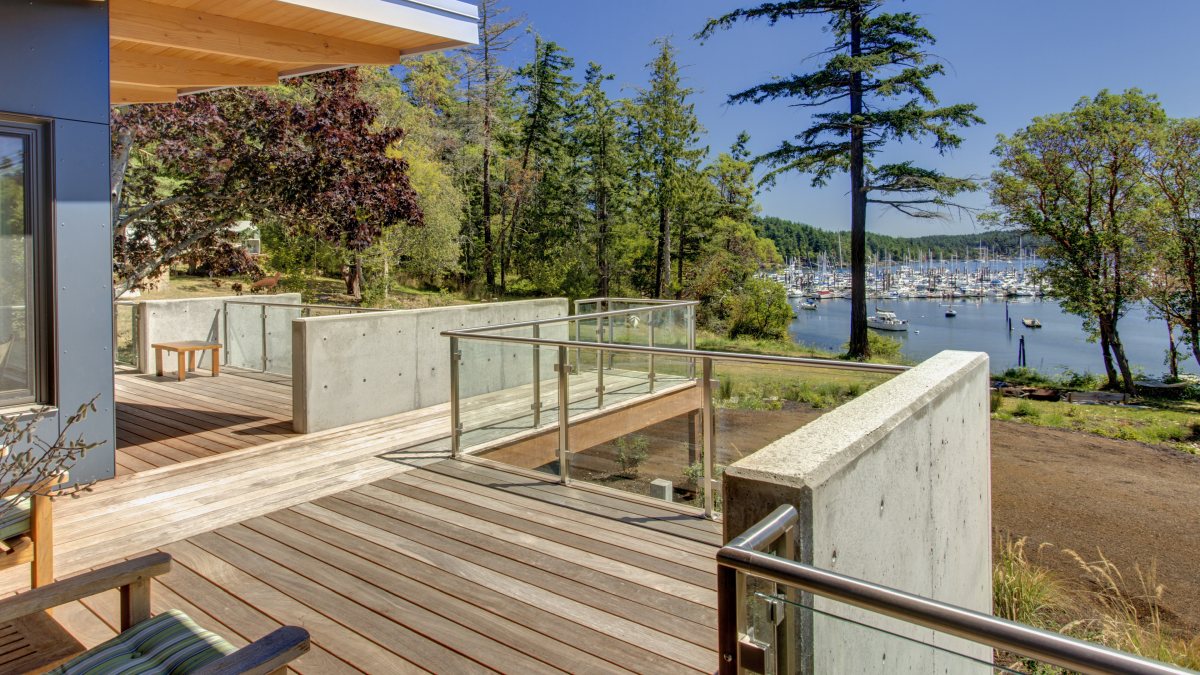
With the installation of your beautiful, invisible cable rail system complete, you can now enjoy the unobstructed view from your deck for many years to come.
Start Now! Submit a simple drawing and any relevant photos. A design consultant at AGS Stainless will work with you and/or your contractor to discuss expectations, measurements, applications, constraints, compliance, options, and maintenance. Your dedicated design consultant will then develop a cost estimate and a work plan for your consideration at no cost to you. Contact AGS Stainless today to schedule a FREE DESIGN CONSULTATION.
Featured Hardware
Railing Tools
Railing Systems
Recommended For You
Explore design trends and insights from architects, our customers and the AGS team.
-
 Videos
How to Crimp an AGS Cable Fitting
Install Rainier cable infill with standard fittings by following these steps. This will help ensure a secure, professional finish with lasting durability.
-
 Videos
How to Install an AGS Standard Cable Fitting
https://vimeo.com/1050856505/349c309cf3?fl=pl&fe=sh Install Rainier cable infill with standard fittings by following these steps. This will help ensure a secure, professional finish with lasting...
-
 Videos
How to Install an AGS Barrel Nut Fitting
https://vimeo.com/1050845087/6372fa1493?fl=pl&fe=sh Install Rainier cable infill with barrel nut fittings by following these steps. This will help ensure a secure, professional finish with...