Transcription:
Scott:
Hi. I'm Scott and I'm going to be installing some cable railing here. And the cable is made by AGS Stainless incorporated on Bainbridge Island, Washington.
They're sponsoring this video. And we're going to go ahead and show you how to install it. And we're going to take a little tour to get an overview of how this rail is made, how your orders are processed, and just so you can see how it goes.
Scott:
I'm here with Doug at AGS Stainless and Doug is an estimator. And he is going to tell us what he does for the customer when the customer calls.
Doug:
The first thing we do is ask them where they need their cable railing. And if they can send us a drawing. A simple hand-drawn sketch. They can either email or fax it to us - or if it's something simple that we could discuss over the phone where I can write down the dimensions, then we figure out all the components needed for that particular project and email the estimate back to the customer.
Scott:
Okay. Great! After you make the estimate and the customer receives it, then what happens next?
Doug:
We follow up with the customer to make sure they received it. And if they placed the order, we get the information from them for their credit card and the signed paperwork. And we send that off to the detailer.
Scott:
Okay. Well, I'm going to go into detailing now and ask what they do for us. Alright. Well, thank you, Doug. Alright. Okay. This is Cody and he is a detailer. And that means he draws stuff and he's using AutoCAD here. So, he's going to draw my railing. And Cody, when a customer is done with estimating and Doug or Brandon hands them off to you, what do you do for the customers?
Cody:
What I do for the customer is take their dimensions and put it into our program to lay out our posts based on their dimensions that they give us. Once I've done that, I'll send the customer an email with a drawing with their post placements. And when they verify that it's all correct, they send it back signed. Then I push it through to get reviewed.
Scott:
Okay. And once it's reviewed, what happens next? Are you done with the customer then?
Cody:
After that - once I have finished that, I'm done with the customer and it will be pushed through to get fabricated. And then it leaves a shop here and goes to you.
Scott:
Okay. Okay. So, I guess I'm going to head out to the shop and see how they put this stuff together for me.
Alright. Have fun. It was nice meeting you.
Ryan:
Hi. I'm Ryan. The first thing that we do from detailing is we'll bring them over to cutting. We'll cut the post all down to length and we'll load them up into the CNC to get all their holes drilled into the post. And I'll bring them off to welding. At welding, we're welding on the two-hole top and we're welding on the base cap and different kinds of posts too. We're welding on the base plate or round top depending on what you request. And from the welding station, we'll bring them over to cleaning here, which is where we'll take our Scotch-Brite® and our cleaning stick here. We'll just polish the base plate and we'll go up to the top. We'll polish this part also and polish the whole post to make it look all good. And then we'll bring it over to our packaging station where we'll put it in poly tube and put bubble wrap on either end of the post. And then we'll package them up in a box and send them out to you.
Scott:
Okay. Thanks!
UPS Man:
There you go. Have a good one!
Scott:
Okay. That's the top rail. That's what you grab onto with your hand. Here are the instructions. The actual cables and two posts with extra fittings and the other stuff.
Alright. Here we go. We're going to unpack this main bundle right now. And the last thing we deal with is the cable. So, I'm going to leave them in the package for now to keep them together, but I'm going to do what men don't traditionally do. I'm going to open the instruction sheet first. There's also a packing slip in here, so I'm going to double-check this bundle when I get it. I guess I could count these. I've got one, two, three, four, five, six, and seven. Seven of those unless I'm counting wrong. And it says cable has the option to bend. There should be nine. So, what do we got here? They've only got one end on them. One, two , three, four, five, six, seven, eight, nine. There we go. Okay. Nine. Only one end is on there.
And then I've got one top rail. So, that's good. Be careful not to actually cut into your posts. Don't scratch the post with your knife. Even though it's stainless steel and stainless steel is durable and strong, a metal tool against a metal tool. You're just asking for damage. So, better safe than sorry. Oh. This thing is messed up.
Okay. It's a bonding agent and I've got one bonding agent. They've got a kit. That's a cleaning and passivating kit. You've got that.
Got one package of cable fittings. Nine pieces. One, two, three, four, five, six, seven, eight, nine.
They've got a hardware bag and they call out probably every piece in there. Right - eighteen of each. They've got some stainless steel anchor bolts and the different nuts.
They've got the crimper tool and the cutters.
Okay. And then we've got the two rail posts here. So, I've got a top one and a bottom one. Okay. That's that. Alright. Here are our two posts. Again, do everything you can to not scratch because you'll see it later. Right - or your wife will. Right? One of the two. Somebody will see it. In our family's case, it would be me. I'd see it. I'd complain. Look! You scratched it! That's one of the good things. This is a complete kit and AGS looks ahead for you. One of the things you get in the kit is this passivating kit and there's a piece of Scotch-Brite® in here - right here. So, if you do scratch it, you can work out the scratch and bring it back to looking like it came from AGS. Okay. Well, everything is here. Our inventory is complete. Look at that! They take good care to package it. So, we're ready to start the install.
Okay. We're going to talk about drilling your holes for your anchor bolts and I recommend using a longer bit. If you don't own a bit already, it's even better to go buy a longer bit. It's a few dollars more, but long term - they just work out better. They're more useful and that's part of the reason. The other part of the reason is it allows you to get less of an angle when you use a longer bit. You can get closer here when you're drilling. When you're drilling, the shorter bit will force you away because of the size of the body of the drill. Now my drill motor has a really narrow body, so it wouldn't be as critical to me. But if you have a big - if the drill motor is fat, it forces you away from the post. And this just lets you get a straighter hole.
And what you need to do is set your depth on the hole. And I like to go deeper than the hole. Deeper than the length of the fastener. And because I don't have to clean the powder out of the hole, it just goes to the bottom of the hole. And then, when you know your depth, it's easier to use a piece of tape than the depth gauge that comes with the drill. The depth gauge may not land in the right spot. In this case, it may land over here. And it's just that a piece of tape is easier. Okay. So, you want to drill one. You've got to start somewhere. Okay. This guy can stay right here.
With these bolts - because they won't go through these holes, the anchor bolts won't fit through this hole to pound in. You can't pound them in, so you have to put one in. And then start to tighten it up. And then drill one other hole after straightening this up - to get it all straight like you want it. Then you put another one in. Do it again. You have to take it off. Put it on. Tighten these two up to hold it still and pilot these. Get them going and then take it back off. Drill them. Put the last few in, but you want to make sure that this is square before you drill your second hole because that gives everything. Everything is going to be in reference to where that is. One of the tricks you can do to protect the finish on the post is you can put some tape over the face of the wrench. If you're doing these ones here on the cables, you might do that to protect the finish here. In this case, there's a washer. So, the washer does not work.
And you can see the post isn't square now. We're going to square it up later, but I'm going to start tightening this guy up a little bit until he's snug. And I'm going to end up taking it back off after I drill the holes here. So, we're going to call that good for now. Now I'm loosening it back up. What we're going to do now is kind of get the post parallel to where it goes this way. And you can do it kind of by eye. You have a little bit of movement. I do this good. It wouldn't hurt to get the other post in if you're not confident. Get that other post in with one hole. Make sure you put it where it's supposed to be and then put a straight edge between the two of them to get them this way. It's this way. It's not this way you're worried about right now. It's this way. So, I'm confident in my skills that it's going to be good right here. Okay. So, Jason, come here and hold this. Would you?
So, we're going to start this other hole. Okay. When you put your fastener in, you're going to put your fastener in until it's in far enough that it will grab. You don't need to put the nut in the bolt on here if you're careful when you pound it in or the washer and the nut on here. And it will go down in there. Just be careful. These last few strikes - this is where you could lose your fastener. So, I want it to be just deep enough so that I get a nut on here. I'm kind of a little maybe anal-retentive on this stuff. Okay. That's where I want it. For the first few threads, make sure we're tightening. Okay.
We're going to put the post back on. Okay. Alright. We're going to go ahead and drill these holes here. And at this point, we had to put the - because the spacing on this post dependent on the handrail. We've stuck the handrail in there and made sure that it's pretty much square when we start to drill. So, I'm going to go ahead and mark this hole right here. If you go too deep, you won't be able to use this bolt. So, I've got like three threads on there. That's good enough to start. I need to bring it up, so it's above this - so you can put that bolt in. Okay. Put it back on the bolt. Okay. Again, you want to check all of your squares. So, you're going to have to hold that for me that way.
Drill the kitty corner hole. Because this is kind of locked in with the top handrail, I'm going to go ahead and start these other holes. Alright. We're going to take it off and put the locked anchor bolts in the other holds. Okay. You want to pound these in and don't go too deep again. Make sure you leave at least about three threads to grab with a nut.
Okay. What we're going to do is we're going to glue this part in and use this little piece of cord here to clamp there. And then we're going to put the cables in. So, okay. Hold this. And we have to before we can tighten these all the way down. We have to actually do it before we can tighten down the anchor bolts. So, it's nice not to get this stuff on if you can help it. There no way to do this elegantly and it wants to get everywhere. Okay. Alright. Okay. You want to get it on here and give it a little bit of a turn and kind of spread it around. I have kind of made this into a little clamp here. So, can you get down here? Okay. So, what I did here was I made a clamp and a loop. And that can come down here. And that cable put a great deal of strain on it like that. Yeah. We'll want to come back as soon as I get the first cable in. I'm going to use the first cable to take the place of this and then I'll take this off and wipe it. The stuff that's oozing out. You want to wipe it off as soon as you can using acetone. It's the best thing for this job.
Okay. So, what we're going to do is put the first piece of cable in there. Okay. So, now we're going to take this cable and we're going to use the first cable. I actually put it in the second hole. Use the first cable to replace this as my clamp. So, put it through the hole here. Get a regular nut on there. And then you want to go ahead and put a castle nut on there or an acorn nut on there to lock it in place, so it doesn't come loose where you're doing the rest of it.
Okay. Then we're going to come down here and we're going to cut the cable to length. And we're going to cut back three eighths of an inch from the post here, which is just shy of half an inch aligned up with where the hole goes.
Okay. Now we've cut it. What we're going to do is go ahead and crimp the fitting on here. If you slide the fitting end, you'll see it goes in about an inch and a half or so. And when you want to put two crimps about a half an inch apart. So, if you come to here, you got to make sure you get the cable all the way in the bottom of the hole and then go about a half inch up. Okay. That's it. It's crimped.
Okay. Then you take it, lock your nut and your castle nut, and put it in your holes here. Now we're going to take a seven-sixteenth inch wrench. And we're going to take a pair of vice grips here and kind of hold onto this little bit. I'm going to try not to grab it too hard because I don't like leaving marks on stuff. So, we're going to tighten it up. You're going to do that on both sides to get kind of an even pull. And then you're going to lock the acorn nut against the regular nut. Okay. Then we're going to do that again and again. But right now, we're going to take off this.
Our cable is now doing the job that this temporary clamp rope was doing. And at this point, I really want to wipe off excess bonding agent before it cures too much. Okay. I'm not going to put the rest of the cables on. What I'm going to do is level this post. And this isn't really what you would normally do for the rest of a cable installation because it's on the stairs and because I had to have this piece in before I leveled this post. I had to do it in this order. You on a regular top mount. You can level all the posts before you make the final attachments, but I can't do that.
So, to level the post, you're going to use the nuts here. I'm level that way. Okay. And I'm not quite level that way. So basically, you tighten the side that the bubble is not in toward, and it will pull you to the center. So, now it's perfect. So is that way. Okay. So basically, it's leveled. I'm going to go back and put the rest of the cables in. So, I'm actually going to take this all down more.
Alright. We've got the cable in and we'll clean that off in a while. See what this is - just some glue. We'll clean all that off in a while. We'll go ahead and put the rest of the cables in and probably speed up this time lapse. Make sure you get all the bonding agent off because it's a bear to get off later. It works really good. Okay. So, we're going to put the rest of the cables in.
So, I'm going to go back and tension the cables evenly and put the lock nuts on there. So, they get enough threads here to do that. Alright. So, we're in the final state. We're going to go ahead and put the tension on these that we like. You can actually bow your posts in a little bit. There’s a lot of pull here. So, just snug is good. And you’ll find – if you start snugging, it’s going to chase you up and down the posts. They don’t overtighten. As I tighten, one and another one becomes loose. Okay. We’re just about there.
Okay. Alright. Now once that’s done, you want to get the acorn nuts up against the bottom nuts, and you want to lock them together. So, you hold the bottom nut stationary and tighten the acorn nut against it. You’re locking them together. This is what keeps the whole thing from coming apart. Okay. In this final tightening of the acorn nut, you’re locking them together. Okay. I’m going to do the same thing on the other end. And once the cables are all good, then we’re going to move on to the next step.
This is the passivating kit and it has a piece of Scotch-Brite® in it. If you have any scratches or something in here, this stuff will take it out. What you want to do is go the same exact direction that you already see and try to go in straight lines if you want to be that accurate. So, that’s basically it. You’ve got everything you need.
Yeah. You probably should passivate it. There’s a bottle of passivating cleaner here, so you can clean and passivate it at the same time. And that helps. Corrosion resistant steel is the proper term for stainless steel. It’s corrosion resistance. That doesn’t mean it won’t corrode if you care for it properly. It’s going to last you a long time. It’s less likely to corrode and proper maintenance is great. You can use a good quality car wax on here to protect the finish. If you leave water marks on here for a long time, you can use the Scotch-Brite® and get rid of the water marks. Okay. Just make sure that you go in the same direction as the grain that’s already on the product. And that’s it. It’s pretty easy to install.
Stairway is harder than the rest of it. A straight cable is really easy compared to the rest, but it’s all relatively easy. Looks great! The joints are perfect – both top and bottom angles. Perfect! What more could you ask?
How-To Guide: How to Install a Railing on Concrete Steps in 28 Easy Steps
A Rainier cable railing system under the Clearview® brand uses uncoated 1/8-in stainless steel Clearview® - Cables as infill between vertical posts and below a horizontal top rail. AGS - Cable Crimpers and AGS - Cable Cutters are required for this type of infill.
Tools Needed:
- Utility Knife
- Locking Pliers
- Hammer
- Level
- String
- Acetone
- Power Drill
- Masonry Drill Bit
- L-Wrench
- (2) Open-End Wrenches
- BASF - Bonding Agent
- AGS - Cable Cutters
- AGS - Cable Crimpers
- AGS - Stainless Steel Cleaning & Maintenance Kit
-
Take Inventory First
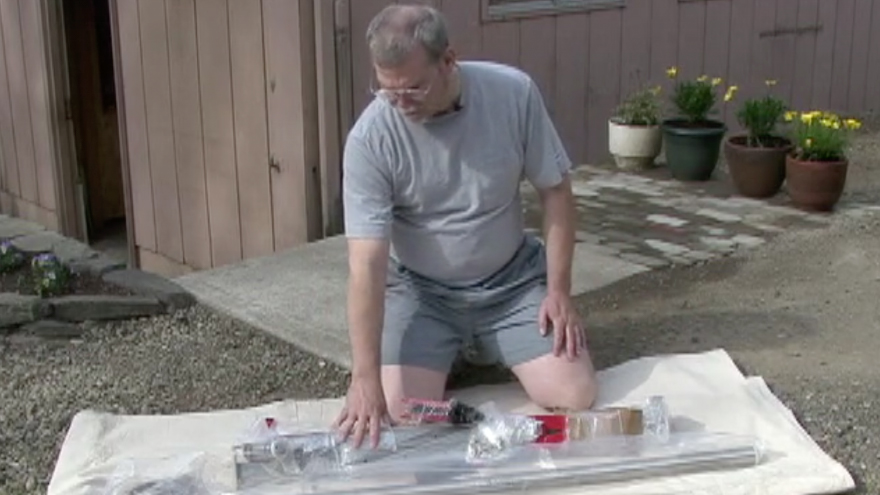
Reduce waste and inefficiency by taking inventory of the railing components in their packaging before beginning an installation. If some components aren't there and contractors are performing the installation, then they would have to come back later and finish the job. AGS Stainless understands the impacts of rising labor costs and strives to make sure that this kind of situation doesn't happen. To request a replacement for a missing component, call (888) 842-9492 and send photos of the other components in their packaging.
-
Carefully Cut Packaging
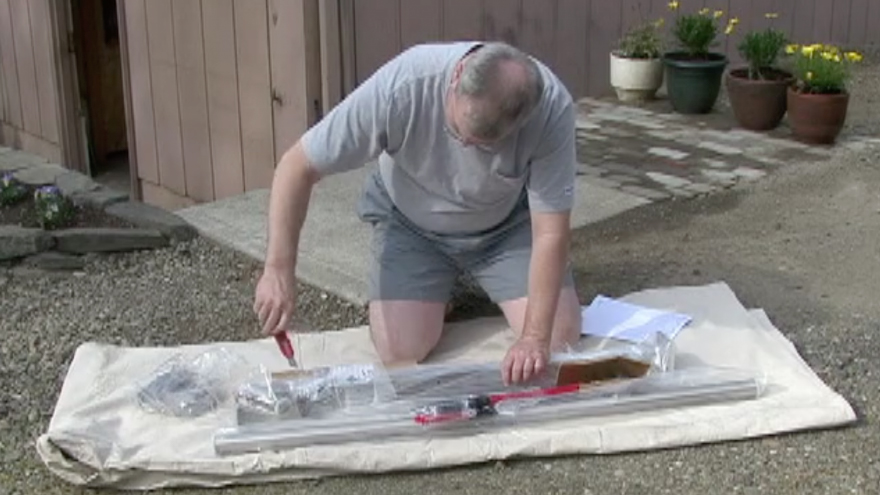
Carefully cut through the packaging with a knife to prevent scratches on railing components. Stainless steel is a very durable material, but a metal tool can leave scratches that might mar the beautiful brushed finish. If the brushed finish gets damaged, it can be brought back to normal by working out the scratch with a Scotch-Brite® cleaning pad, which is included in the AGS - Stainless Steel Cleaning & Maintenance Kit.
-
Attach Drill Bit
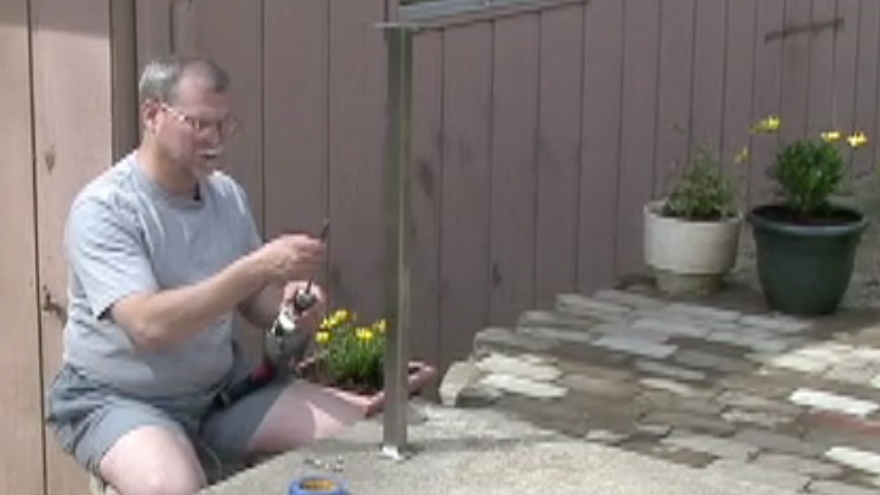
Put a masonry drill bit on the power drill. A masonry drill bit can be attached to a power drill for the purpose of creating deep holes in concrete. Longer drill bits have more applications than shorter drill bits and are easier to keep level while drilling, which leads to much straighter holes. As a shorter drill bit spins, it will be more likely to push a power drill away from the post. Remember that not all drill bits are created equal because a masonry drill bit is very different from a drill bit for stainless steel or wood.
-
Mark Hole Depths
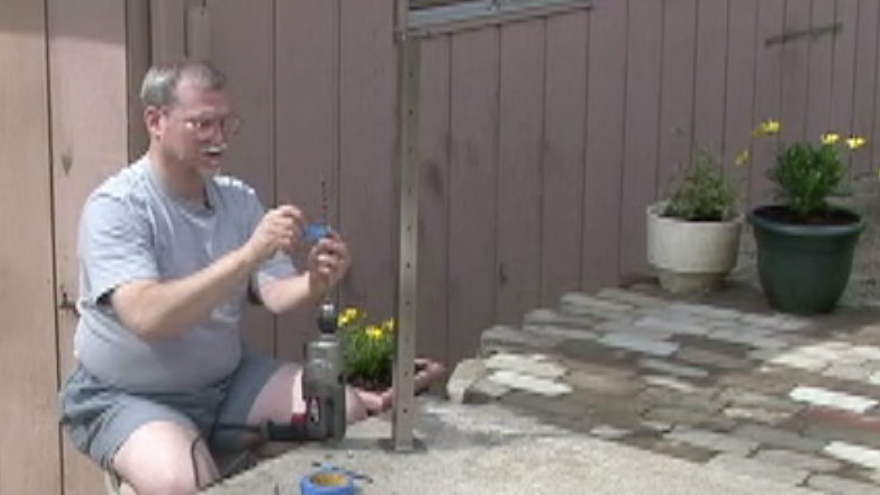
Put a piece of tape on the masonry drill bit to mark the depths of holes that will be drilled in concrete. Without an accurate depth measurement, the Clearview® - Concrete Expansion Anchors for mounting the posts won't go down deep enough.
-
Drill First Hole
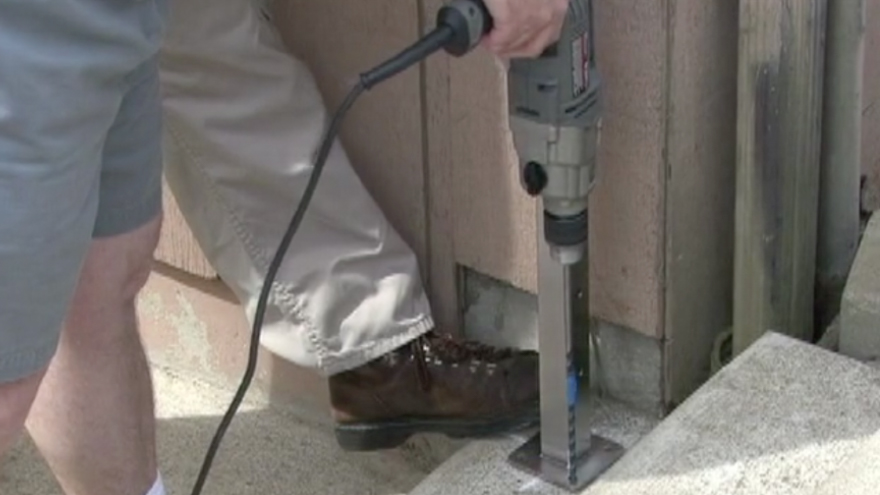
Insert the power drill with a masonry drill bit through one of the holes in a base plate. A base plate on a railing system under the Clearview® brand is a flat piece of stainless steel welded to the bottom of a stainless steel post. Stainless steel railing systems under the Clearview® brand have square base plates with four holes because that is the most popular base plate design. Then pull the trigger of the power drill to activate it. Brushing away any powder in and around the hole after drilling is a best practice because it will be much harder to remove afterward.
-
Pound First Anchor
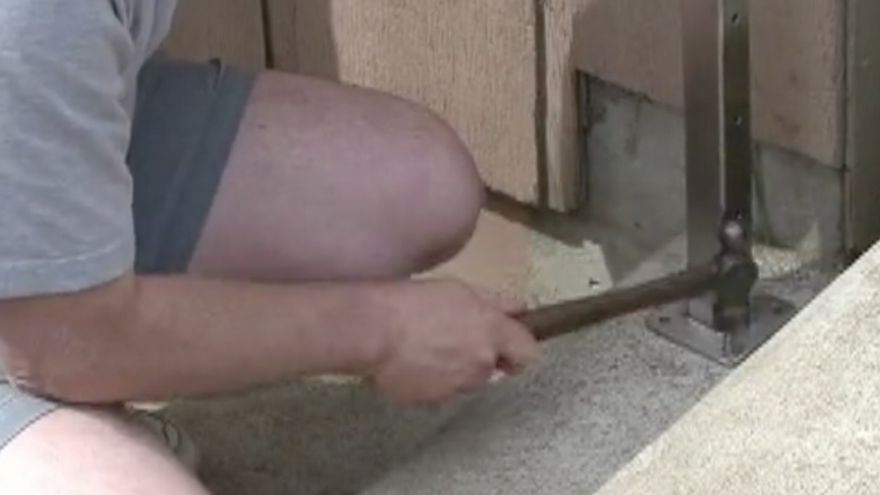
Pound in the first Clearview® - Concrete Expansion Anchor with a hammer. Any future holes drilled in the concrete will need to line up with the holes on the base plate. Their position will be determined by their relation to the location of the first hole.
-
Align Until Straight
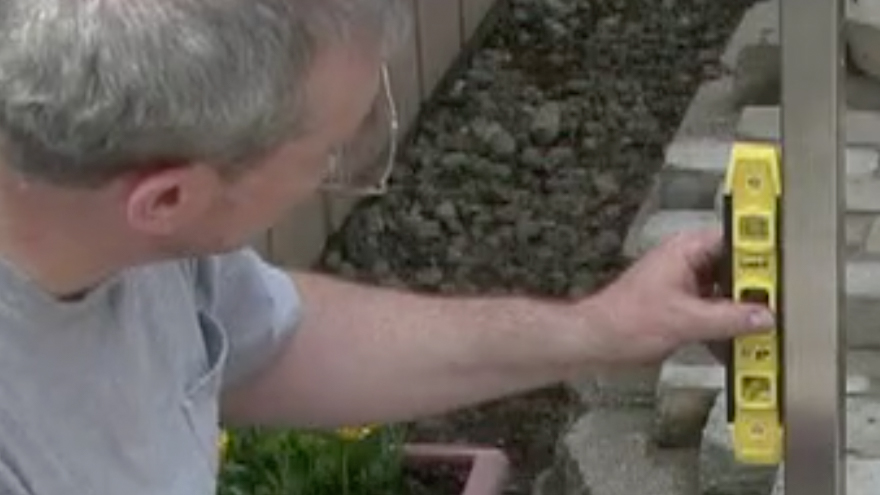
Use a level to make sure that the stainless steel post is straight and the stainless steel base plate is parallel to the steps. If the stainless steel posts aren't straight and the stainless steel base plates aren't parallel to the steps, the Rainier cable railing system could become slanted or warped.
-
Drill Second Hole
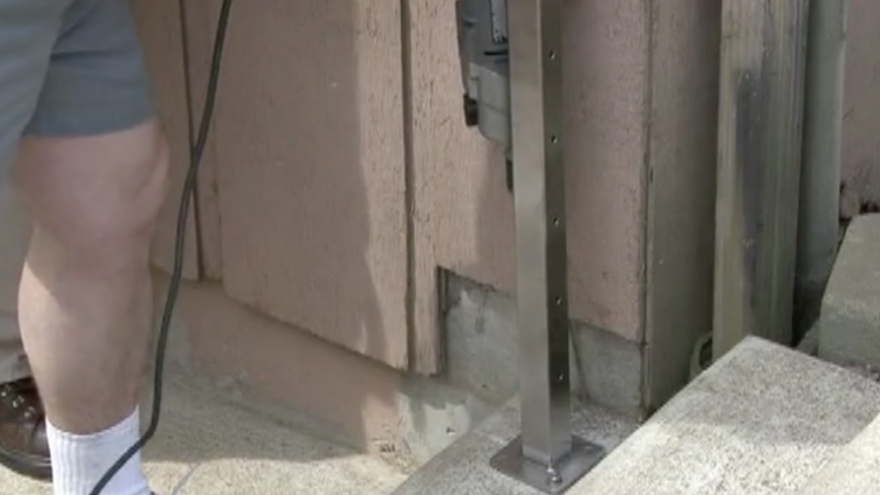
Insert the power drill with a masonry drill bit through a hole in the stainless steel base plate that is diagonally opposite the first hole. Drilling diagonal holes in concrete first is the best way to guarantee that stainless steel posts will stay straight throughout an installation.
-
Pound Second Anchor
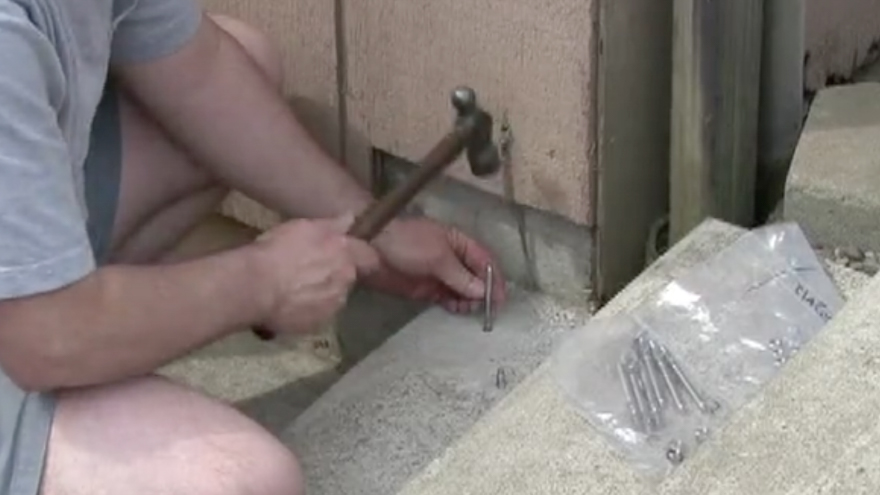
Pound in the second Clearview® - Concrete Expansion Anchor. Leave the ends exposed because a Clearview® - Split Base Plate Cover will need to be attached later. If any mistakes are made, the Clearview® - Concrete Expansion Anchors will be very difficult to remove because they expand inside concrete.
-
Pound Remaining Anchors
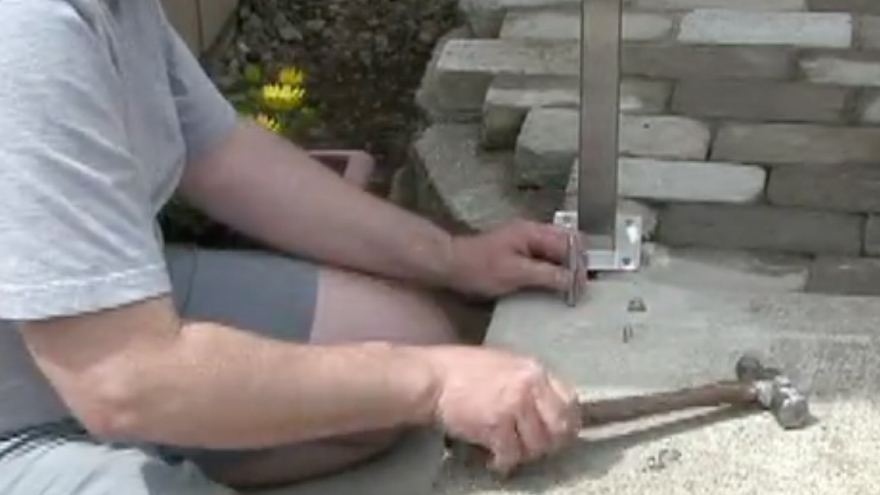
Pound Clearview® - Concrete Expansion Anchors into the other two holes for the stainless steel base plate.
-
Repeat Earlier Steps
Repeat steps 5-10 for the other stainless steel base plates and posts.
-
Apply Bonding Agent
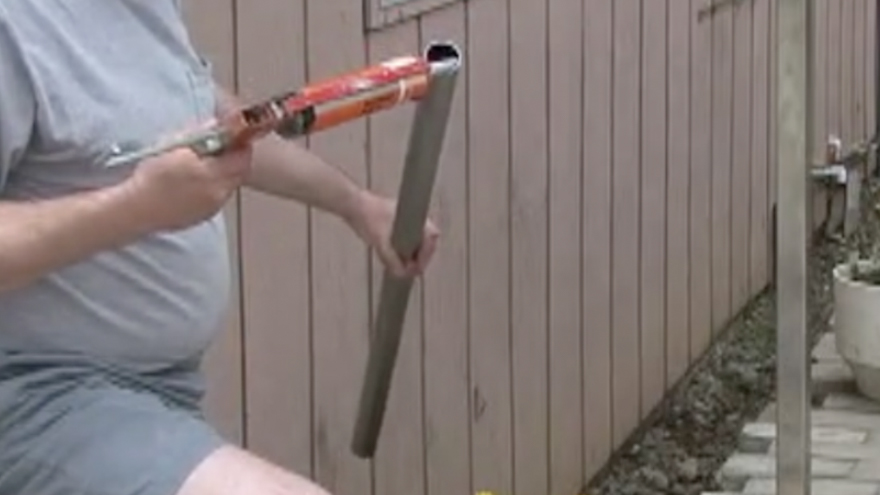
Squeeze the trigger on the glue gun to apply adhesive along the inside end of a hollow stainless steel top rail. BASF - Bonding Agent is an adhesive that hardens for attaching a top rail to stainless steel posts.
-
Attach Top Rail
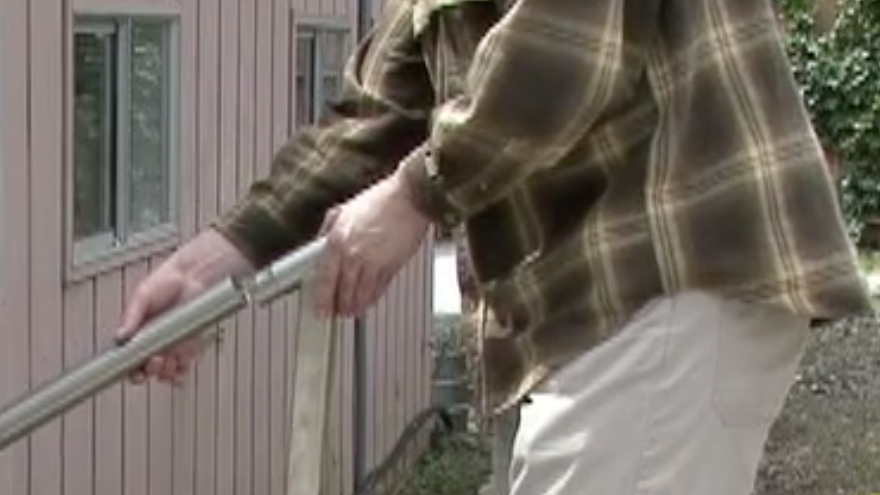
Insert the post cap inside the end of the top rail with a BASF - Bonding Agent. A post cap on a railing system under the Clearview® brand is a stainless steel component welded to the top of a stainless steel post. Twisting the stainless steel top rail a little bit will make the adhesive more effective.
-
Clamp the Posts
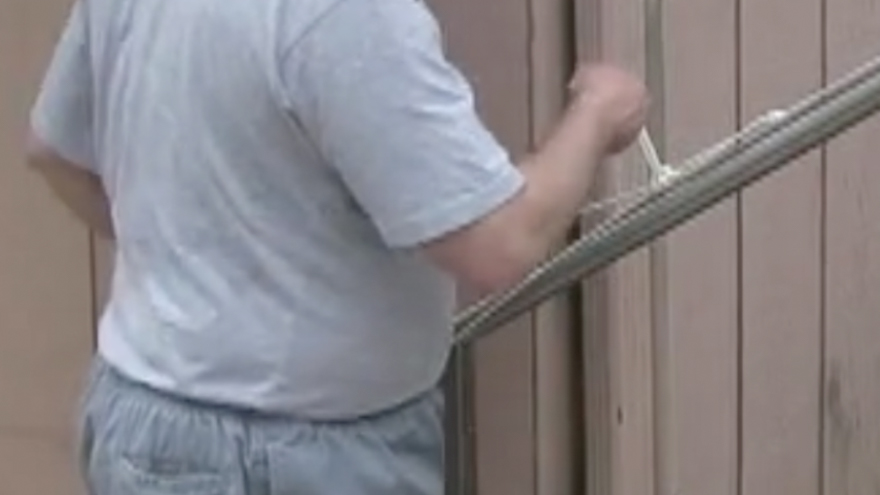
Use some string to temporarily clamp stainless steel posts by tying a trucker's hitch knot or a similar knot. This particular knot is recommended for Do-It-Yourself (DIY) installations without other people to hold them in place.
-
Wipe Off Excess
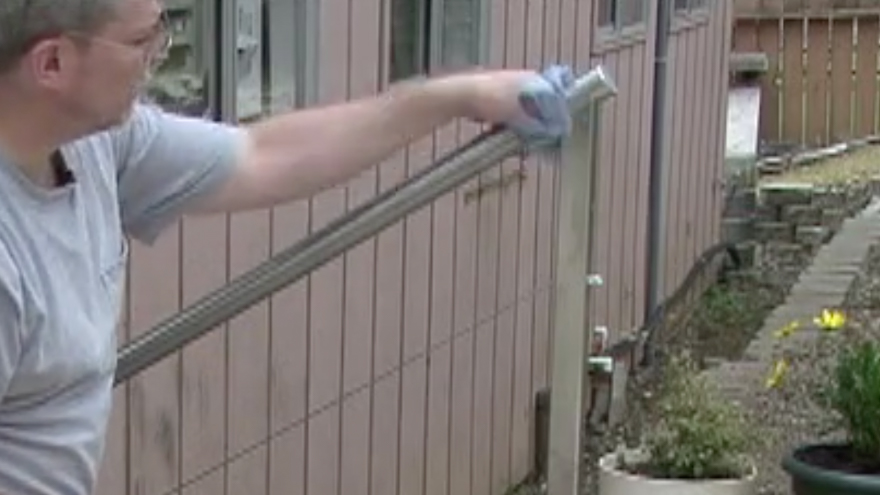
Apply acetone to a rag and wipe off excess BASF - Bonding Agent. Acetone is a solvent that can be used to dissolve adhesives.
-
Tighten Anchor Nuts
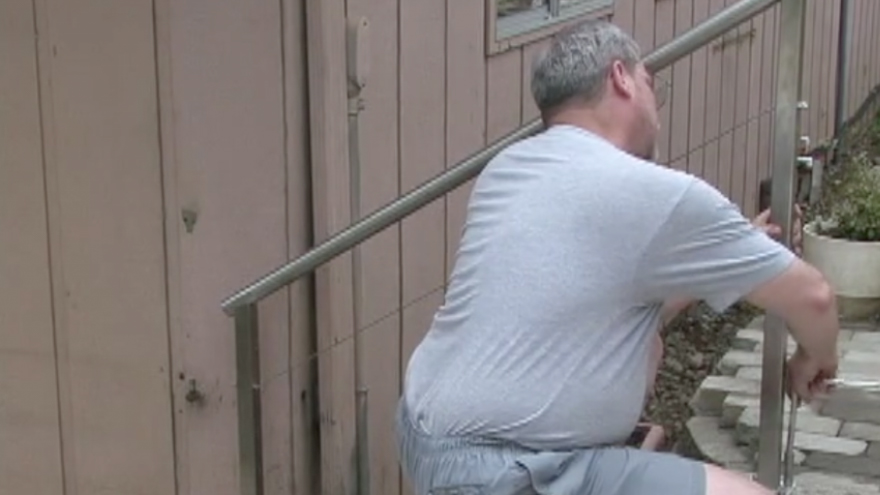
Use an L-wrench to tighten anchor nuts on the exposed Clearview® - Concrete Expansion Anchors. Anchor nuts that are only finger-tightened could become loose and the stainless steel posts could move.
-
Crimp the Fitting
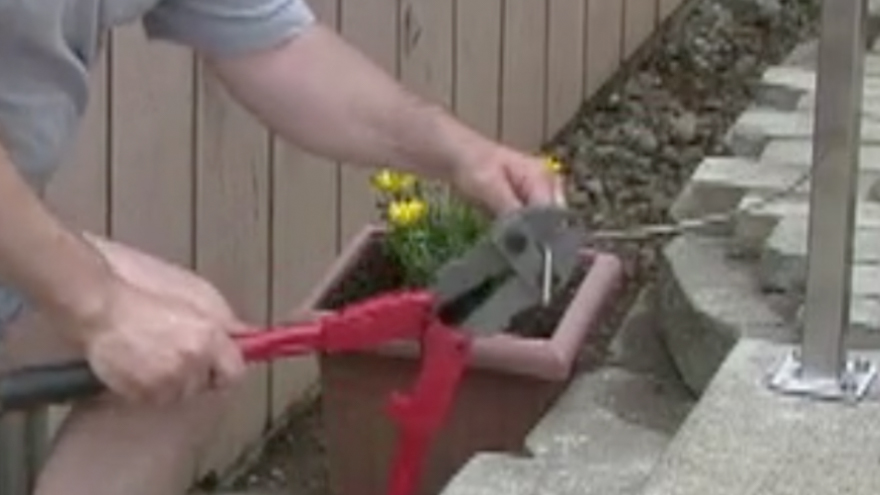
Put the uncoated 1/8-in stainless steel Clearview® - Cable end into the Clearview® - Standard Cable Fitting and crimp the slots 1/2-in apart. AGS - Cable Crimpers were specially designed for crimping Clearview® - Standard Cable Fittings.
-
Slide Cable Through
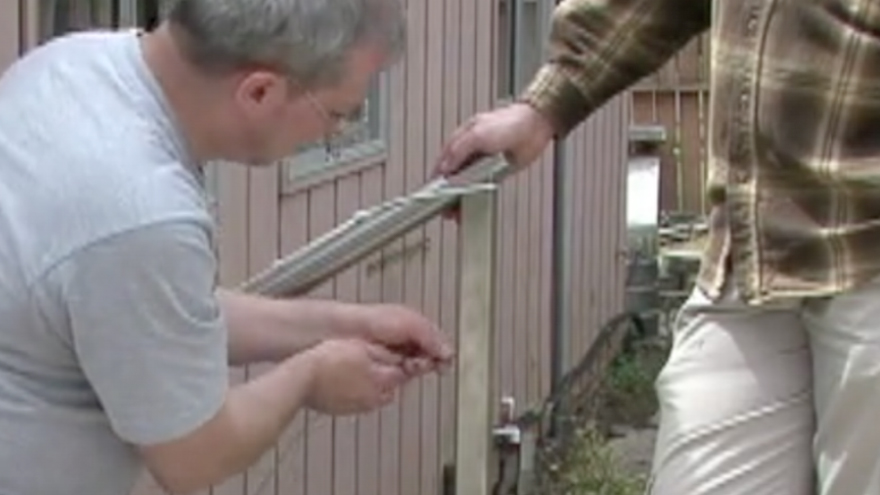
Pull the exposed Clearview® - Standard Cable Fitting with the attached uncoated 1/8-in stainless steel cable out the other side of the stainless steel post.
-
Thread Jam Nut
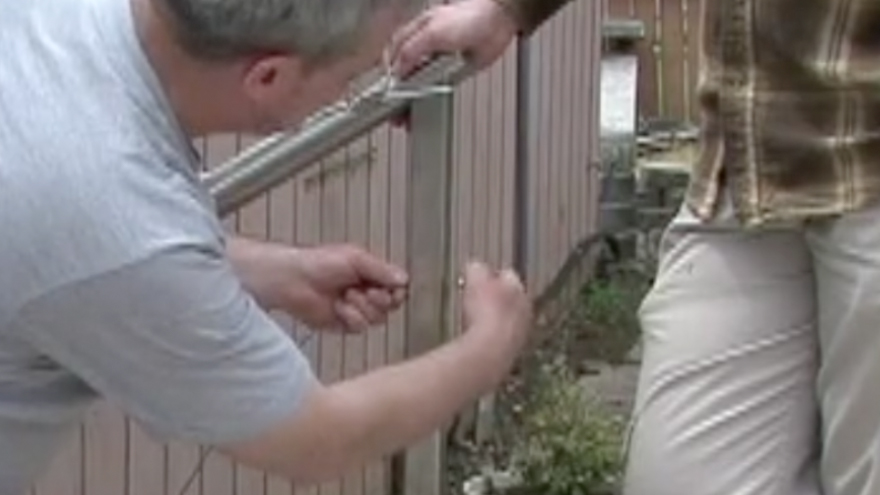
Thread a stainless steel jam nut on the exposed Clearview® - Standard Cable Fitting to secure the uncoated 1/8-in stainless steel Clearview® - Cable. A jam nut has a hex shape with a circle through the middle.
-
Line Up Cable
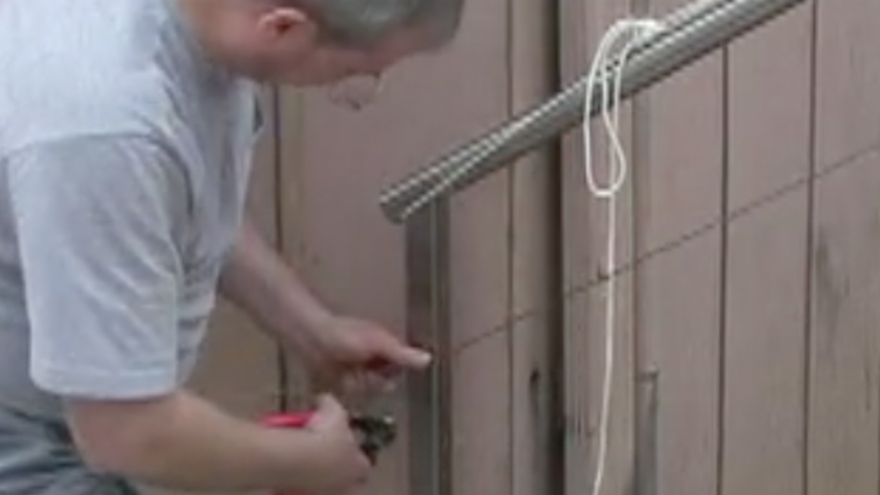
Pull the uncoated 1/8-in stainless steel Clearview® - Cable toward the other post and line it up 3/8-in behind the hole.
-
Cut the Cable
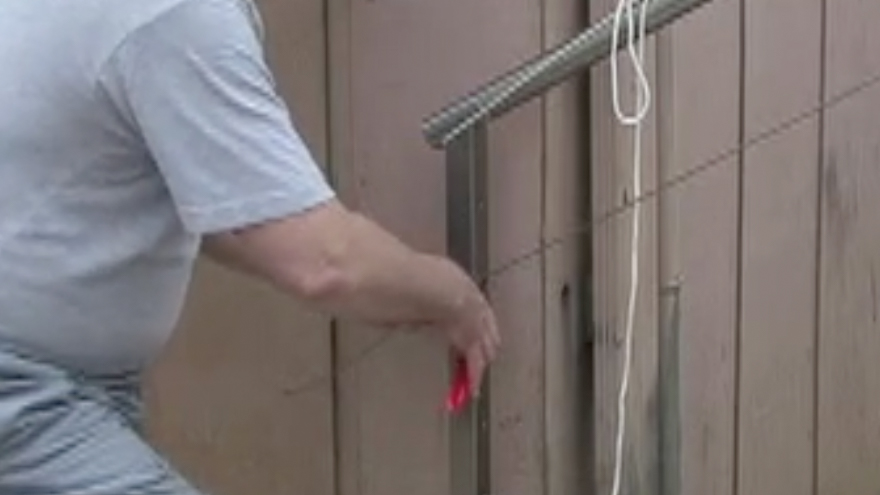
Use AGS - Cable Cutters to cut the Clearview® - Cable. The tool was specially designed for cutting uncoated 1/8-in stainless steel Clearview® - Cables.
-
Repeat Earlier Steps
Repeat steps 18-21 for the other end of the Clearview® - Cable.
-
Confirm Post Alignment
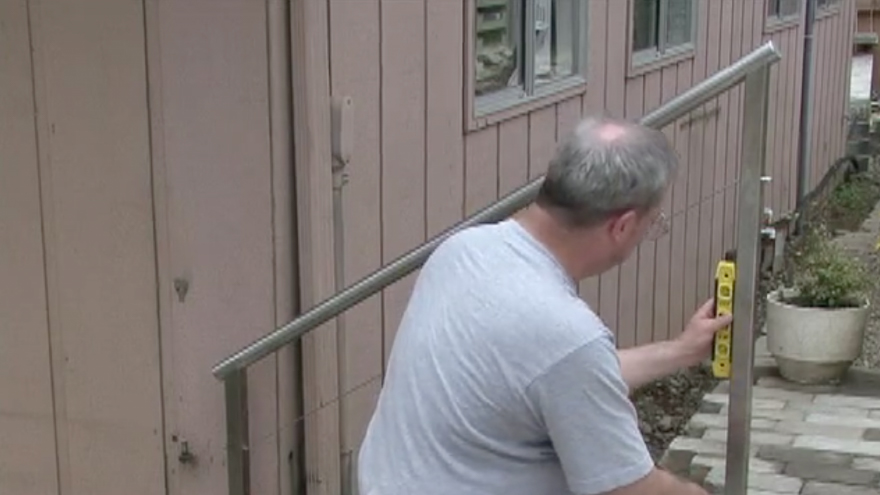
If the stainless steel posts aren't properly aligned, make adjustments as necessary by tightening or loosening nuts on the Clearview® - Concrete Anchors.
-
Repeat Earlier Steps
Repeat steps 18-22 until all of the cables have been installed.
-
Tension the Cables
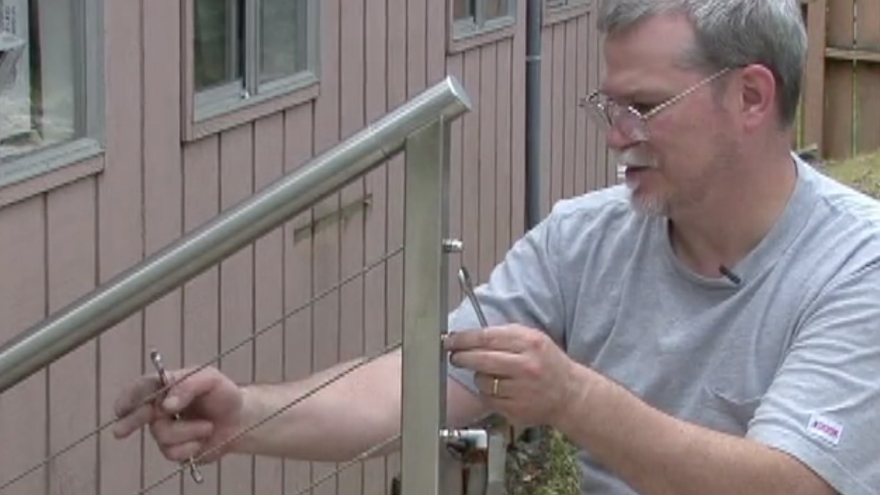
Tighten the jam nuts and acorn nuts with an open-end wrench until the uncoated 1/8-in stainless steel Clearview® - Cables are barely taut. When too much pressure is applied to nuts, several tons of force from runs could bend or deform the stainless steel posts. DO NOT OVERTIGHTEN!
-
Clamp and Tighten
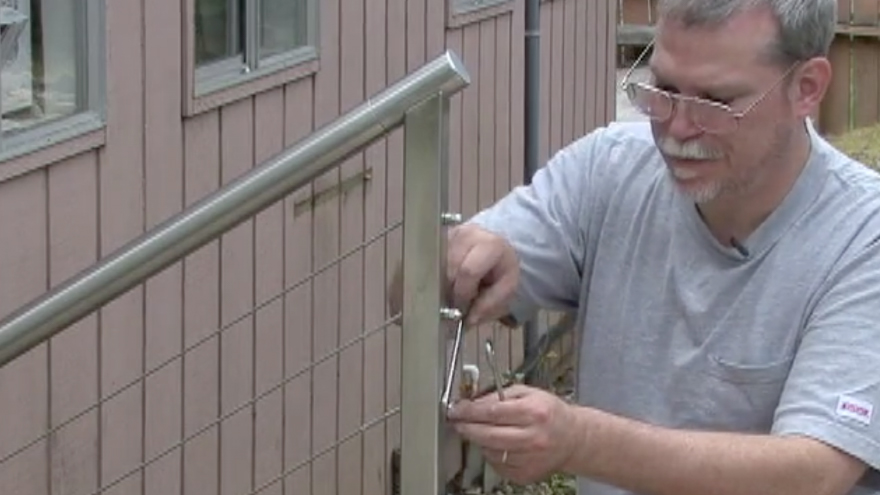
Use locking pliers to clamp the uncoated 1/8-in stainless steel Clearview® - Cables and release slack. Be careful when clamping them to avoid leaving marks. Then tighten the stainless steel jam nuts even more with an open-end wrench.
-
Lock the Nuts
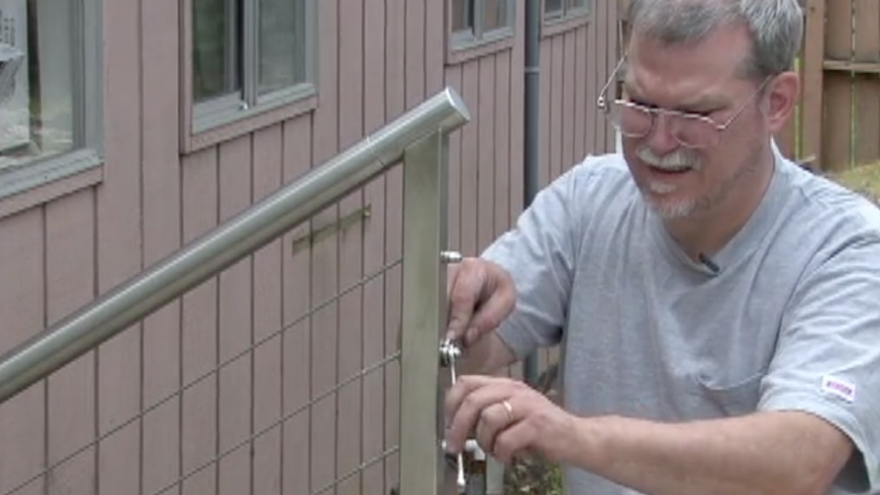
Thread stainless steel acorn nuts on top of the stainless steel jam nuts and finger-tighten. An acorn nut looks like an acorn with a circle through the middle. Then lock the nuts together by holding the jam nut stationary with a open-end wrench and tightening the acorn nut against it with another open-end wrench.
-
Clean and Maintain
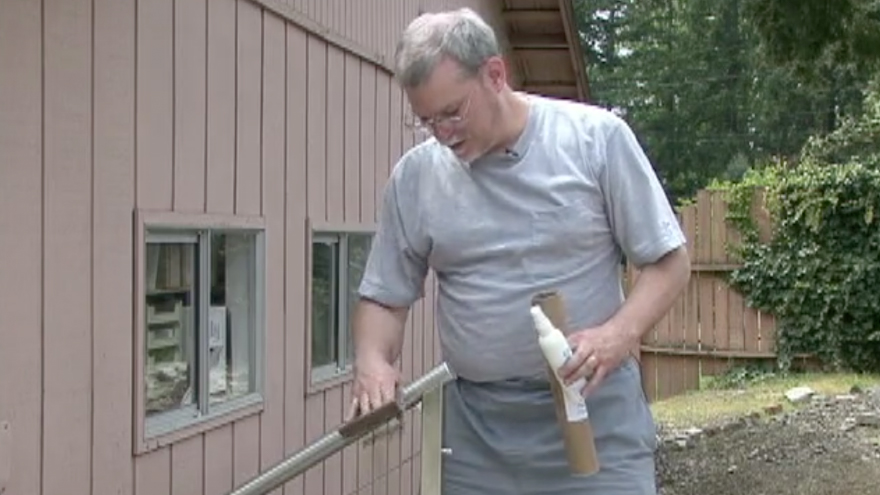
Use a non-abrasive rag or Scotch-Brite® cleaning pad rather than steel wool or steel brushes for cleaning to avoid leaving scratches on the stainless steel posts of a railing system under the Clearview® brand. The AGS - Stainless Steel Cleaning & Maintenance Kit includes a passivation solution, a Scotch-Brite® cleaning pad, and an instruction booklet. To clean a stainless steel post, put some passivation solution on the Scotch-Brite® cleaning pad and rub along the surface in the direction of the brushed finish. Rub the cleaning pad around in a circular motion on the surface of a stainless steel top rail. Wait 15-30 minutes for the passivation solution to penetrate the surface. Then rinse the surface with water to remove chlorides, which cause corrosion. In order to maintain a stainless steel railing system over the long term, a passivation solution will need to be applied on a periodic basis to recondition the surface and remove spots caused by corrosion. For making a stainless steel railing system shine in the short term, an AGS - Stainless Steel Cleaner can be applied as needed.

