Whether you’re ripping out dated wood balusters or finishing a new build, a modern railing system can transform your home’s interior or exterior. Our custom, prefabricated components simplify complex installation challenges while adding beauty, strength and a unifying visual identity for your project.
Before starting your railing project, it’s helpful to understand basic terms and safety considerations for stair railing.
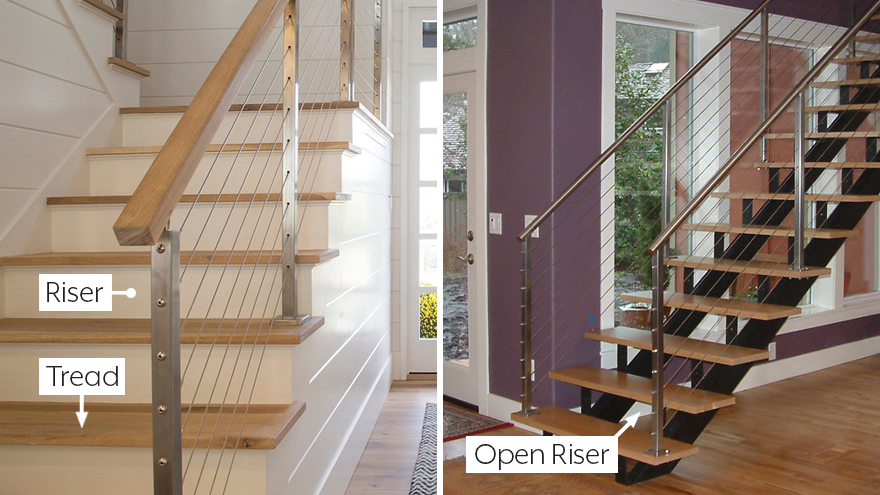
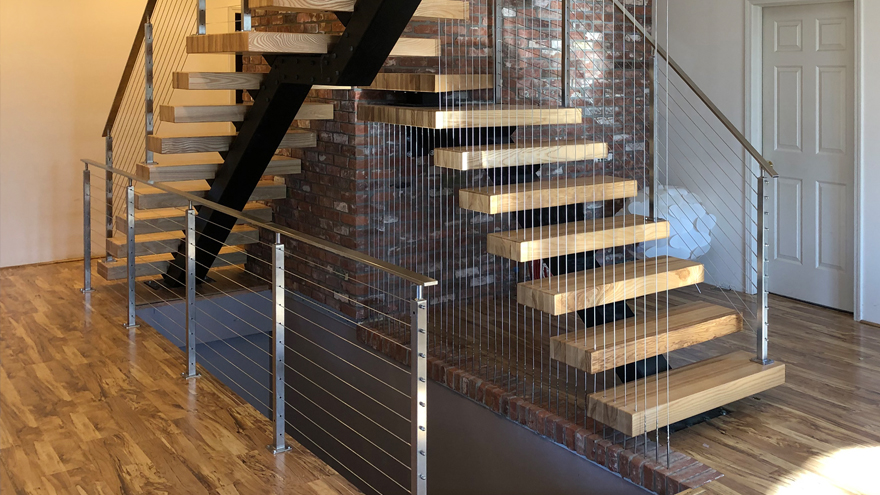
Treads and Risers
Basics: The Tread is the horizontal surface you step on; the Riser is the vertical space between each step.
Design: Traditional stairs use solid risers, while “floating stairs” feature open or absent risers.
Safety: To prevent trip hazards, every riser must be uniform within 3/8″ of one another. For open-riser designs, the gap must not allow a 4-inch sphere to pass through.
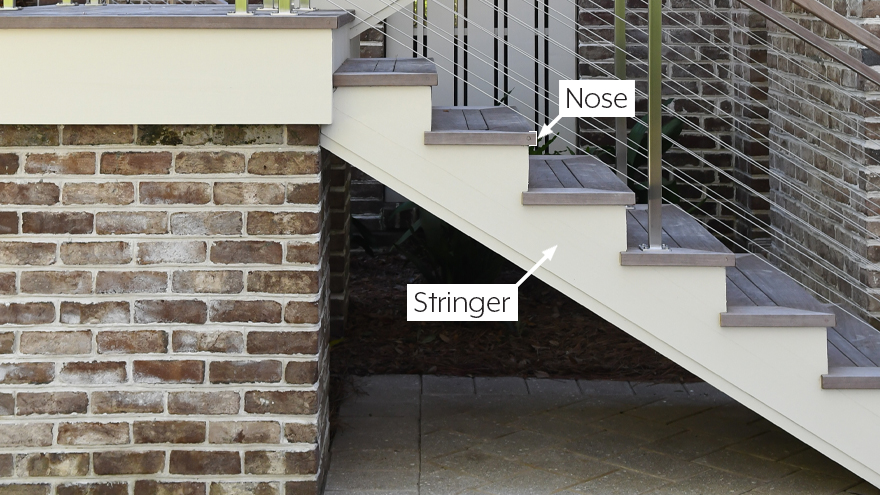
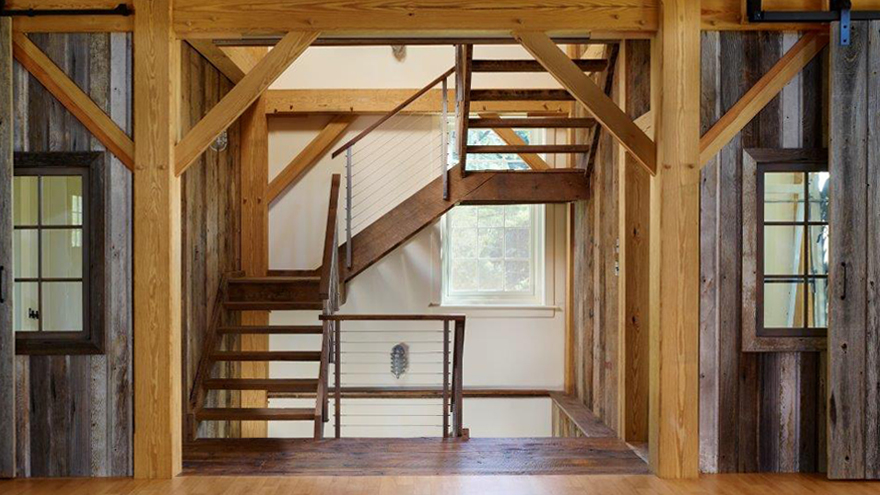
Stringer and Nose
Basics: The Stringer is the structural component that supports the staircase. The Nose is the edge of the tread that overlaps the step below.
Design: When treads extend past the riser, they are known as “nosing” treads. This creates an extra surface area for the step and a visual shadow line that helps people distinguish where one step ends and the next begins.
Safety: The IRC typically requires a 3/4″ to 1-1/4″ nosing on stairs with treads less than 11 inches deep to provide adequate footroom and visibility during ascent and descent.
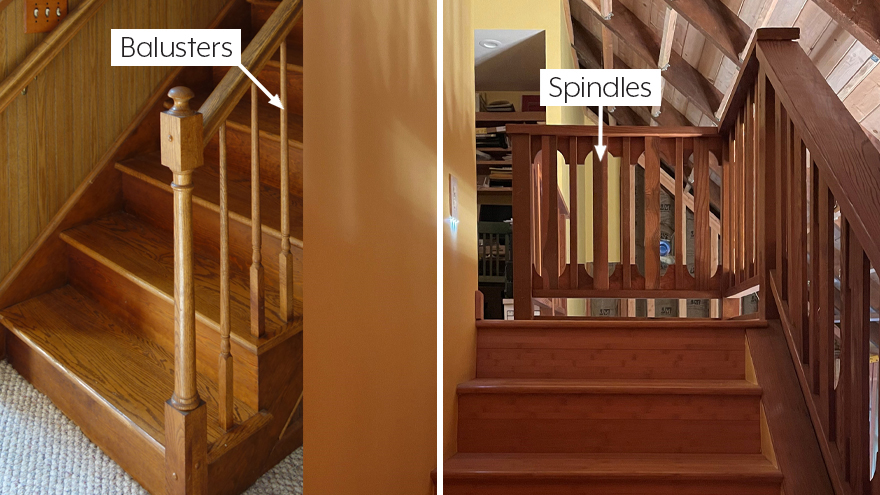
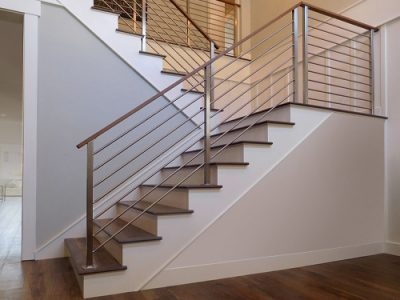
Balusters and Spindles
Basics:Balusters are vertical components mounted directly to a flat surface (like a tread). Spindles are vertical components mounted into a bottom rail.
Design: Choose balusters for a minimalist look where lines disappear into the stairs. Choose spindles for a traditional aesthetic or to avoid drilling directly into high-end stair treads.
Safety: Regardless of mounting style, the spacing between vertical components must be small enough that a 4-inch sphere cannot pass through, ensuring child safety and meeting local building codes.
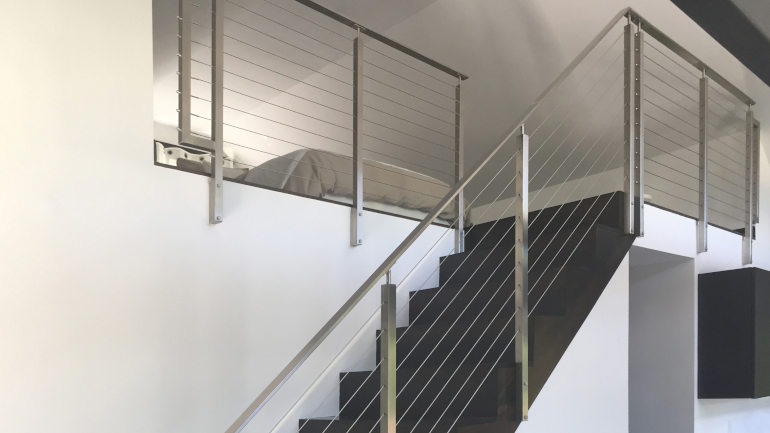
Stair Handrails
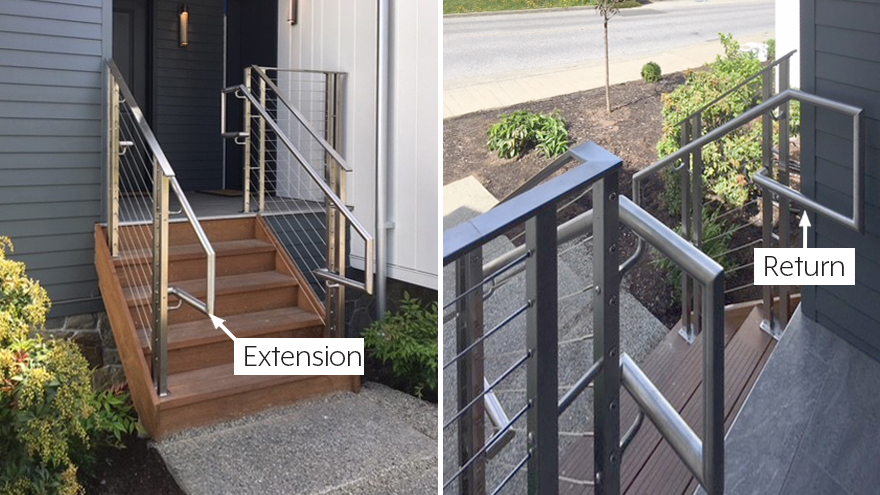
Basics: A Handrail is the horizontal or angled component that sits atop the railing posts. It is often finished with End Caps or Returns to ensure there are no sharp edges at the start or end of the flight.
Design: Options range from minimalist Flat and Round stainless steel to warm, natural Wood. For complex layouts, Goosenecks and Transitions are used to maintain a sleek, continuous shape through direction and height changes.
Safety: To meet “Graspability” codes, handrails must be easy to grip and continuous for the full length of the stairs. Handrail Returns are often required to ensure the rail ends back against a wall or post, preventing clothing or bags from snagging.
Every layout requires unique engineering for transitions and handrail flow. Which configuration matches your home?
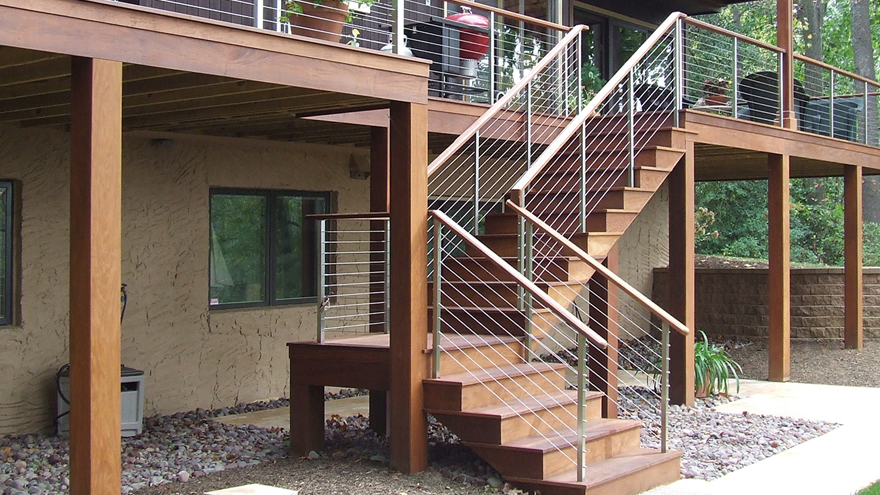
Dogleg (L-Shaped)
Features a landing before a 90-degree turn. These layouts require custom-engineered transitions to ensure a continuous, code-compliant handrail flow.
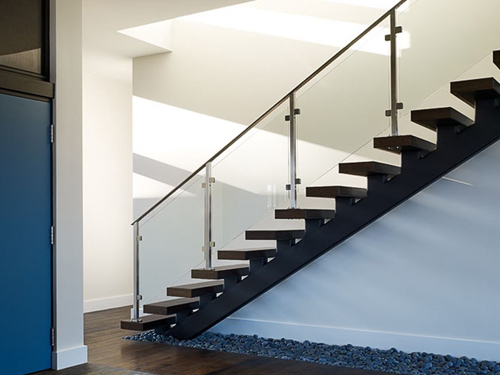
Straight Stairs
A single flight with no direction changes. These offer the most straightforward DIY installation and clean, uninterrupted visual lines.
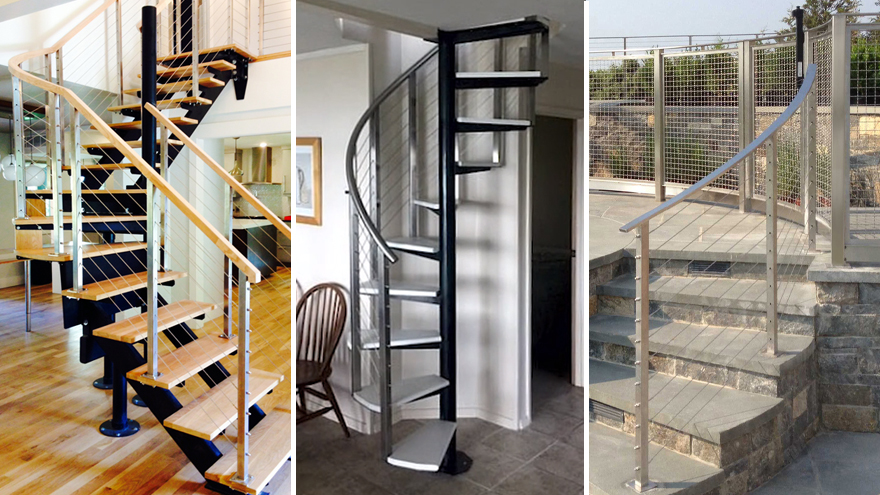
Winder & Spiral
Features angled steps or central rotation. These complex geometries often require custom-rolled handrails for a precise, professional finish.
Switchback (U-Shaped)
Defined by a landing preceding a 180-degree turn. This layout creates a dramatic architectural statement while maximizing vertical space.
Versatile Applications for Every Project
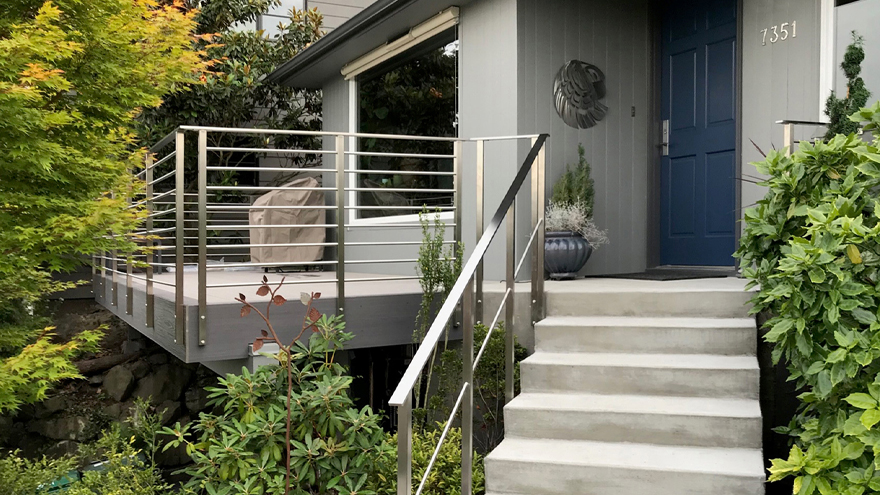
Interior versus Exterior Applications
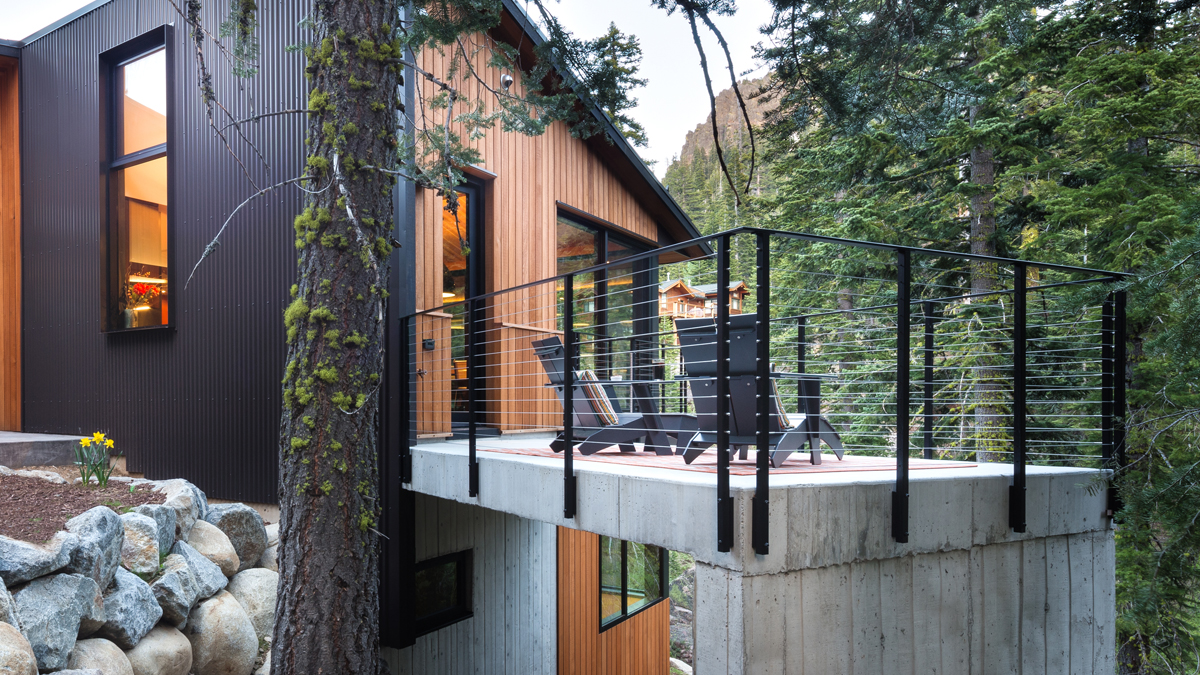
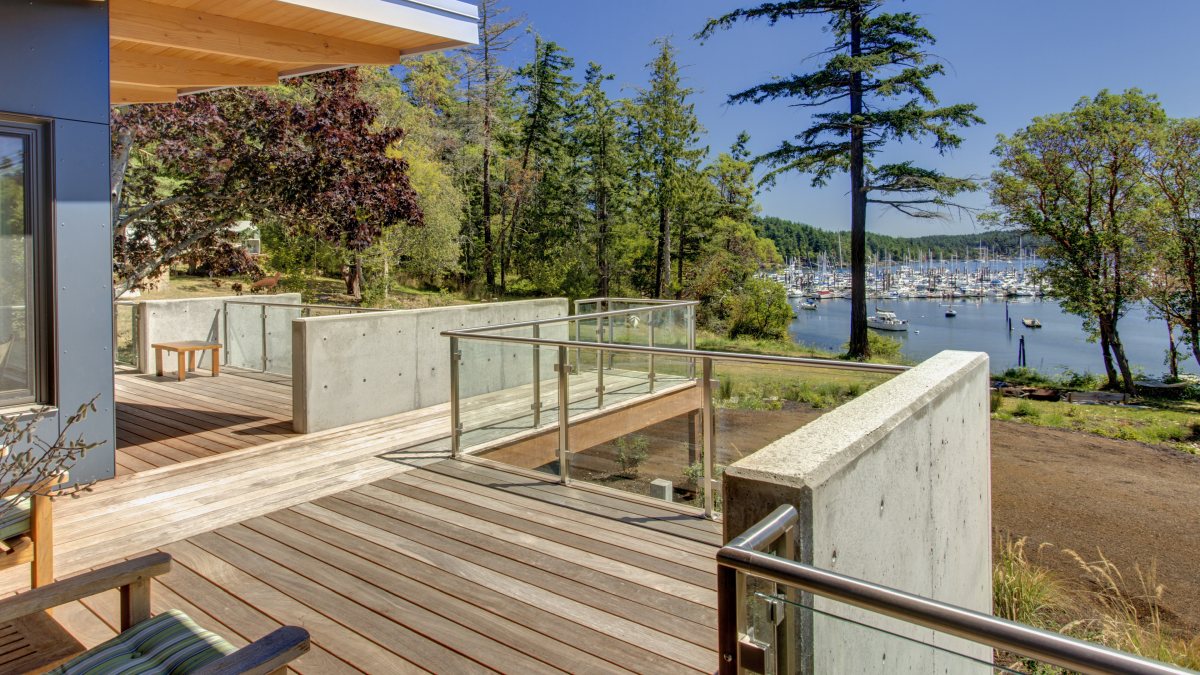
Basics: AGS systems are engineered for both indoor and outdoor use. While the aesthetics may be similar, the hardware and finishes are optimized for the specific environmental demands of the location.
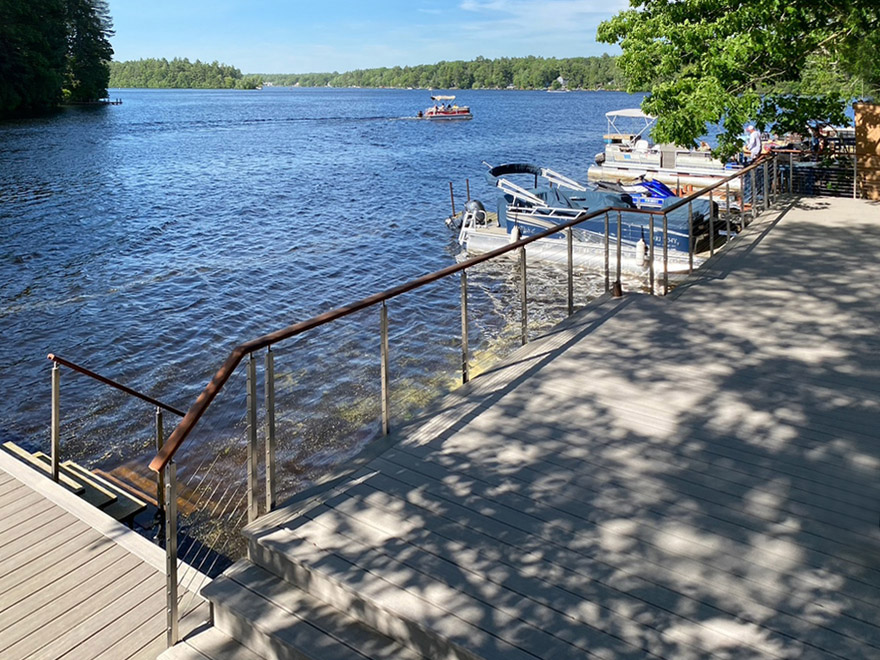
Design: Create a “unifying visual identity” by matching your interior foyer railing with your back porch or deck system. Using Marine-Grade 316 Stainless Steel ensures that even in harsh coastal environments, your railing maintains its structural integrity and finish.
Safety: Exterior stairs often require different height standards (typically 36″ to 42″) depending on the height of the “drop.” Always verify your local code for outdoor garden or patio steps before selecting your post heights.
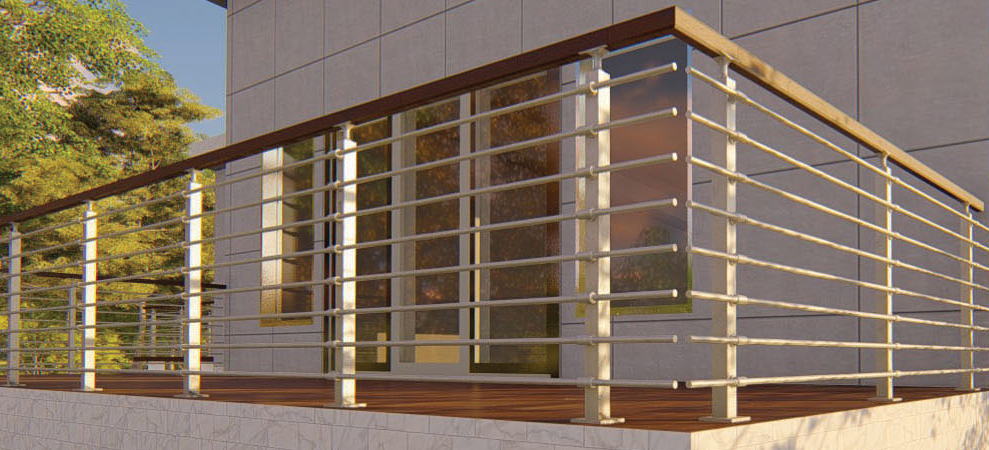
Mounting on Wood vs. Concrete
The Basics: How you secure your posts depends entirely on your mounting surface (substrate). Top Mounts are standard for treads, while Side Mounts are used to maximize the walkable width of a staircase.
The Design: For wood stairs, we utilize high-strength Lag Screws. For concrete or masonry steps, we provide Expansion Anchors. Both options can be optionally finished with our seamless Base Plate Covers for a clean, professional look.
The Safety: A railing is only as strong as its connection to the house. AGS provides specific hardware kits engineered for wood, concrete, and metal to ensure your system meets the required 200-lb concentrated load safety standard.
Solving Complex Stair Geometry
Staircases rarely follow a perfect line. Our designers use your measurements to engineer solutions that eliminate the need for bulky onsite adapters which can disrupt visual flow.
Wall-to-Post Transitions
For narrow landings where a second post won’t fit, Deck Toggles secure cable runs directly into structural wall framing, saving space while maintaining high tension.
Pitch-Matched Baseplates
For open-riser or floating stairs, we provide Custom Angled Baseplates so your posts sit perfectly plumb on a sloped stringer without unsightly shims.
Code-Compliant Flow
We calculate the exact dimensions for Goosenecks and Returns to ensure your handrail remains at a consistent, graspable height through every turn.
Layout and Mark: Using your CAD drawings, mark the exact center points for each post based on the “nose” of the tread.
Dry Fit: Place your posts and rest the handrail across the top brackets to verify the pitch matches your stairs before drilling.
Secure the Posts: Drill and mount your posts, ensuring each is perfectly plumb (vertical) and that heights are consistent along the pitch of the stairs.
Attach the Handrail: Dry-assemble your top rail and any Gooseneck transitions before final mounting. This ensures a continuous, graspable surface that meets local building codes.
Run the Infill: Thread your cables, insert your bars, or secure your glass. Always tension cables from the center outward to ensure even pressure across the system.
More Installation Tutorials
Installing Deck Stair Railing Systems
Installing Olympus on Open Riser Stairs
Installing Concrete Mounting Hardware
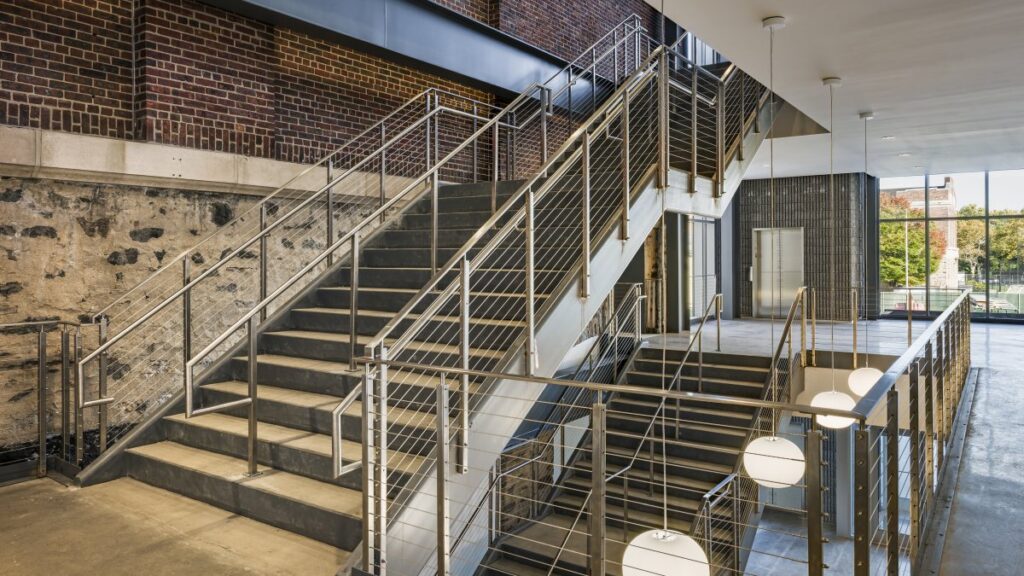
Our design team has consulted on thousands of staircases, from high-traffic commercial and public entries to custom coastal builds for private homes.
Don’t let a complex layout slow your build. Our design team specializes in custom curves and non-standard angles. Let AGS handle the math for your stairway installation.