

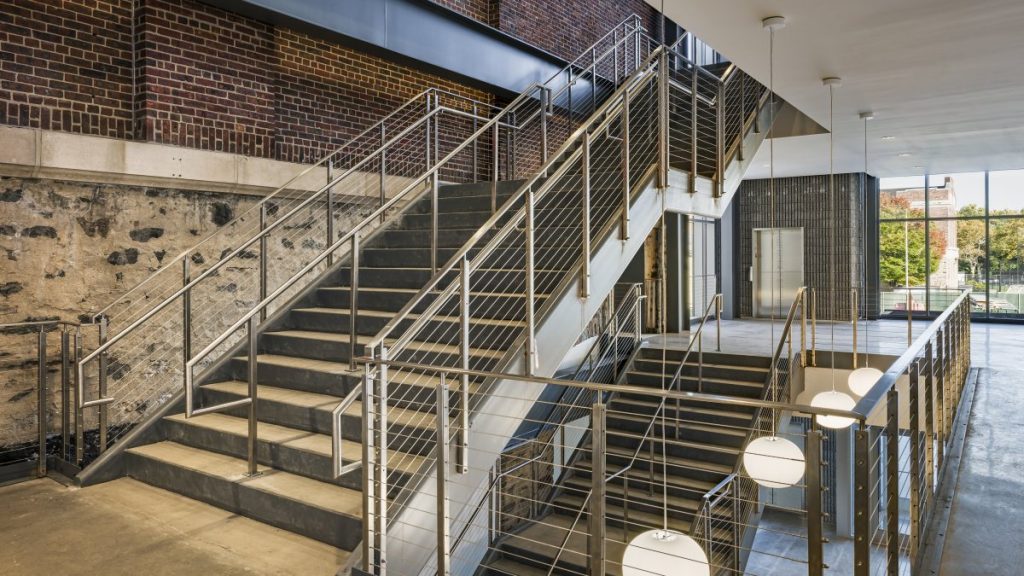
Installing Cable on Concrete Stairs
This guide provides the specific anchor patterns, drilling depths, and hardware configurations required for mounting Rainier stainless steel posts to sloped masonry.
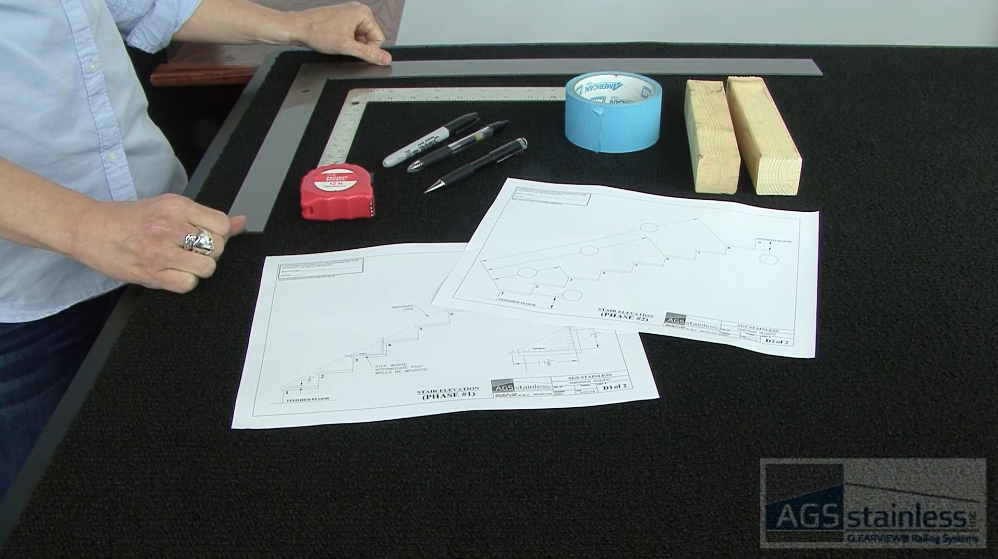
Gather Your Tools
- Power Drill & Masonry Drill Bit (Long bit preferred)
- Hammer
- Level
- String (For Trucker’s Hitch)
- Masking Tape (For bit depth and tool protection)
- AGS Cable Crimpers
- AGS Cable Cutters
- (2) Open-End Wrenches
- Locking Pliers
- BASF Bonding Agent & Glue Gun
- Acetone & Rag (For adhesive cleanup)
- AGS Stainless Steel Cleaning & Maintenance Kit
Before You Begin
- Read the Rainer Installation Guide
Read the entire guide before proceeding with your installation. - Unpack and Inventory
Unpack each box and inventory contents. Contact AGS immediately if quantities do not match packing list. - Cut Packaging Carefully
Use a knife and cut cautiously to avoid scratching the brushed finish. Use the included Scotch-Brite® pad to fix any minor marks. - Tape Your Bit
Mark your masonry bit with tape to ensure 2-inch deep pilot holes. - Verify Layout
Review your AutoCAD or hand-drawn drawings to verify post placements. - Prepare Passivation
Have your AGS Cleaning & Maintenance Kit ready. (You’ll want to passivate all components immediately after installation.)
Step-by-Step Guide
Achieve a professional fit and finish with our Rainier resources. Download the full manual and follow our step-by-step video for a visual walkthrough.
-
Drill and Set First Anchor
Mark your 3/8″ masonry bit with tape for a 2-inch deep hole. Drill the first hole through the base plate and pound in the expansion anchor, leaving 3 threads exposed to grab the nut.
-
Align and Level Post
Snug the first nut, then use a level to ensure the post is straight and the base plate is parallel to the steps. Adjust the post until the position is perfect before proceeding to the next hole.
-
Anchor and Repeat
Drill the hole diagonally opposite the first to lock the post’s position. Set that anchor, then drill and set the remaining two. Repeat this entire process for the bottom stair post.
-
Bond the Top Rail
Squeeze BASF Bonding Agent into the ends of the hollow top rail. Insert the post caps into the rail and twist slightly to spread the adhesive evenly across the connection.
-
Make a Temporary Clamp
Tie a trucker’s hitch knot with string between the posts to clamp the system while the adhesive cures. Wipe away any excess glue from joints with acetone on a cleaning cloth.
-
Crimp Twice
Insert the cable into a Standard Cable Fitting. Use AGS Cable Crimpers to crimp twice: once 1/2″ from the fitting’s edge, and again 1/2″ in from the first crimp.
-
String and Measure
Feed the cable through the intermediate posts. Secure the first end with a jam nut. Pull the cable taut at the opposite end post and cut it exactly 3/8″ shy of the post face.
-
Tension and Plumb
Crimp the second fitting twice, the same way you did in Step #6. Thread the jam nut. Check the post for level; tighten anchor nuts on the “high side” of the bubble to pull the post into a perfectly vertical position.
-
Lock Ends
Tighten jam nuts until barely taut, then lock acorn nuts against them using two wrenches.
-
Clean and Passivate
Clean railing. Apply passivation solution as directed in the instructions included with your AGS Maintenance and Cleaning Kit. Remember to let the solution sit for 15–30 minutes, then rinse with water.