


Installing Cable on Wood Using Standard Crimped Fittings
This guide covers everything you need to know about installing AGS Stainless cable infill on wood posts using standard crimped fittings.
Gather Your Tools
- Safety Glasses
- Power Drill & AGS Drill Bit (sized for wood posts)
- AGS Cable Cutters
- AGS Cable Crimpers
- Measuring Tape
- Permanent Marker & Masking Tape
- BASF Bonding Agent (for handrail connections)
Before You Begin
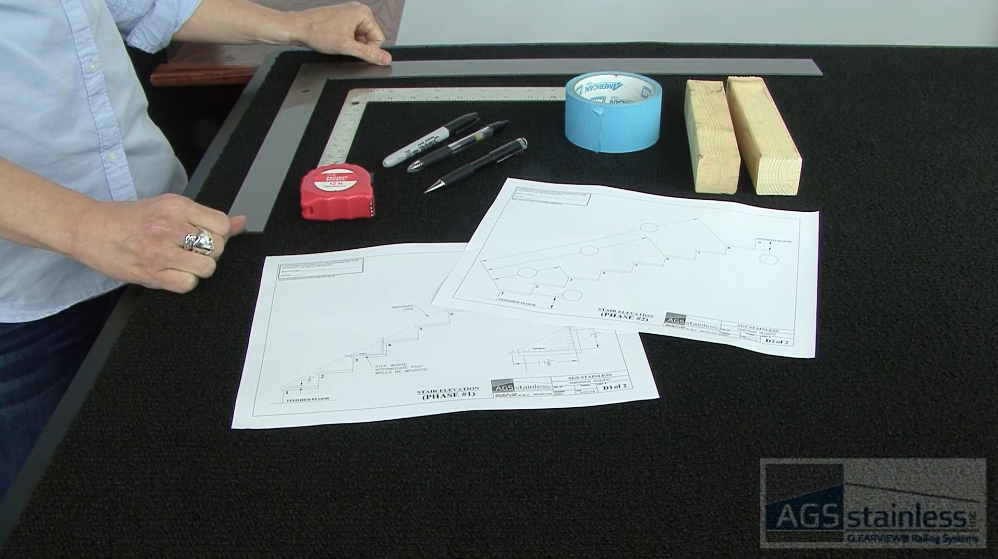
- Read the Rainer Installation Guide
Read the entire guide before proceeding with your installation. - Layout and Protect
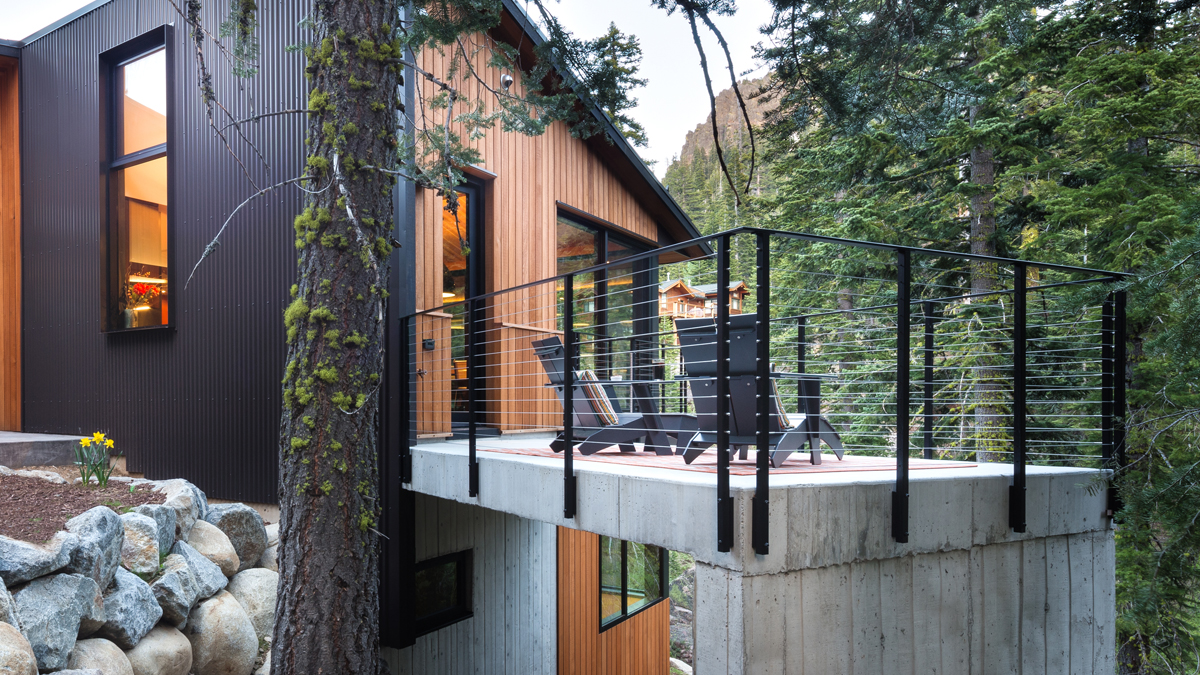
Lay your posts out. Always use masking tape on wood posts before marking hole locations. This prevents permanent ink or pencil stains on the wood grain. - Prepare Cable Sleeves (optional)
If your railing layout transitions from a horizontal run to a stair pitch, includes a corner or angle, or is on softer wood such as cedar or redwood, use Clearview® Cable Sleeves to prevent tensioned cable from “sawing” into the wood post over time. - Note Handrail Care
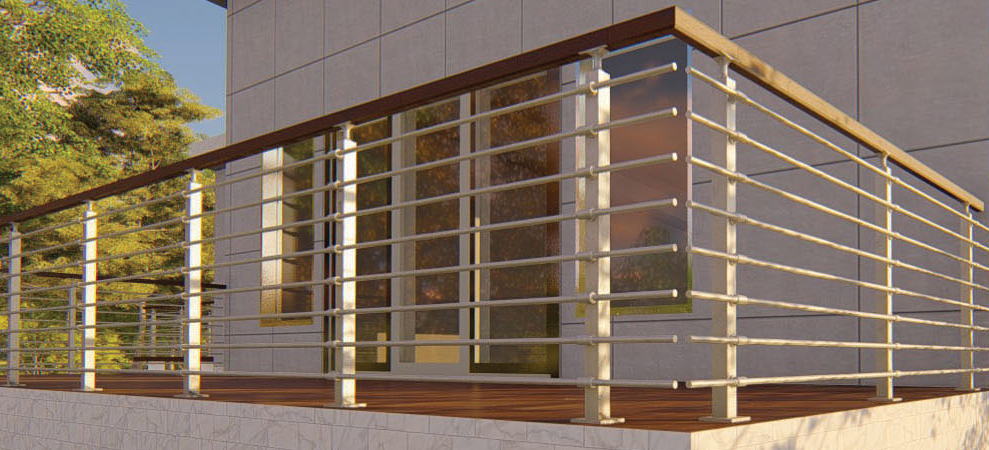
If you are installing a stainless steel handrail, note that the grain on round top rails runs circularly, not lengthwise. Use a circular motion when cleaning or passivating. - Prepare Passivation
Have your AGS Cleaning & Maintenance Kit ready. Passivate all stainless steel components immediately after installation to protect from tool-marks and environmental contaminants. Remember to allow the solution to sit for 15-30 minutes before rinsing.
Step-by-Step Guide
Achieve a professional fit and finish with our Rainier resources. Download the full manual and follow our step-by-step video for a visual walkthrough.
-
Mark Post Holes
Apply masking tape to both sides of your wood posts and mark your horizontal hole locations.
-
Drill Through Post<br>(The Halfway Rule)
Drill halfway through from each side of the post to ensure holes are perfectly horizontal and meet in the center. This prevents the drill bit from “wandering” off-center, which often happens when drilling through the full thickness of a wood post from a single side.
-
Insert Cable Sleeves
Push Clearview® Cable Sleeves into the holes on any intermediate posts where the cable will exit at an angle for example, at a corner, angle or stair pitch.
-
Put on First Fitting
Slide a Standard Cable Fitting onto one end of the cable.
-
Crimp Twice
Use your AGS Cable Crimpers to compress the fitting 1/2“ from the fitting’s end/edge. Then, crimp again, 1/2“ in from the first crimp.
-
Insert Through Hole
Feed the crimped fitting through the starting wood post.
-
Secure Starting Post
Slide a Clearview® Flat Bearing Washer onto the fitting and thread a stainless steel Jam Nut until it is finger-tight against the post face.
-
String the Run
Pull the cable through all intermediate posts and prepared sleeves.
-
Mark the Final Cut
Pull the cable taut at the end post and mark it at the center of the post.
-
Deduct 2 Inches
Pull the cable back out and measure 2 inches back from your mark- toward the cable run. Cut the cable here using AGS Cable Cutters.
-
Crimp Other Fitting
Insert the cut end into a new fitting and crimp twice. (Repeat Step #5).
-
Final Feed
Insert the new fitting through the final wood post.
-
Thread Hardware
Add the bearing washer, jam nut, and acorn nuts. Finger-tighten.
-
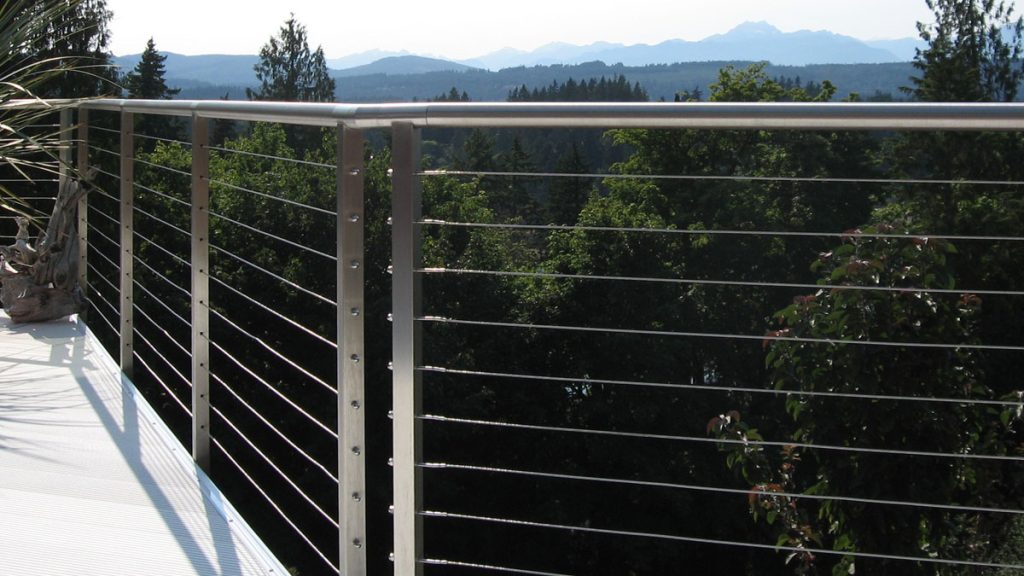
Tension from Middle Out
Starting with the middle run, tighten the jam nuts until the cable is just taut. Alternate above and below the center to balance the load on the posts.
Important: Do not over-tension as the combined force of multiple runs can bow or deform wood posts. Tension until the “slack” is gone and the cable is firm. -
Lock All Nuts
Place an open-end wrench on the jam nut and one on the acorn nut; twist in opposite directions to lock them together.