
Preparing for Railing Mounts: Selection and Strategy
The key to choosing the right mount is balancing the architecture of your home with the structural requirements of your surface. Use this guide to identify the best mounting method for your project.
Mounting Comparison at a Glance
| Feature | Top Mount (Surface) | Side Mount (Fascia) | Core Drill |
|---|---|---|---|
| Best For | Wood Decks / Indoor Stairs | Small Balconies / Narrow Stairs | Concrete Patios / Pool Decks |
| Space Impact | Uses 4–6″ of floor space | Zero floor space loss | Neutral |
| DIY Level | Beginner Friendly | Intermediate | Professional |
| Aesthetic | Traditional & Bold | Modern & Minimalist | Seamless & Luxury |
Hardware Anatomy: Visualizing Your Options
There are three methods for mounting an AGS post to your structure.
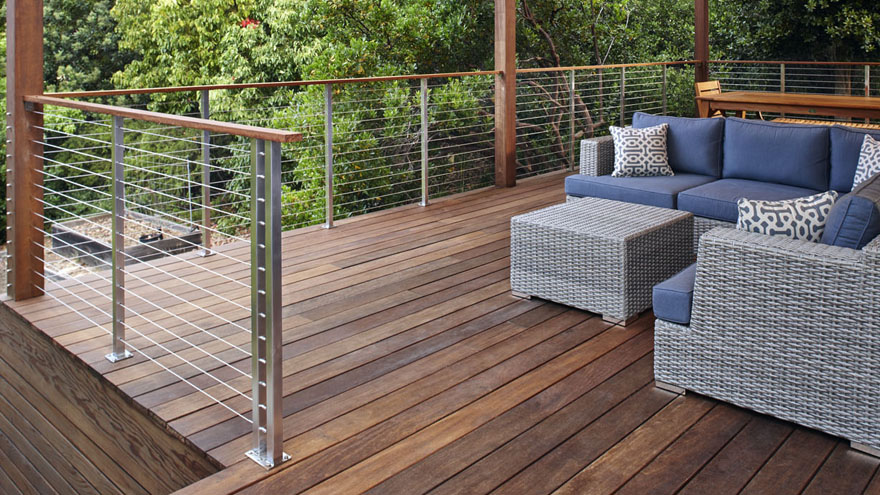
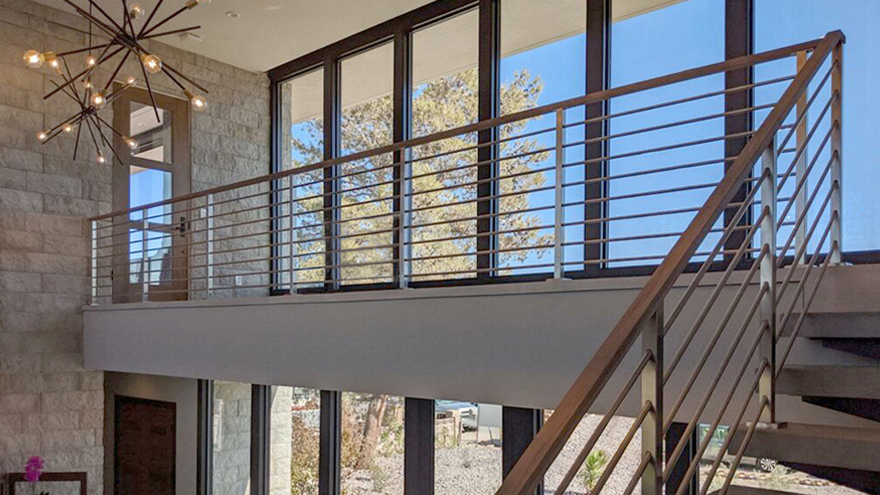
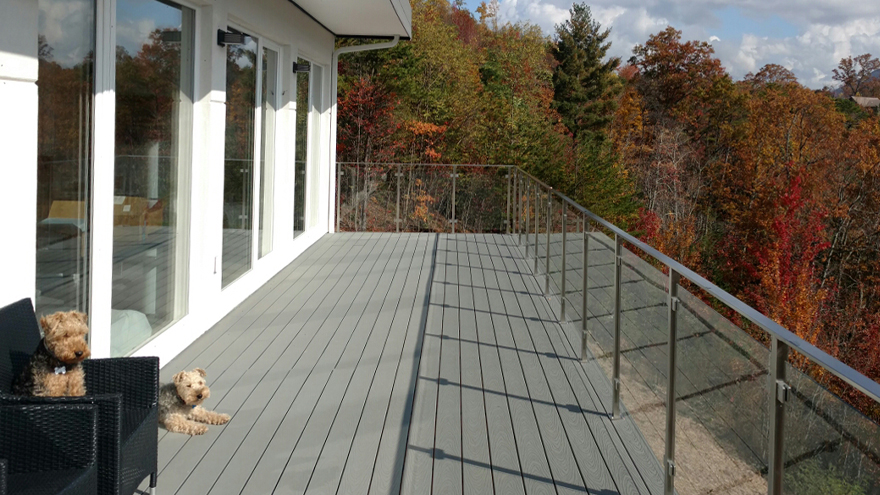
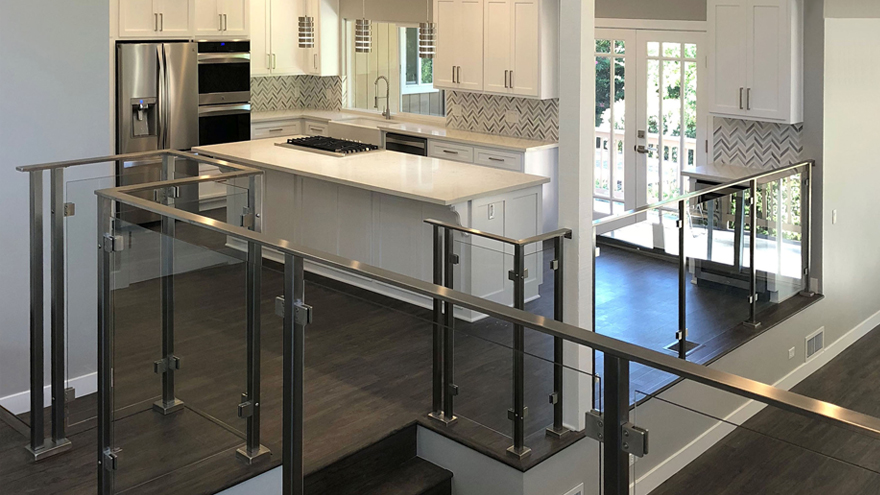
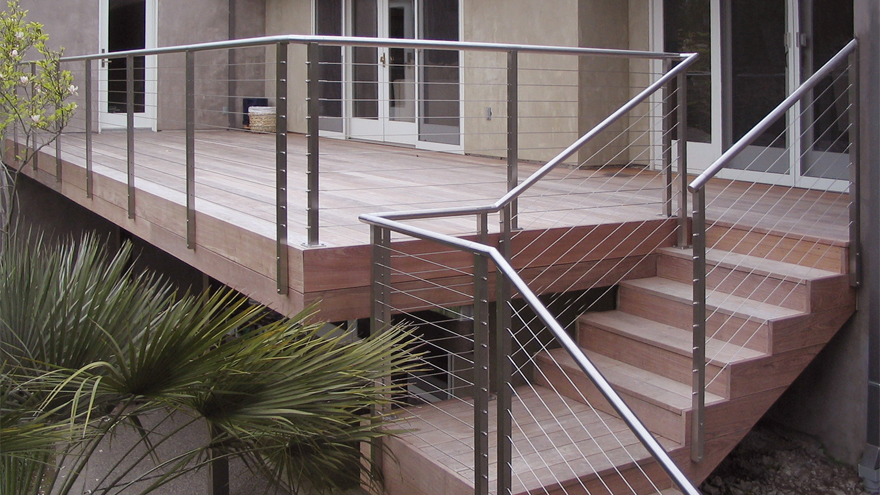
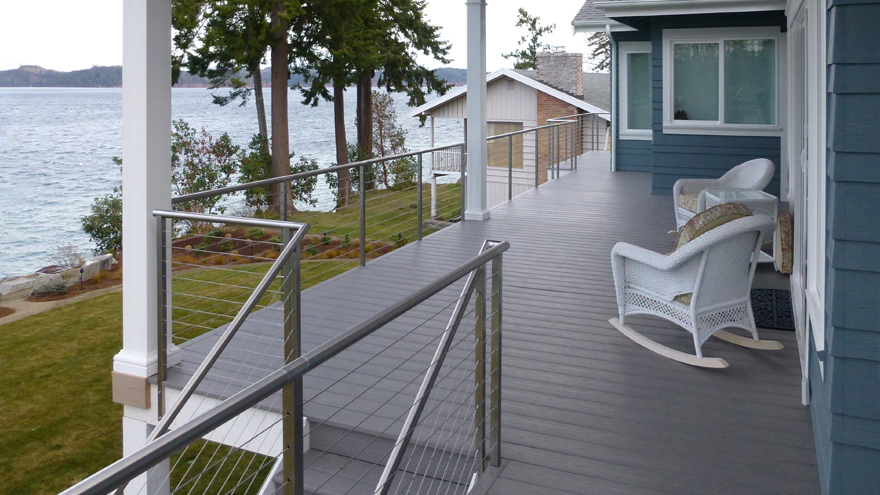
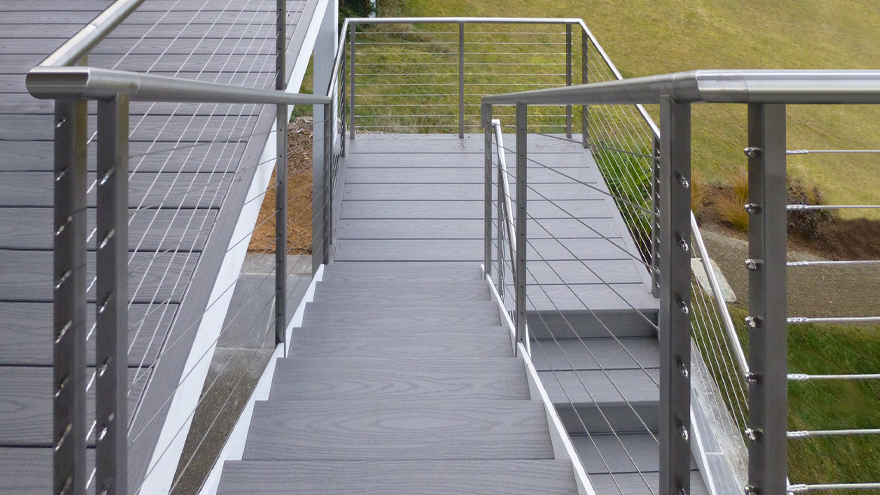
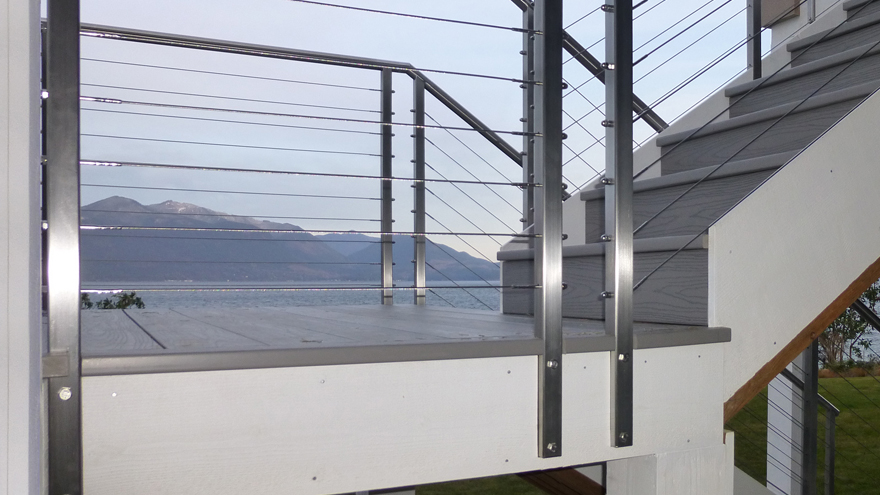
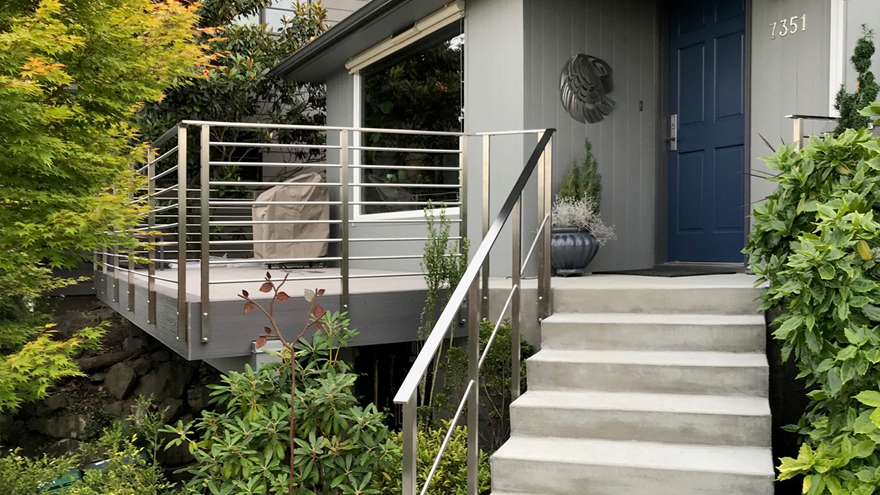
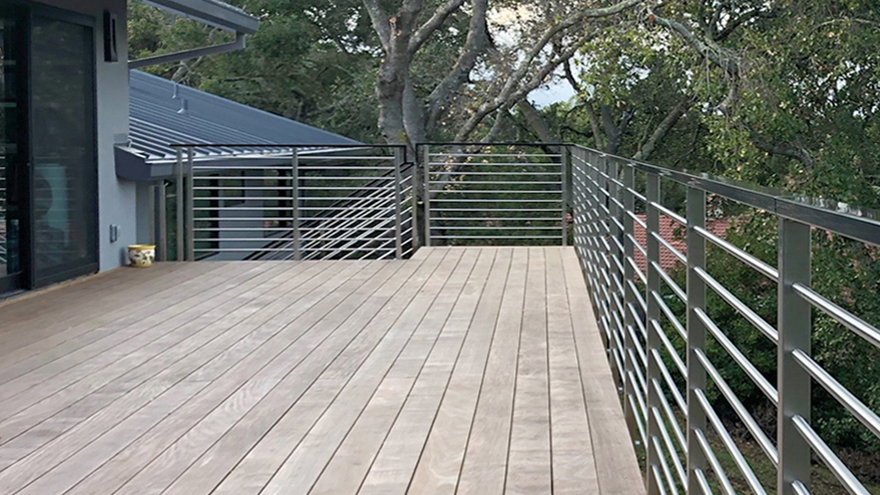
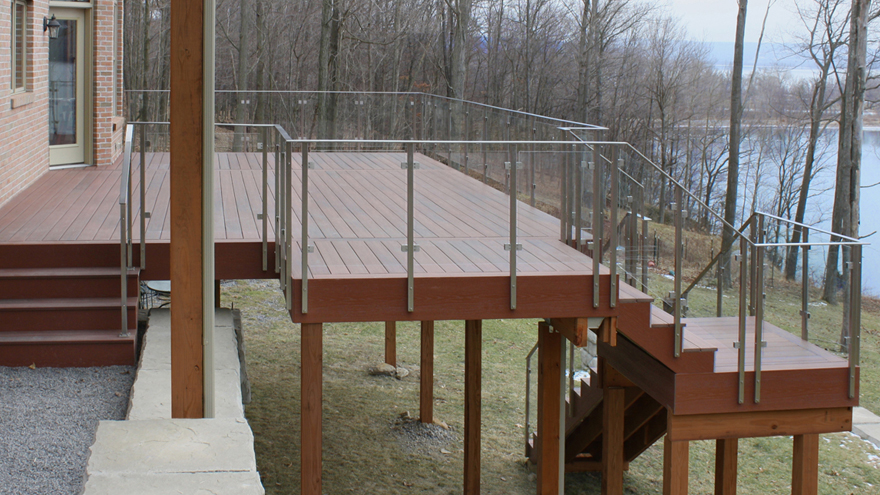
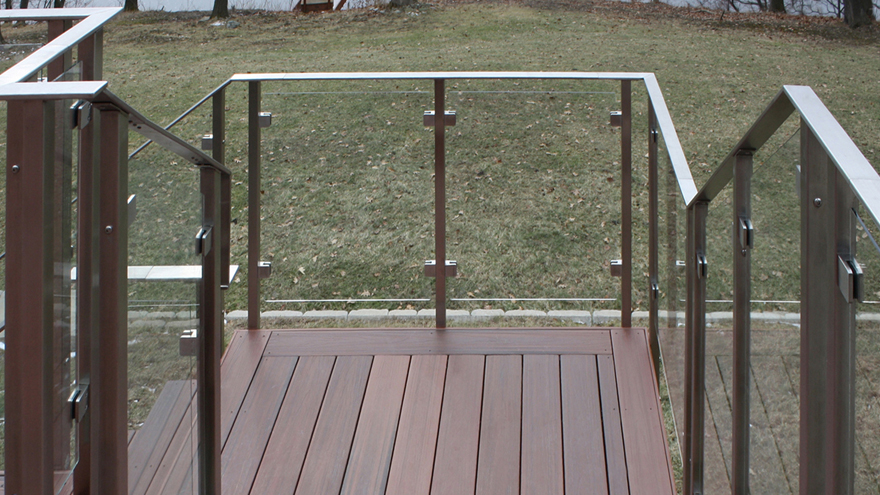
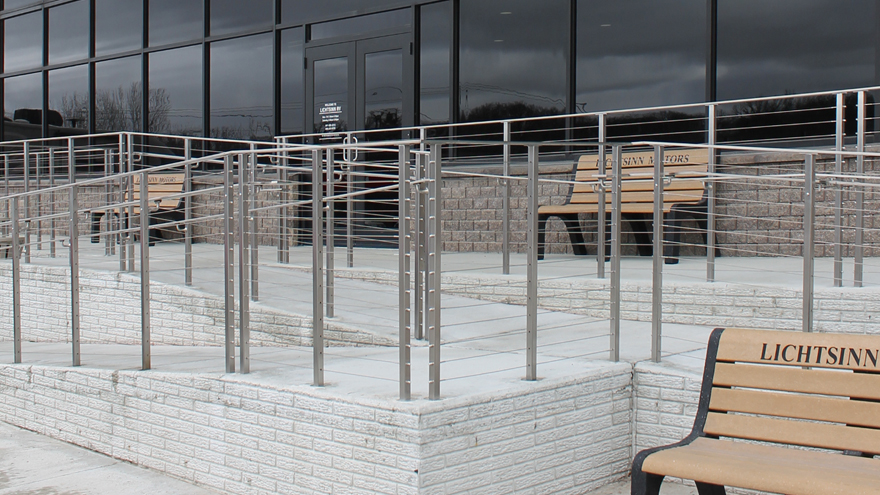
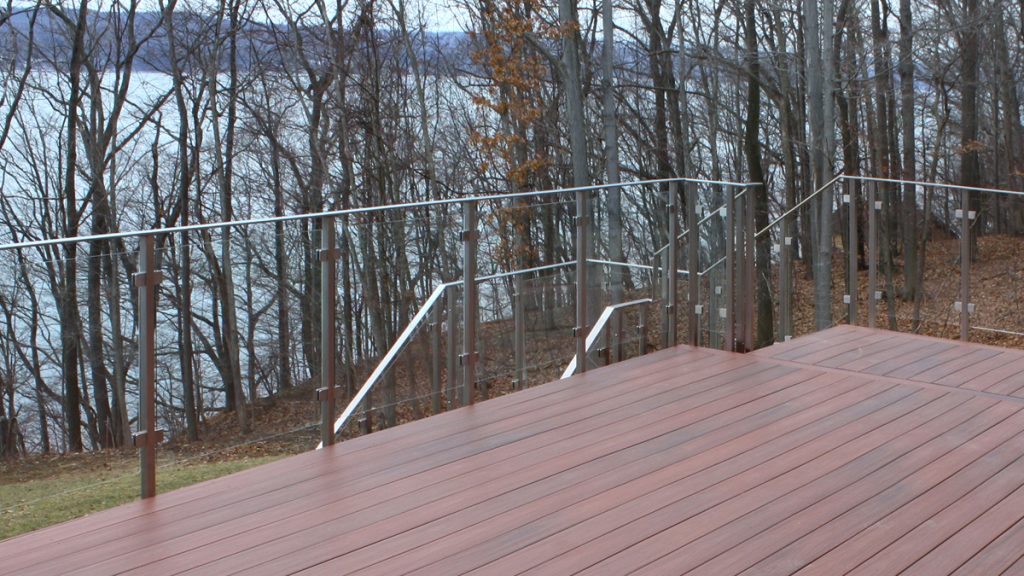
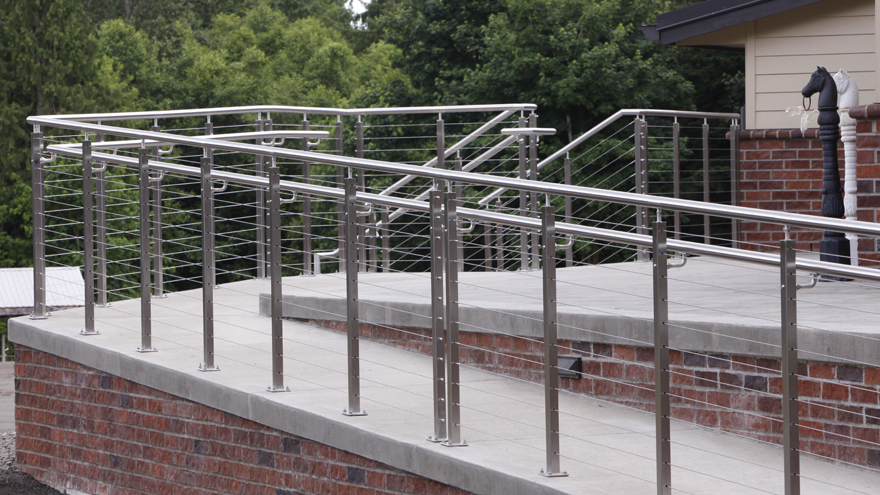
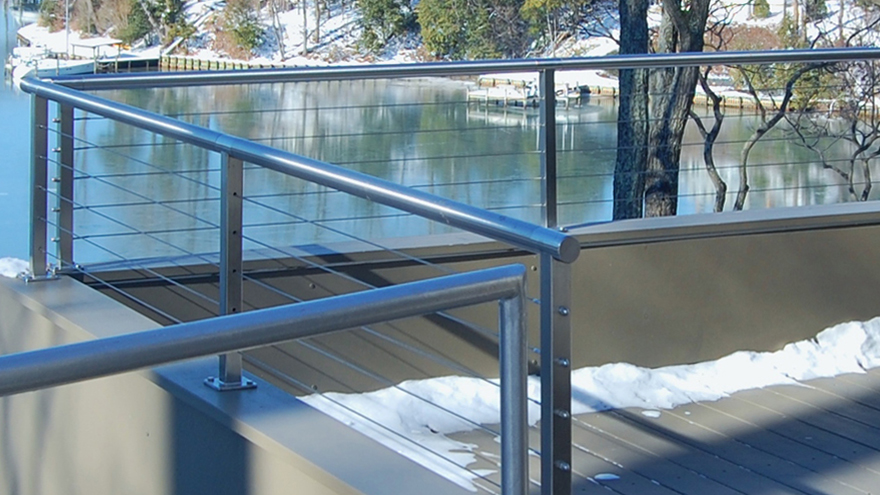
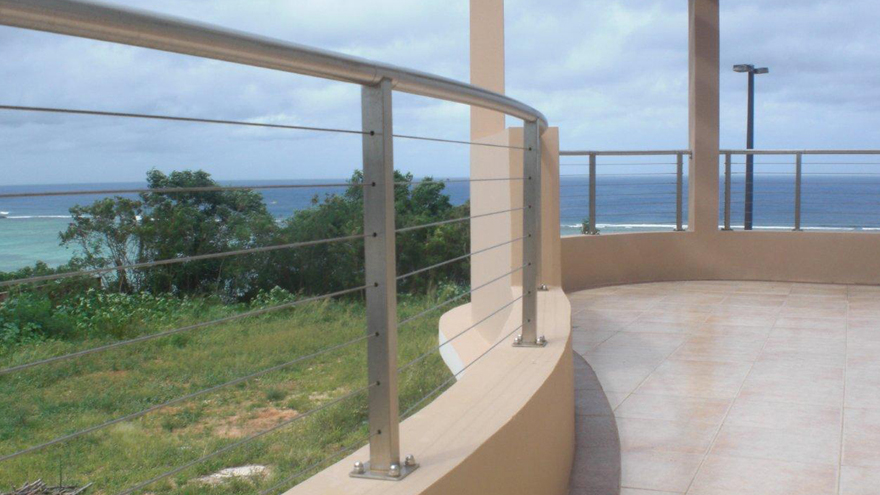
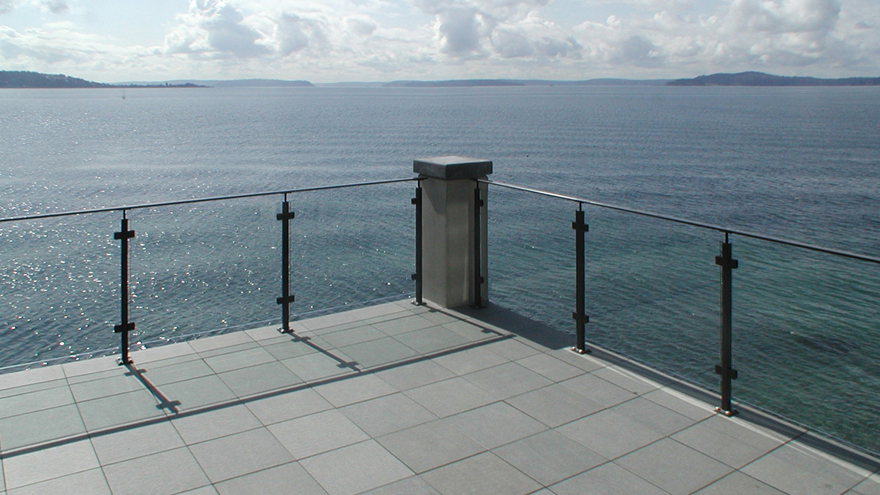
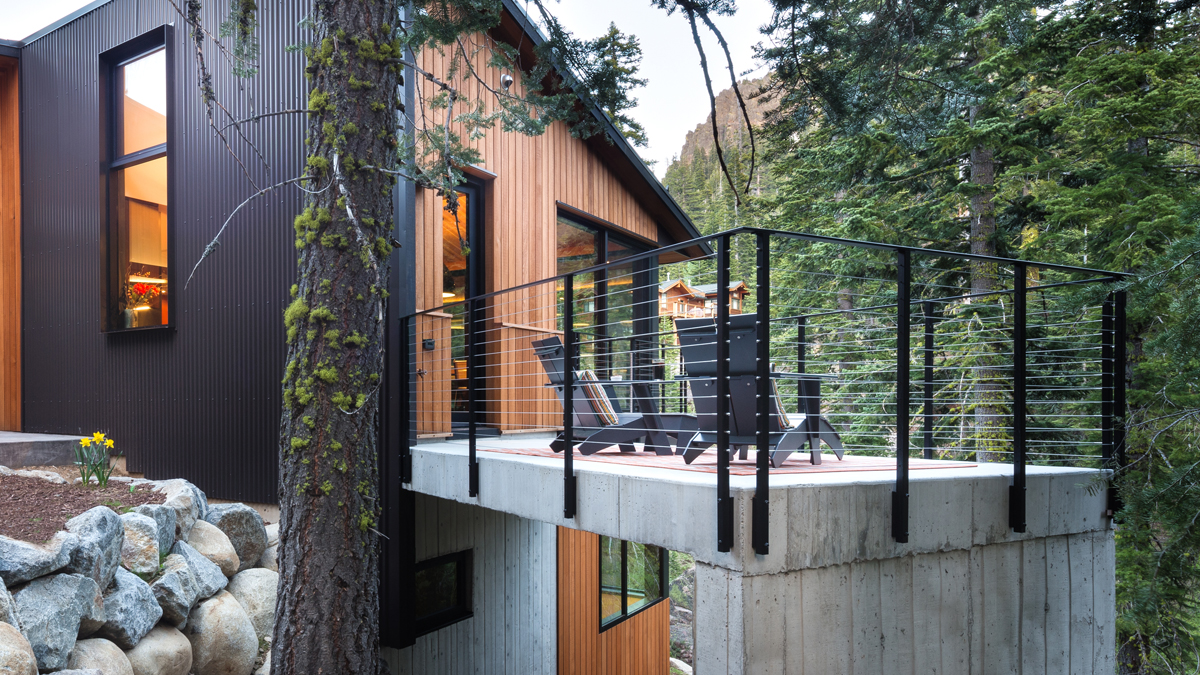
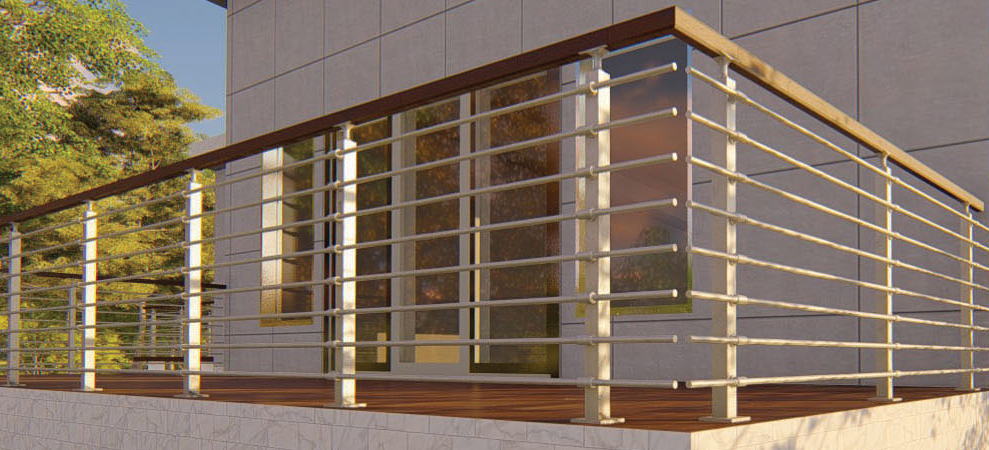
Top Mount Posts
Attach to the surface (floor) of your structure. The post shown on the right has a base plate cover, which is optional.
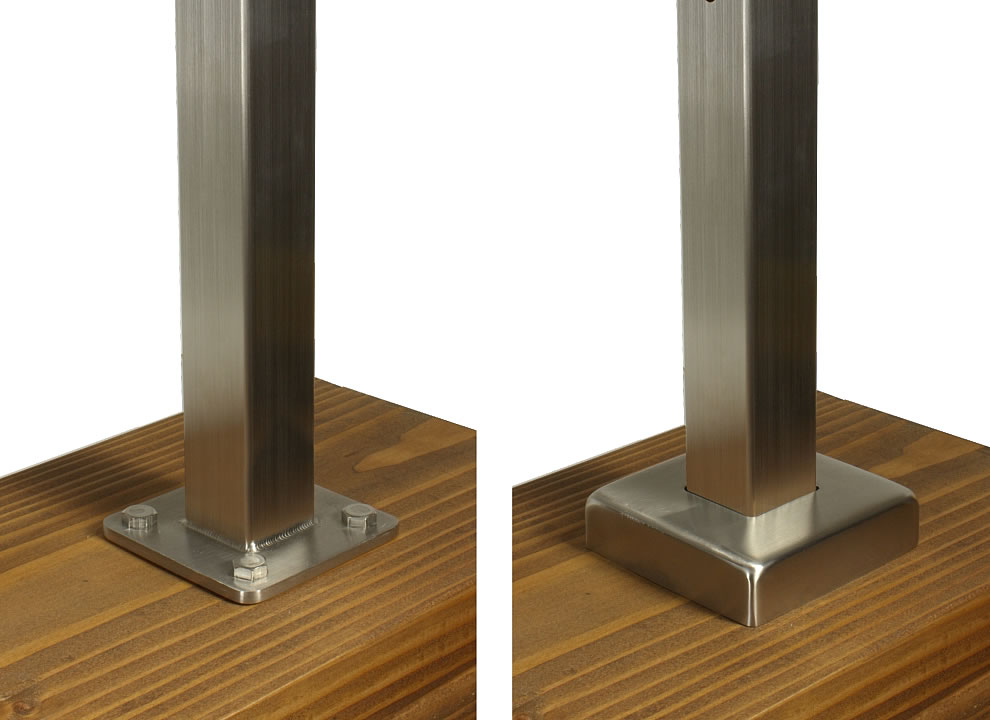
A versatile installation method for wood, composite, and concrete. With an AGS system, the post and the mounting plate at the bottom are TIG-welded into a single, structural unit at our factory. This one-piece assembly is then secured directly to the top of your walking surface. Because the TIG welding is exceptionally clean and precise, some homeowners choose to leave the mounting plate exposed to showcase the craftsmanship.
- Structural Requirement: Requires a flat, level surface and solid structural material (blocking) underneath the mounting points.
- Aesthetic Options: While the single-piece post and bracket are a signature look of our systems, optional base plate covers are available for those who prefer a concealed finish.
- Next Steps: See our Working with Wood guide for blocking requirements or Working with Concrete for anchor installation.
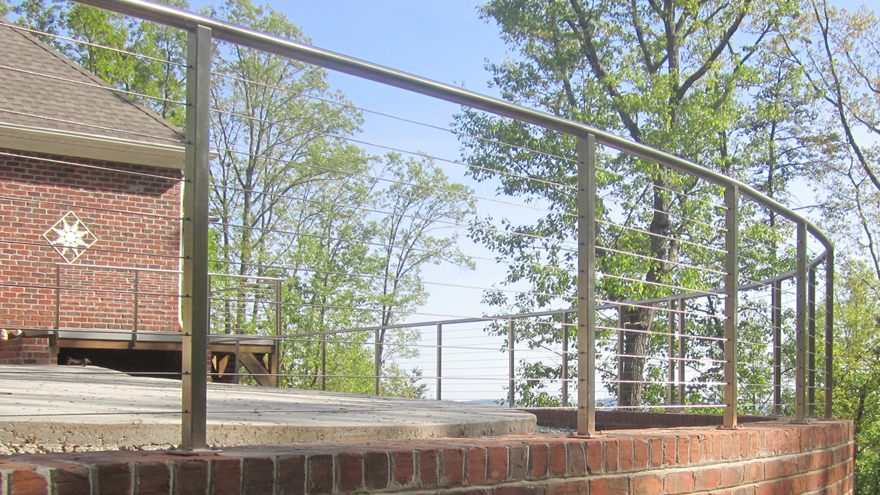
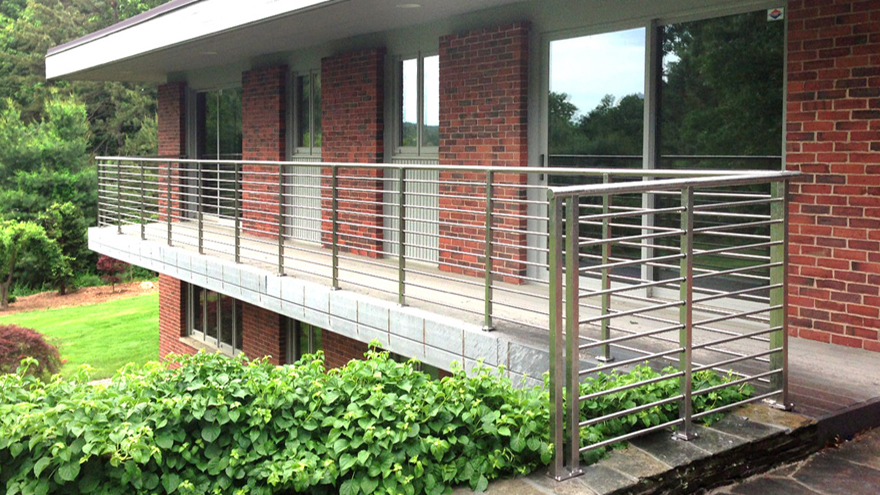
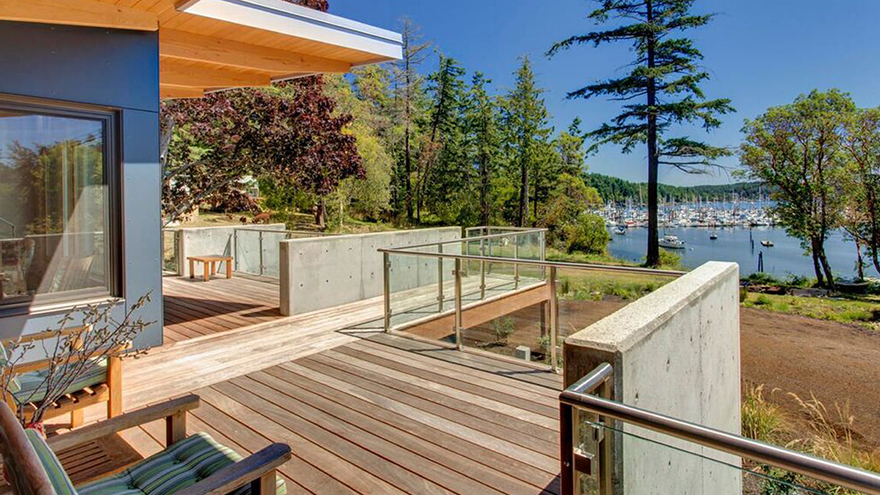
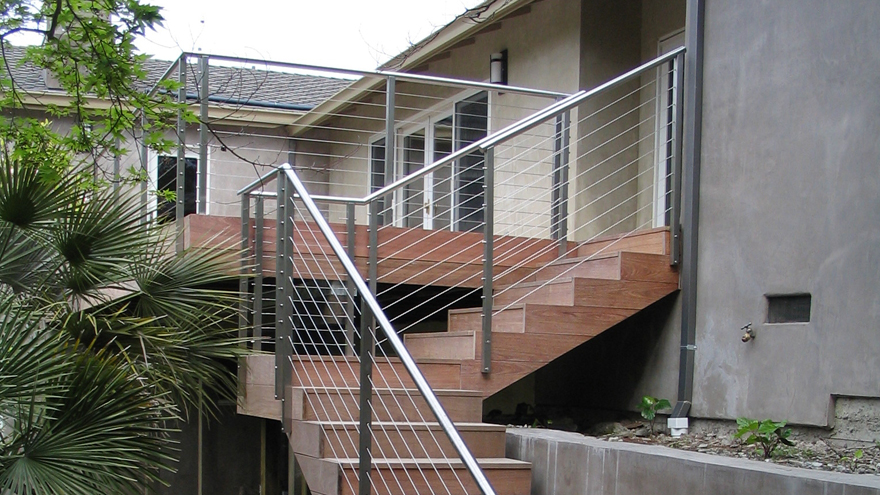
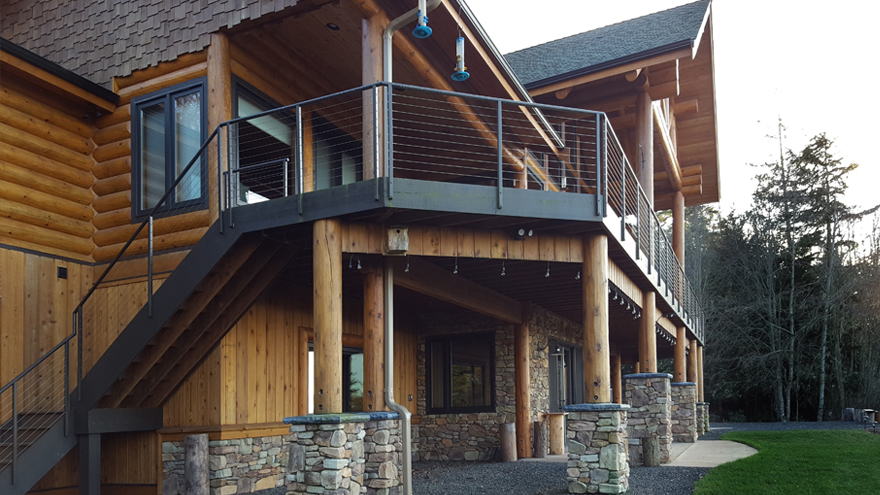
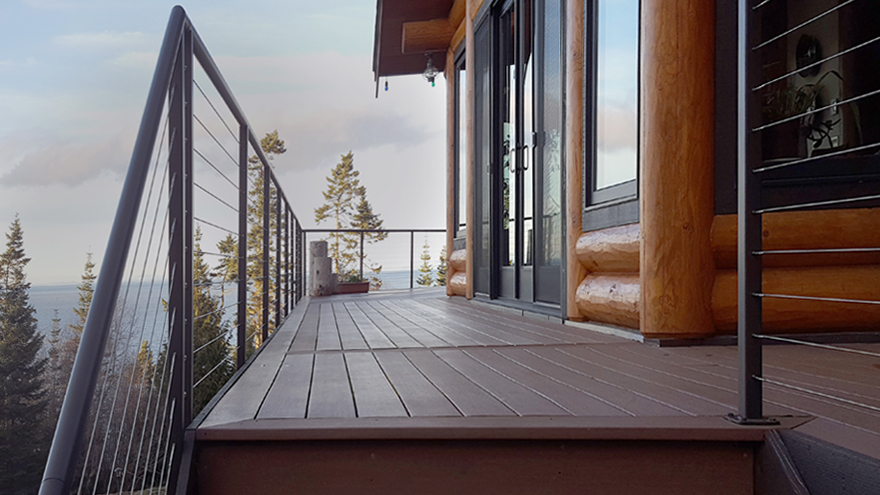
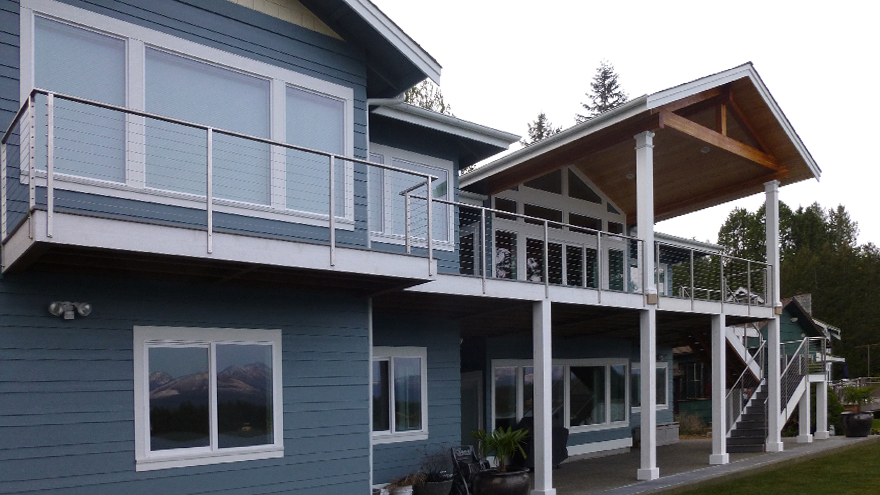
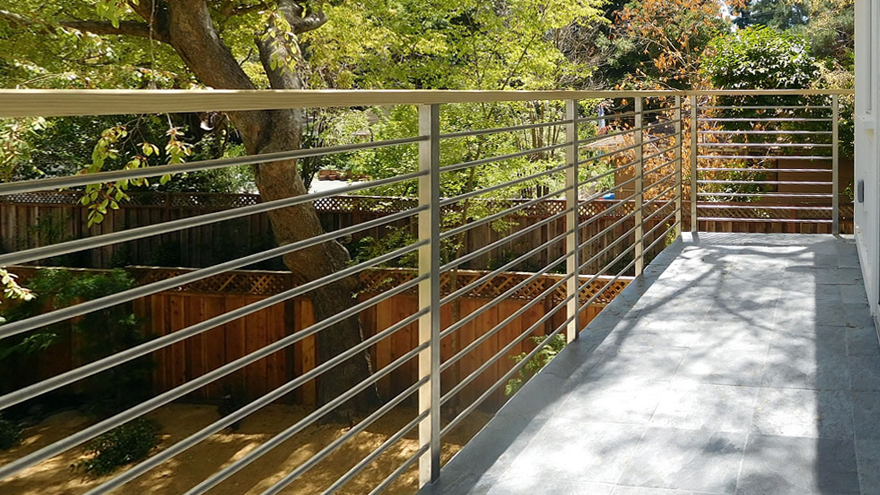
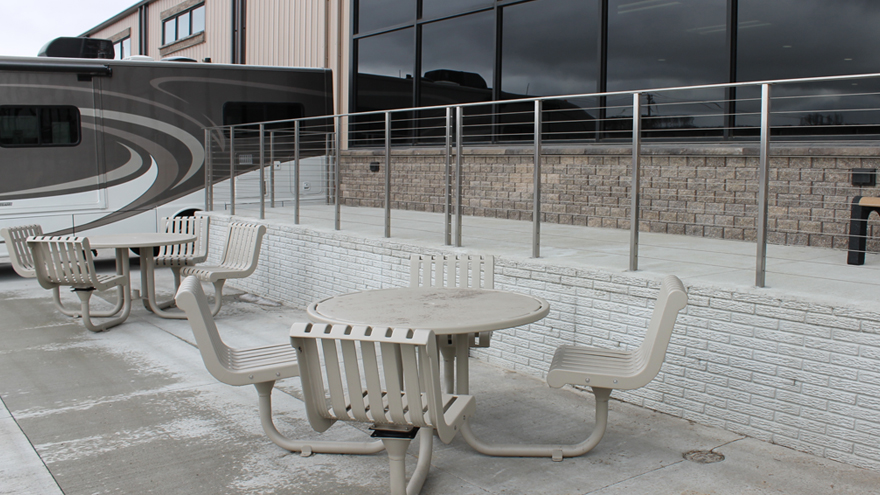
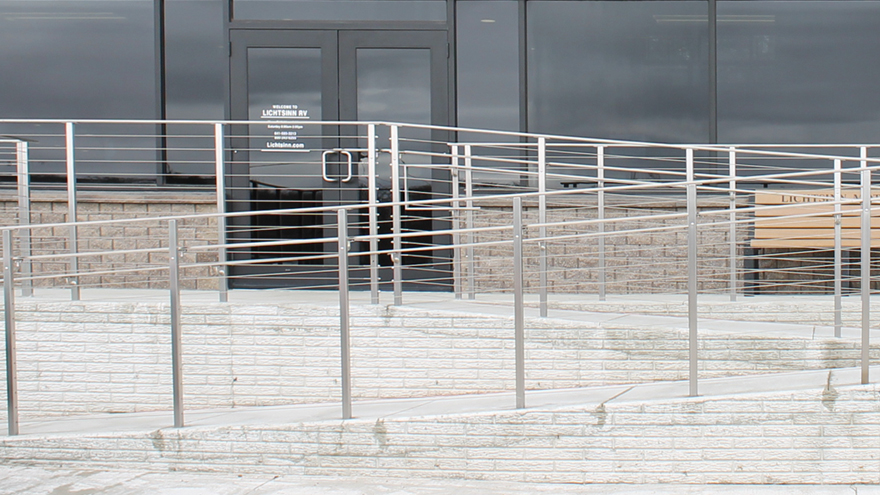
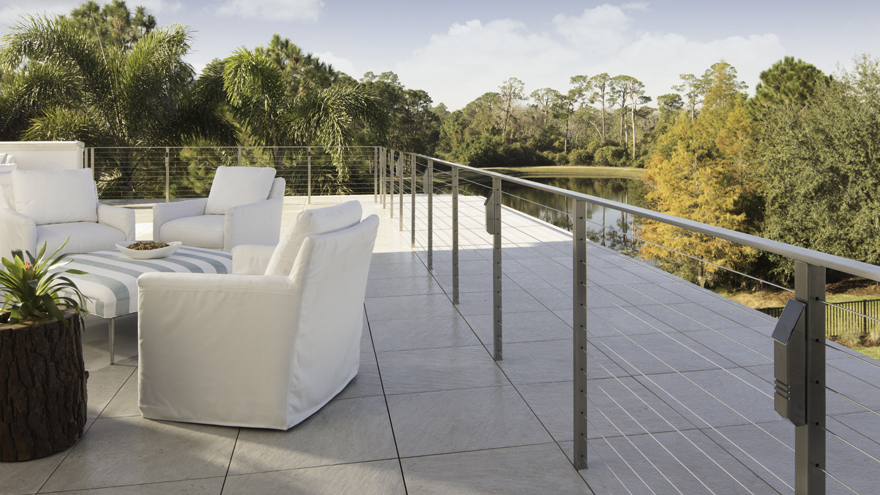
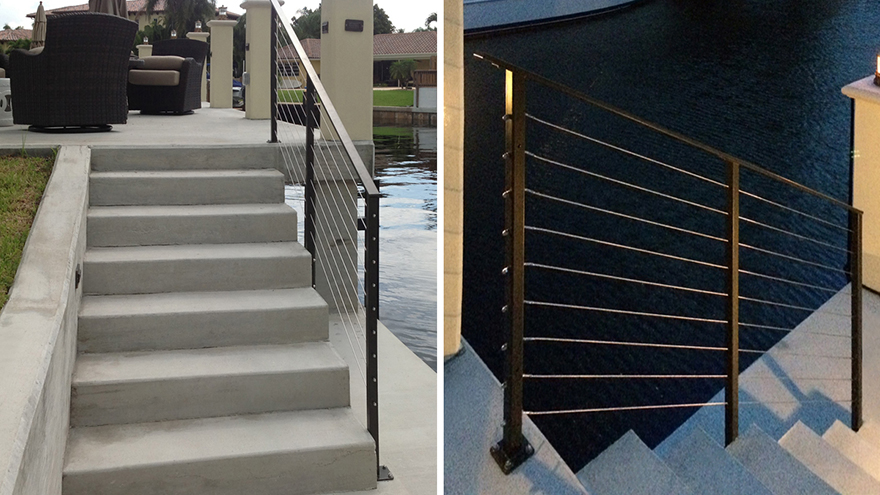
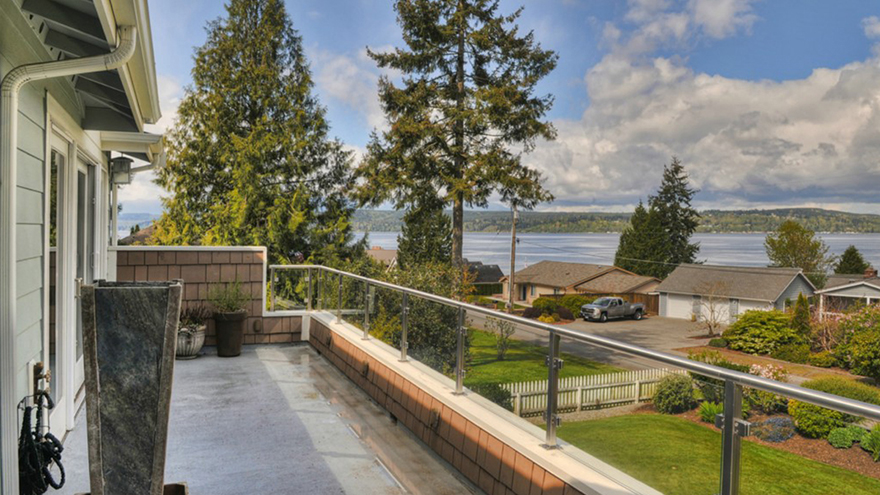
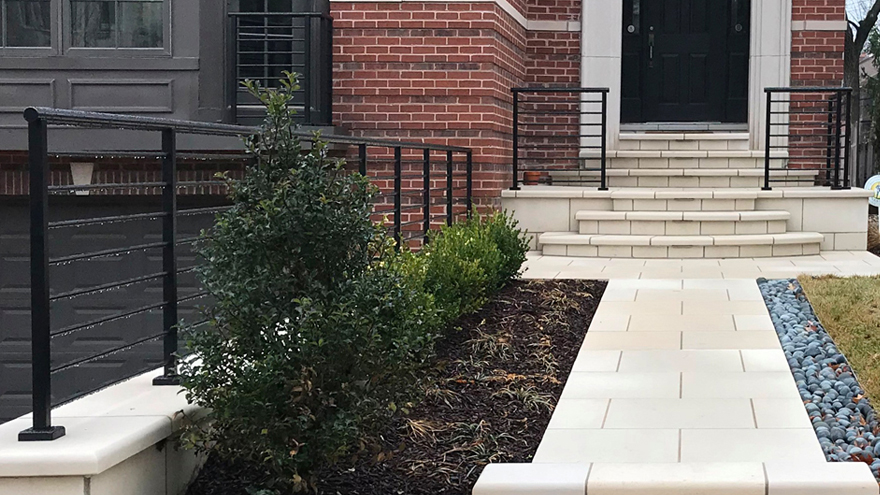
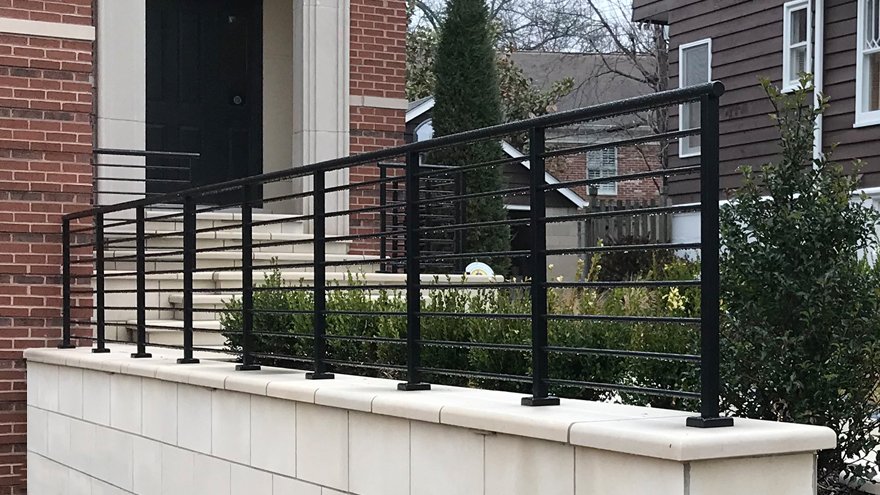
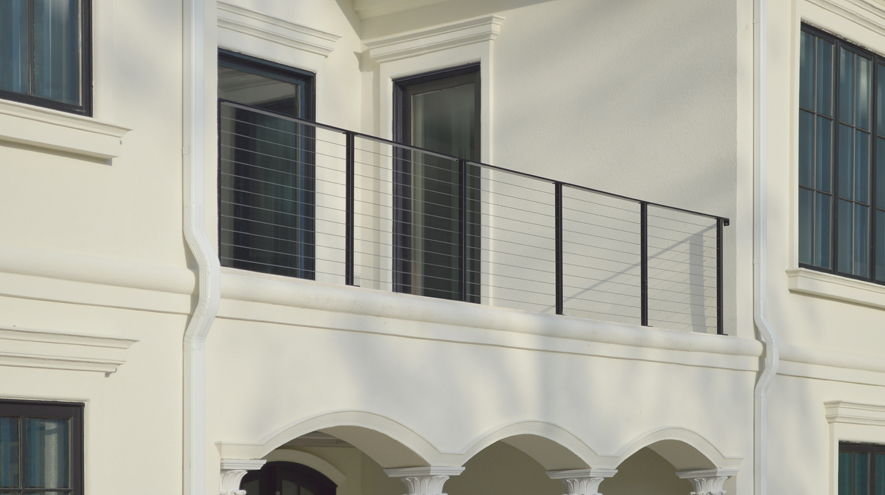
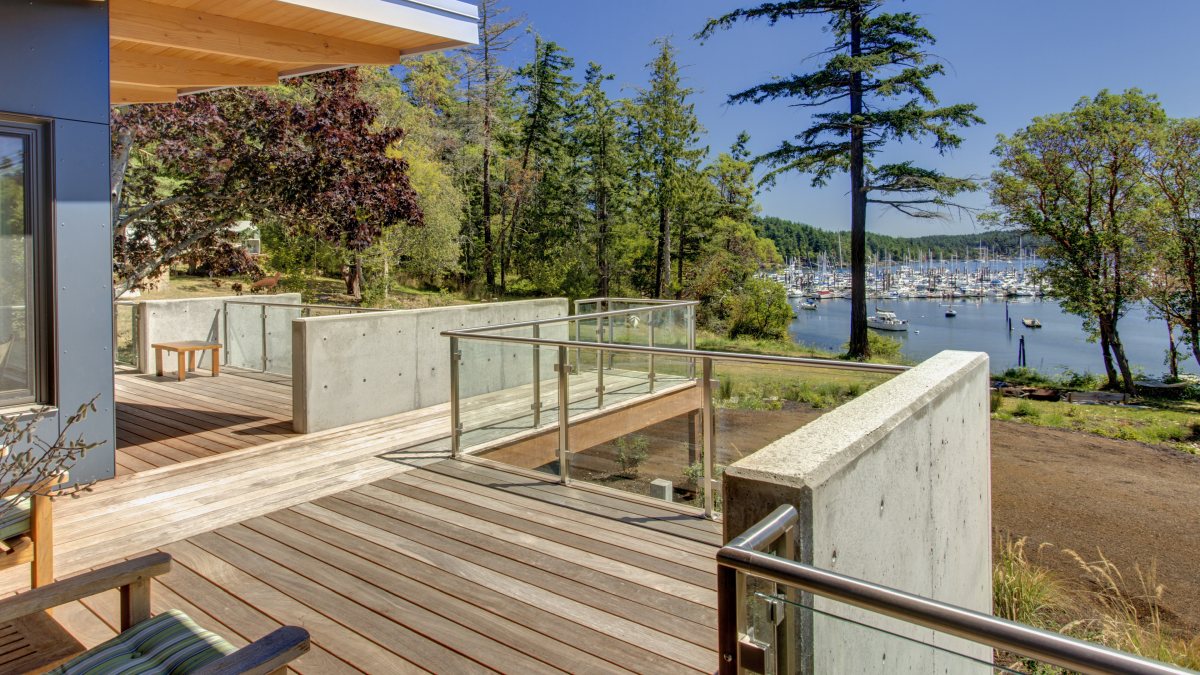
Side Mount Posts
Attach to the vertical face of your deck or balcony. Side mounts can sometimes include a spacer (right) or a notched decking edge (center).
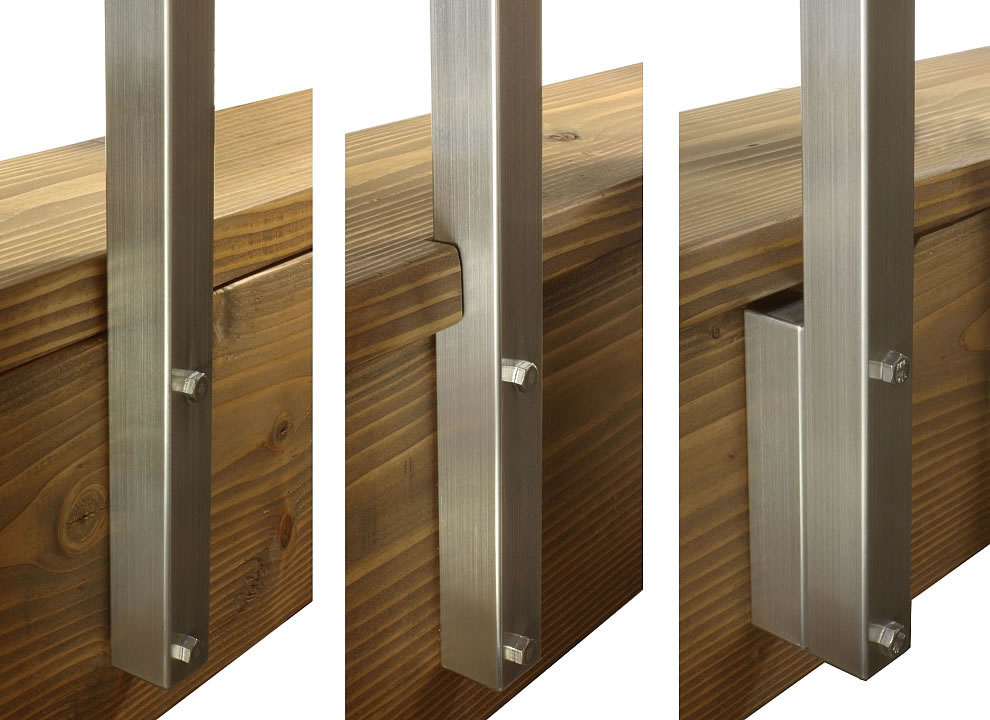
A choice that maximizes square footage and preserves unobstructed views. In a Side Mount configuration (also referred to as a fascia mount), the railing post is factory-welded to a structural bracket which is then attached to the vertical face of your deck or balcony. This keeps the walking surface 100% clear—an essential choice for narrow balconies or stairs.
Depending on your project’s specific needs, a Side Mount installation can be customized in several ways:
- Functional Option (Spacers): Allows for water drainage and debris to pass between the post and the structure.
- Aesthetic Option (Notched Decking): Allows the post to be tucked into the deck’s edge for an exceptionally integrated look.
- Structural Requirement: Requires a structural rim joist or fascia at least 3” thick.
- Pro Tip: This is the ideal choice for rooftop decks with waterproof membranes, as it allows for a secure installation without puncturing the walking surface.
- Next Steps: Ensure your structure is ready for installation by reviewing our Working with Wood help module for specific side-mount requirements.
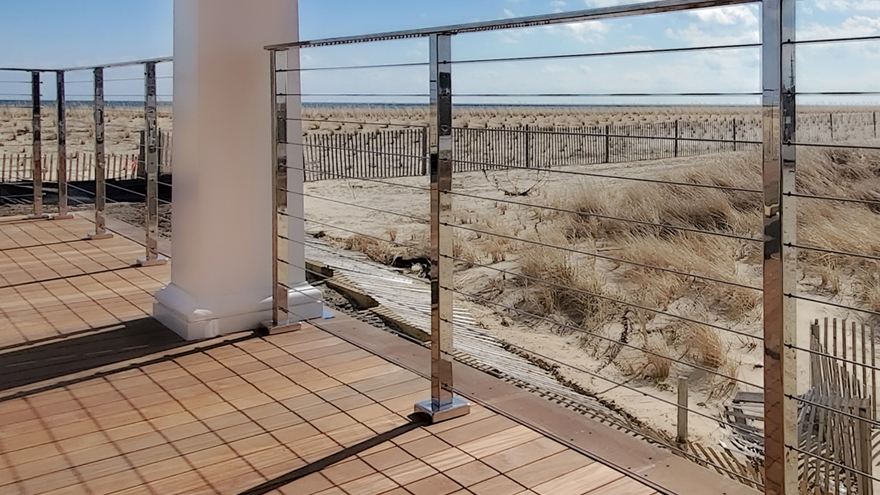
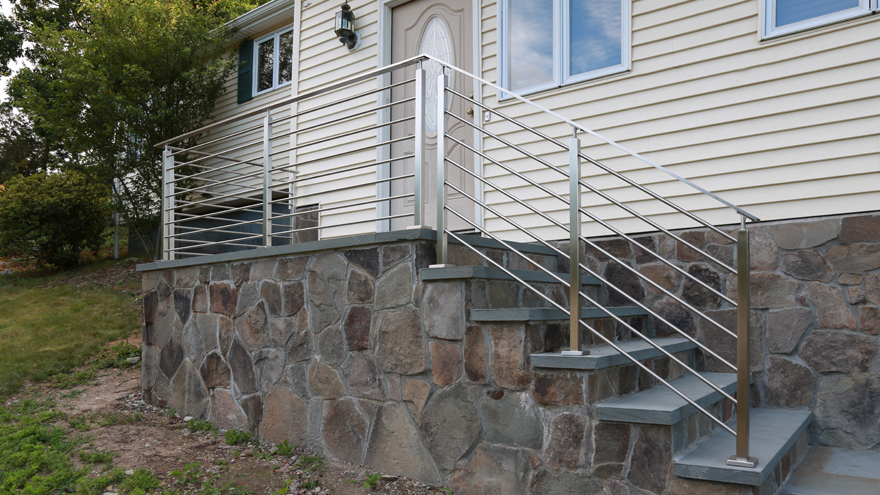
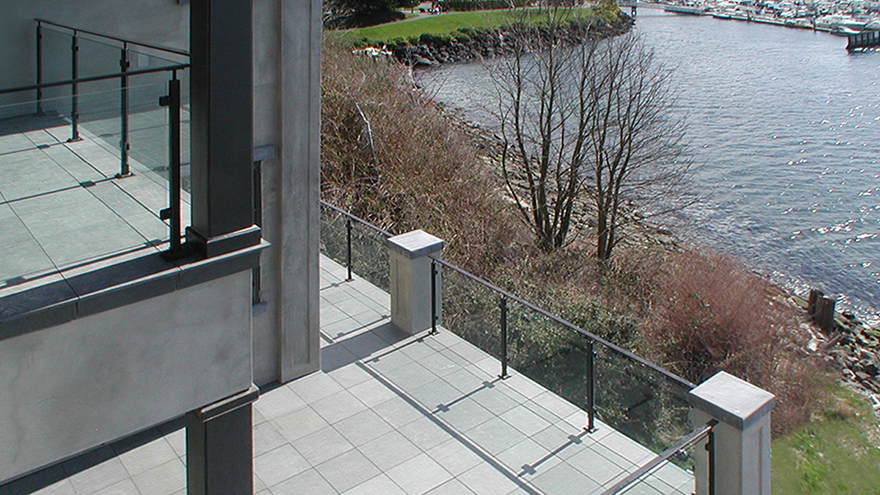
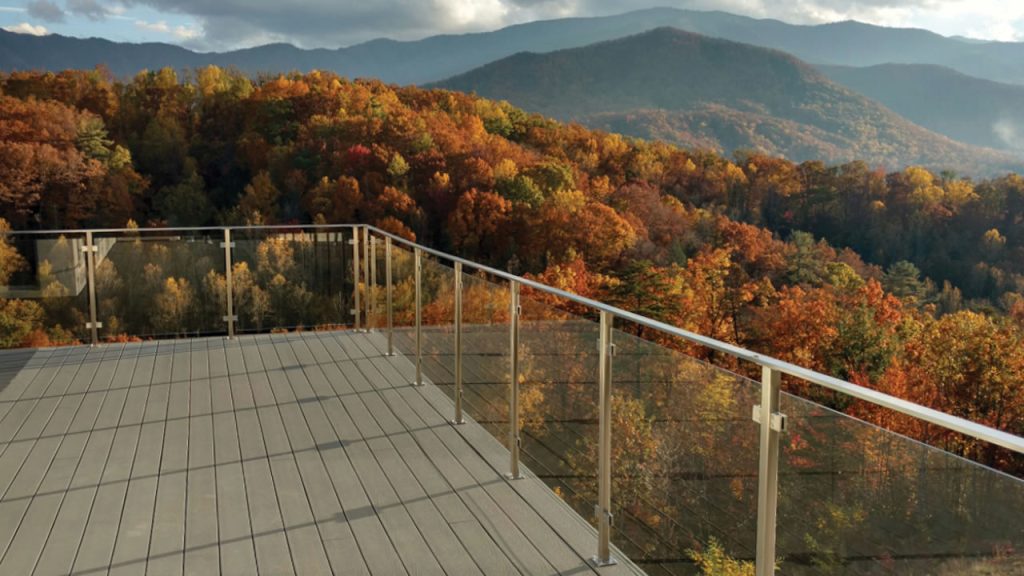
Core Mounts on Concrete
Core mounts are drilled into the surface, generally concrete. The post on the right has a base plate cover which is optional.
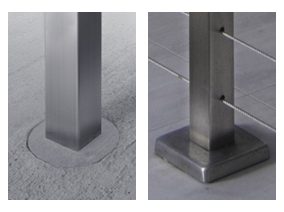
The “seamless” look for concrete and stone. A specialized diamond-tipped drill bores a circular hole into the surface, removing a “slug” of material. The post is inserted and secured with non-shrink grout for a permanent, hardware-free look.
- Structural Requirement: Suitable only for solid concrete, stone, or pavers set in a concrete base.
- Aesthetic: Provides a clean, high-end aesthetic that gives the appearance of the post “growing” out of the stone.
- Next Steps: Review the specialized tool requirements in our Working with Concrete deep-dive.
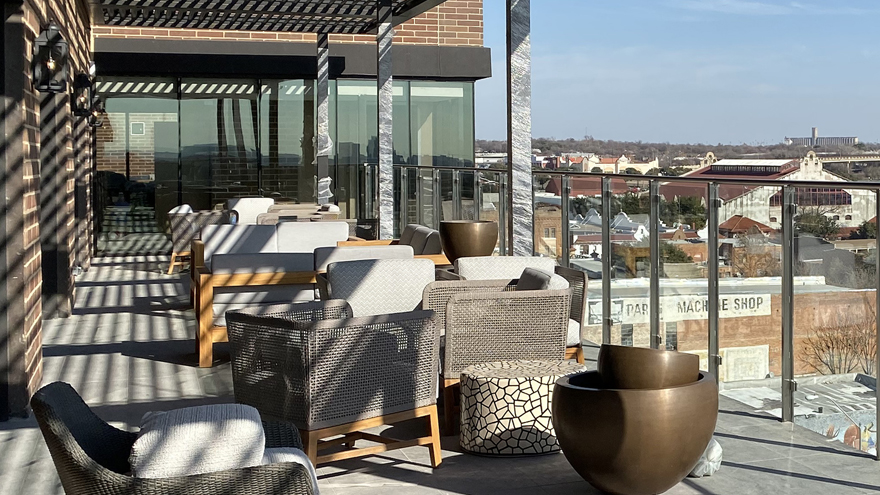
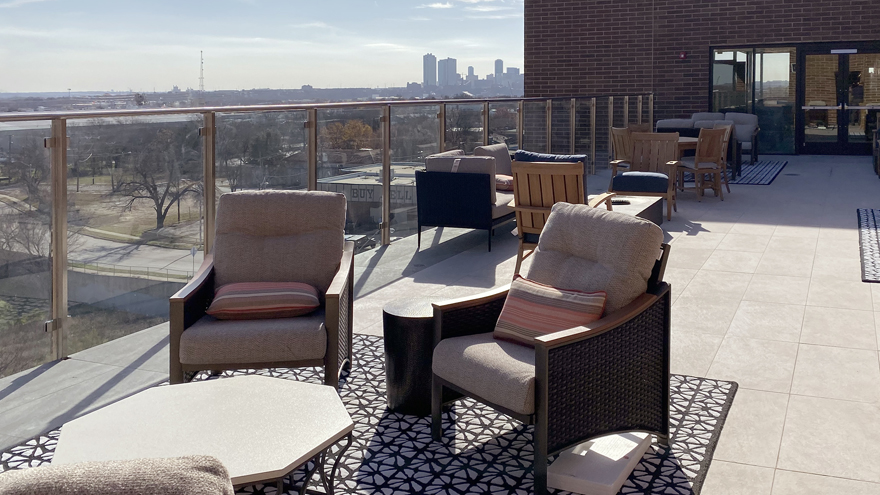
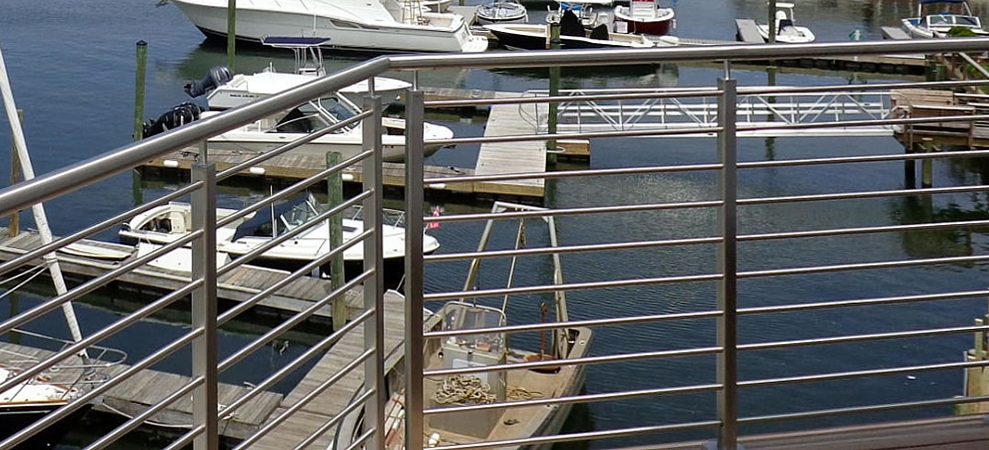
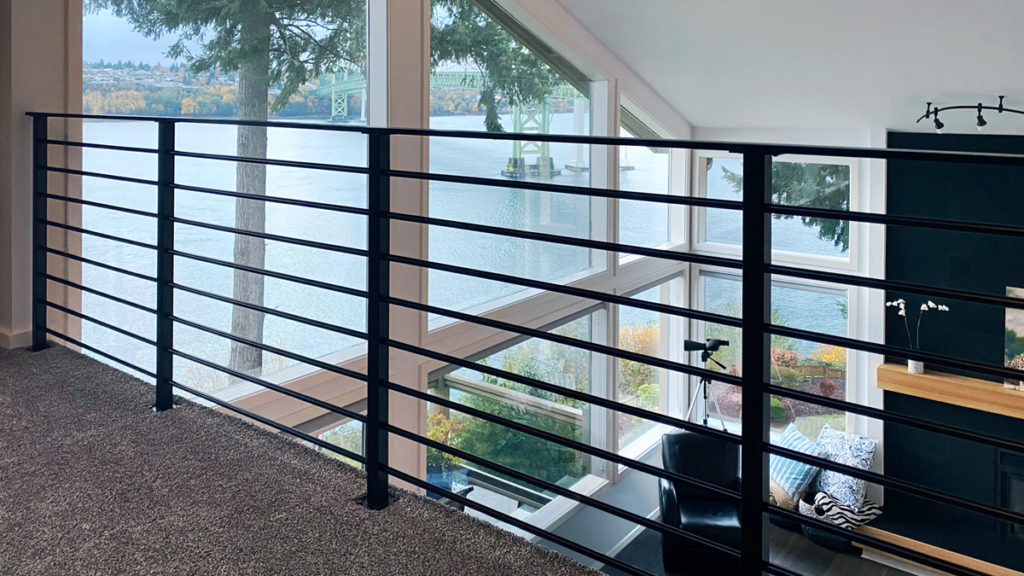
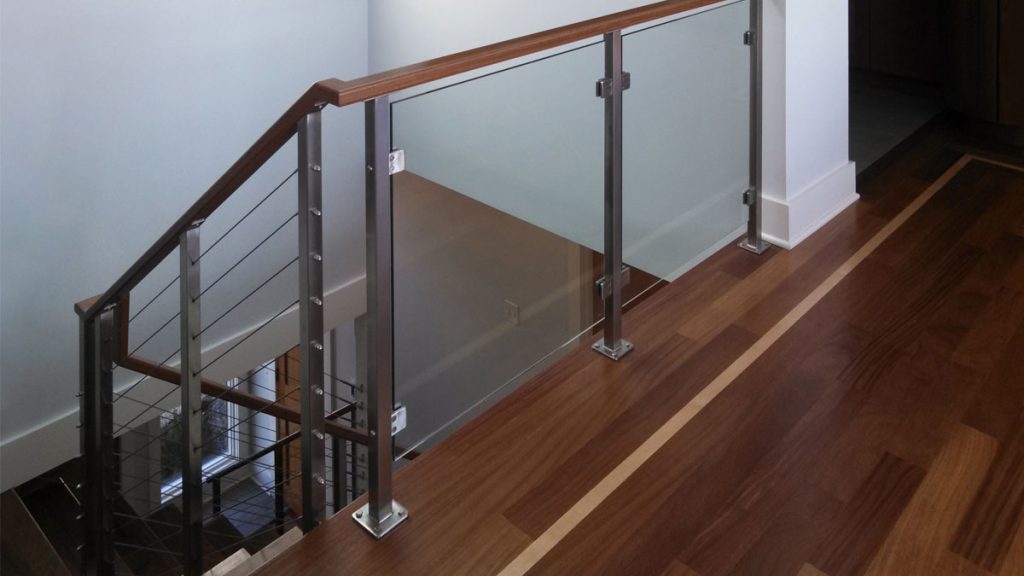
Visual Gallery: Mounts by Railing Series
Select a mount type to see our Rainier, Olympus, and Glacier systems in real-world applications.