


Working with Cable
Comprehensive resources to guide you through installation with barrel nuts. From crimping to final assembly, we provide everything you need to ensure a professional result.
We Do Half the Work for You!
Your cable railing system will arrive prepared for quick install. All cable lengths come precut and labeled, with an end fitting attached on one end, and an additional 6? of cable length on the other to accommodate slight adjustments.
Precision Tool Checklist
- AGS Cable Cutters
Bypass-style cutters cut cable cleanly and minimize fraying - AGS Crimpers
Hardened steel jaw crimpers provide an even and secure crimp - Eye Protection
Essential safety gear, especially when cutting cable - Painter’s Tape
Safety Tip: Use to wrap the tip of the cable when cutting short lengths to prevent strands from becoming projectiles - Rubber Mallet
Gently correct any distortion that may occur from crimping
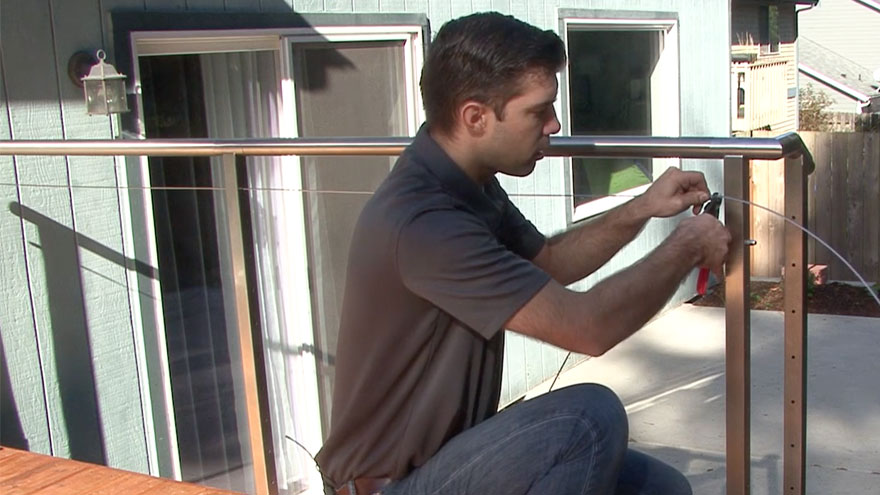
Installing with Barrel Nuts
Barrel nut fittings offer a streamlined aesthetic by nesting the locking mechanism more closely to the post.
- Prepare the Fitting: Screw a barrel nut onto the fitting until the locking ring is completely inside the barrel nut.
- Run the Cable: Thread the bare end of the cable through all posts in the designated railing section, ensuring the fitting is seated against the first post.
- Measure and Cut: Pull the cable taut. Cut the cable 1-1/8” from the inside edge of the last post.Safety tip: If you are cutting less than a few inches of cable, put some tape around the tip of the cable to prevent the strands from becoming projectiles.
- Crimp the Fitting: Insert the cable all the way into the fitting. Crimp the fitting approx 1/4” from the end to secure the cable. Crimp again, 1/4” in from the first crimp.
If any distortion occurs from crimping, it can be easily corrected by tapping gently with a rubber mallet. - Final Assembly: Insert the fitting into the post. Screw the barrel nut onto the fitting to secure the cable in the post. Prior to tensioning the cable, repeat this process until all cables in the run are installed.
Important: To prevent over-tightening, refer to your Rainier Installation Guide before tensioning the cable.